
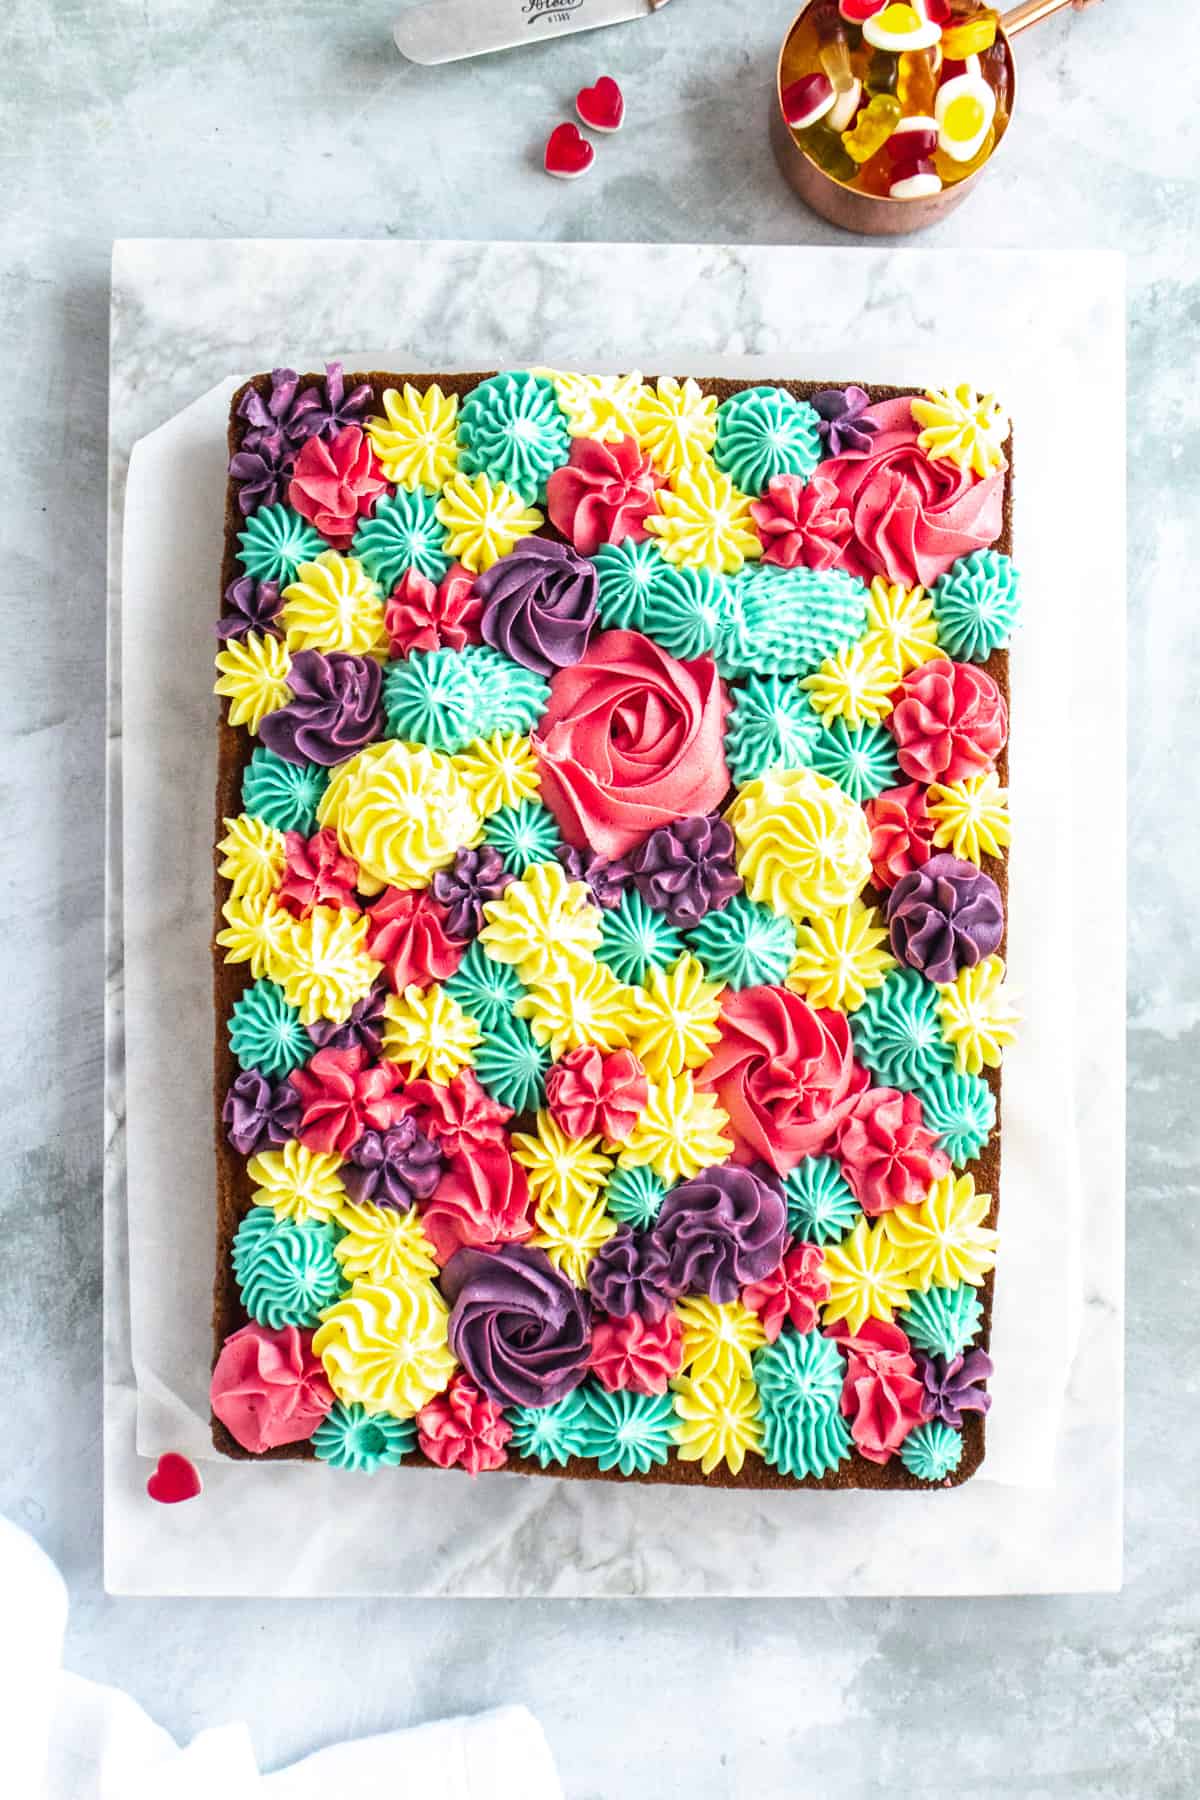
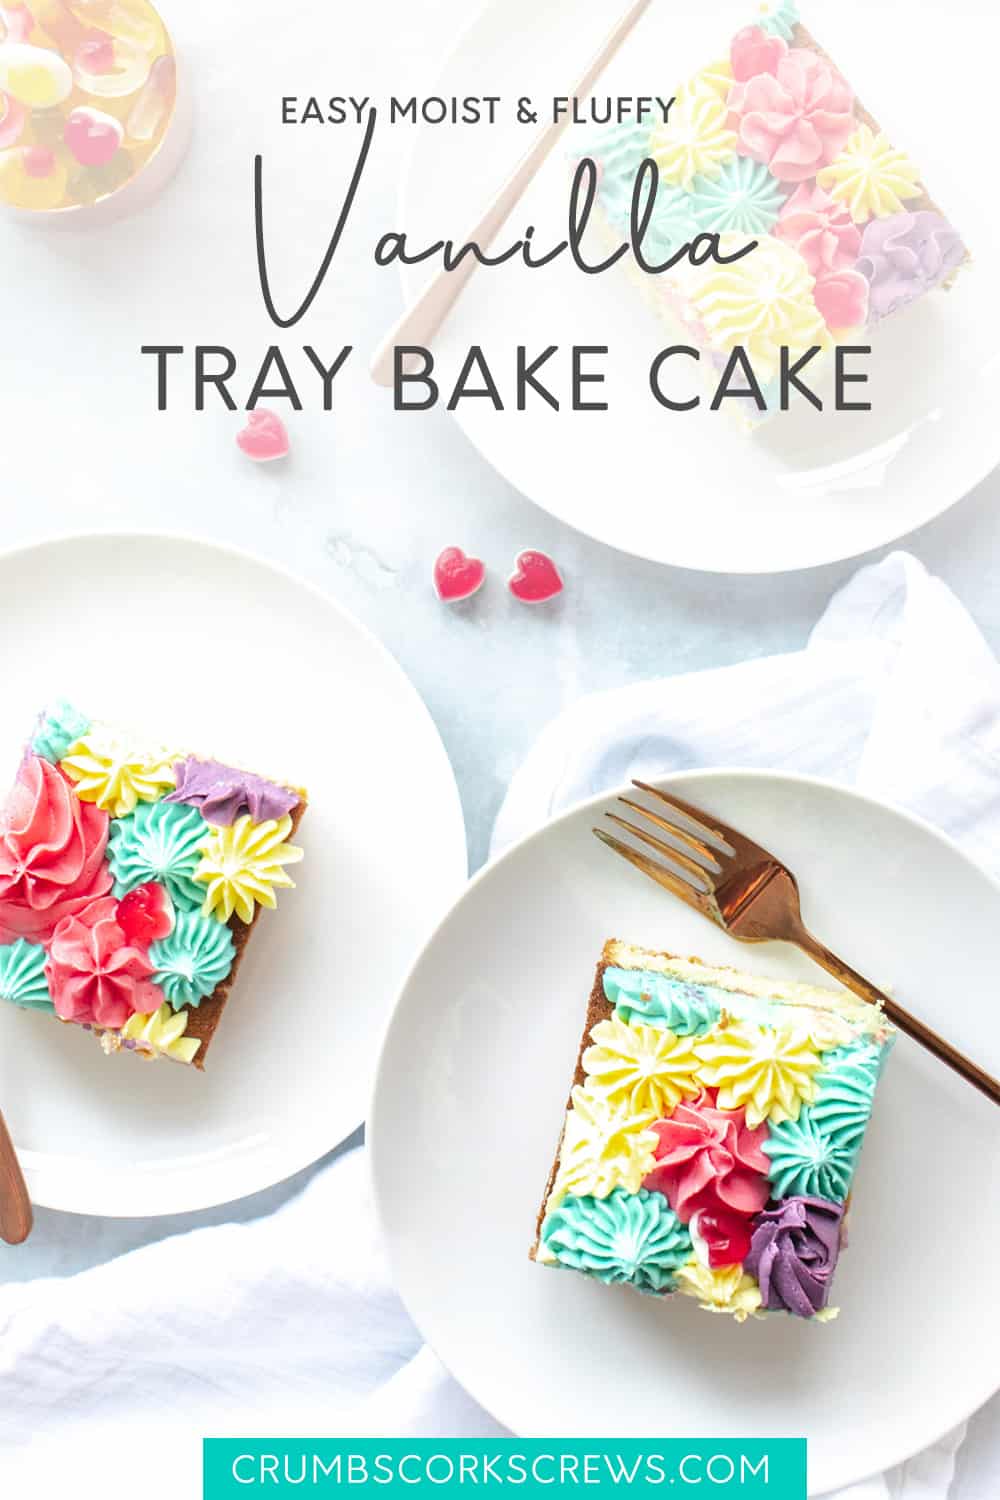
Hands up if you’re a vanilla fan? Then this vanilla tray bake cake is just for you. The soft, fluffy and buttery vanilla sheet cake is so easy to make and perfect for a crowd. Covered in whipped vanilla buttercream, it’s perfect for birthday celebrations, an easy dessert or any occasion!

I’ve been feeling nostalgic for a good old-fashioned sheet cake. You know the one covered in runny icing and 100s and 1000s sprinkles?
Hands up if you remember being happy to see it on the school lunch menu? That soft vanilla cake and sweet, sugary icing brings back lots of memories.
The original plan was to recreate something similar; but as you can see it didn’t quite turn out as I hoped.
I had intended to go for a vanilla buttercream covered in sprinkles and sweeties. With Haribo Star Mix my sweetie of choice. But to be honest I ate most of them before I got round to decorating the cake, so this is what happened!
If you do decide to give this recipe a go, then by all means go completely retro with runny icing and sprinkles. It will still be amazing!
You’ll love this vanilla sheet cake because…
If it wasn’t obvious, let me share the secret of tray bake cakes – they are so easy! Yes, that’s it, and so so delicious and moreish too!
I love the simplicity of one layer, a coating of buttercream and no waiting around for layers to chill before you can finish decorating them.
But if you needed a little more persuasion, then here’s why I think you’ll love this one as much as I do…
- Quick and easy to make, using just one bowl – so there’s less washing up!
- The buttery and velvet cake sponge texture, that’s so light!
- Smooth and creamy, whipped vanilla buttercream frosting – you’ll want to eat it with a spoon!
- Easy to adapt for any celebration or occasion, and perfect for a potluck dessert
- Decorate with anything you fancy, sprinkles, sweeties, chocolate and more!
The reverse creaming method!
The beauty of this vanilla tray bake cake for me is the buttery, velvet cake! It has as fine crumb that just melts in your mouth as you eat it; so it’s perfect for a celebration or just a slice with a cuppa!
In terms of regular vanilla cakes, there’s really no huge difference, except one thing – the technique!
Unlike my vanilla layer cake or my Victoria sponge, this tray bake cake uses the reverse-creaming method.
Instead of starting with creaming the butter and sugar, this cake batter combines the dry ingredients and the fat is added. This way you make sure the flour particles are coated with the fat from the butter, which reduces the gluten formation.
This in turn reduces the amount of air incorporated into the cake batter, producing a finer more springy cake; while still keeping the cake light!
What you’ll need to make this cake
View my Amazon shopping list with equipment and ingredients.
Vanilla cake is one of the most beautifully tasty cakes you can make. So leave the ‘it’s just vanilla’ thoughts behind, as I can guarantee that this tray bake cake is going to become a firm favourite!
The Ingredients
When you’re ready, for the dry ingredients you’ll need plain or all-purpose flour, baking powder, baking soda and caster sugar.
And for the wet ingredients, you’ll want to grab room temperature butter, soured cream, whole-milk and eggs.
If you want to colour the buttercream, you’ll also need food colouring. I highly recommend using colour gels as they will give you a great colours and will not alter the consistency of your buttercream. These are the colours I used…
Recommended Food Colour Gels
The Equipment
Just like the simplicity of the sheet cake itself, you also don’t need any fancy equipment either. Both the cake and the buttercream can be made in one bowl (at different times, of course), so it saves on the washing up!
I prefer to use a stand mixer, but you can use a hand held mixer with a large mixing bowl.
You’ll also want to grab…
- 13 x 9″ sheet pan/ tray bake pan – you will want to make sure it’s at least 1-inch deep so the cake is supported as it rises. If you don’t have a sheet pan, you can make it in a glass dish instead, or split across 8″/20 cm sandwich tins.
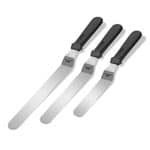
- Offset spatula – trust me if you don’t have one of these in your utensil drawer yet, then treat yourself. They are ideal for levelling off cake batter, cheesecake, brownies etc without the risk of sticking your fingers in the batter.
Recommended Equipment


How to make vanilla tray bake cake
Full measurements and instructions can be found on the printable recipe card
Tray bake cake are some of the easiest and most satisfying bakes out there. There’s nothing simpler than one layer of moist, fluffy sponge, decorated with a light and creamy buttercream.
And as there’s no crumb-coating and chilling, you can get this ready and in the oven with 15 minutes. Here’s how…
The Sheet Cake
Remember, we’re using a reverse-creaming method, so start by sieving together the plain flour, baking powder, baking soda and caster sugar, into a large mixing bowl or stand mixer bowl. Stir everything together until well-combined.
Next add the butter, vanilla extract and half of the milk. Using a handheld mixer or beater stand mixer attachment, bring the ingredients together until you have a thick cake batter. Don’t worry, this will thin out.
Add the remaining milk and soured cream, and beat again. Finally, add the eggs and beat all the ingredients until you have a smooth, thick but runny cake batter.
Once you’ve got a beautiful silky vanilla cake batter, pour it into the sheet pan greased with cake release, then pop into the oven to bake for 25-35 minutes.
TOP TIP: If available, use cake flour or fine-milled 00 plain flour, instead of regular plain or all-purpose flour. The finely milled flour has a lower protein content and will give you a softer, more tender cake sponge.

The Buttercream
Get ready for the easiest, and more beautifully light and creamy vanilla buttercream frosting; with just 4 simple ingredients!
Using a handheld mixer or a stand mixer with the balloon whisk attachment, whip the butter on medium-high for about 3-4 minutes. The butter will become pale in colour, light and airy.
Add vanilla extract to the butter, then add the icing sugar a tablespoon at a time; whisking between each additional until fully incorporated. The buttercream will be smooth but thick.
Add the double cream and whisk again for 2-3 minutes to allow the cream to thicken up.
TOP TIP: Whipping the butter before adding any other ingredients, makes it light and fluffy and incorporates in air for a smooth and creamy texture. Trust me, your buttercream will be transformed!
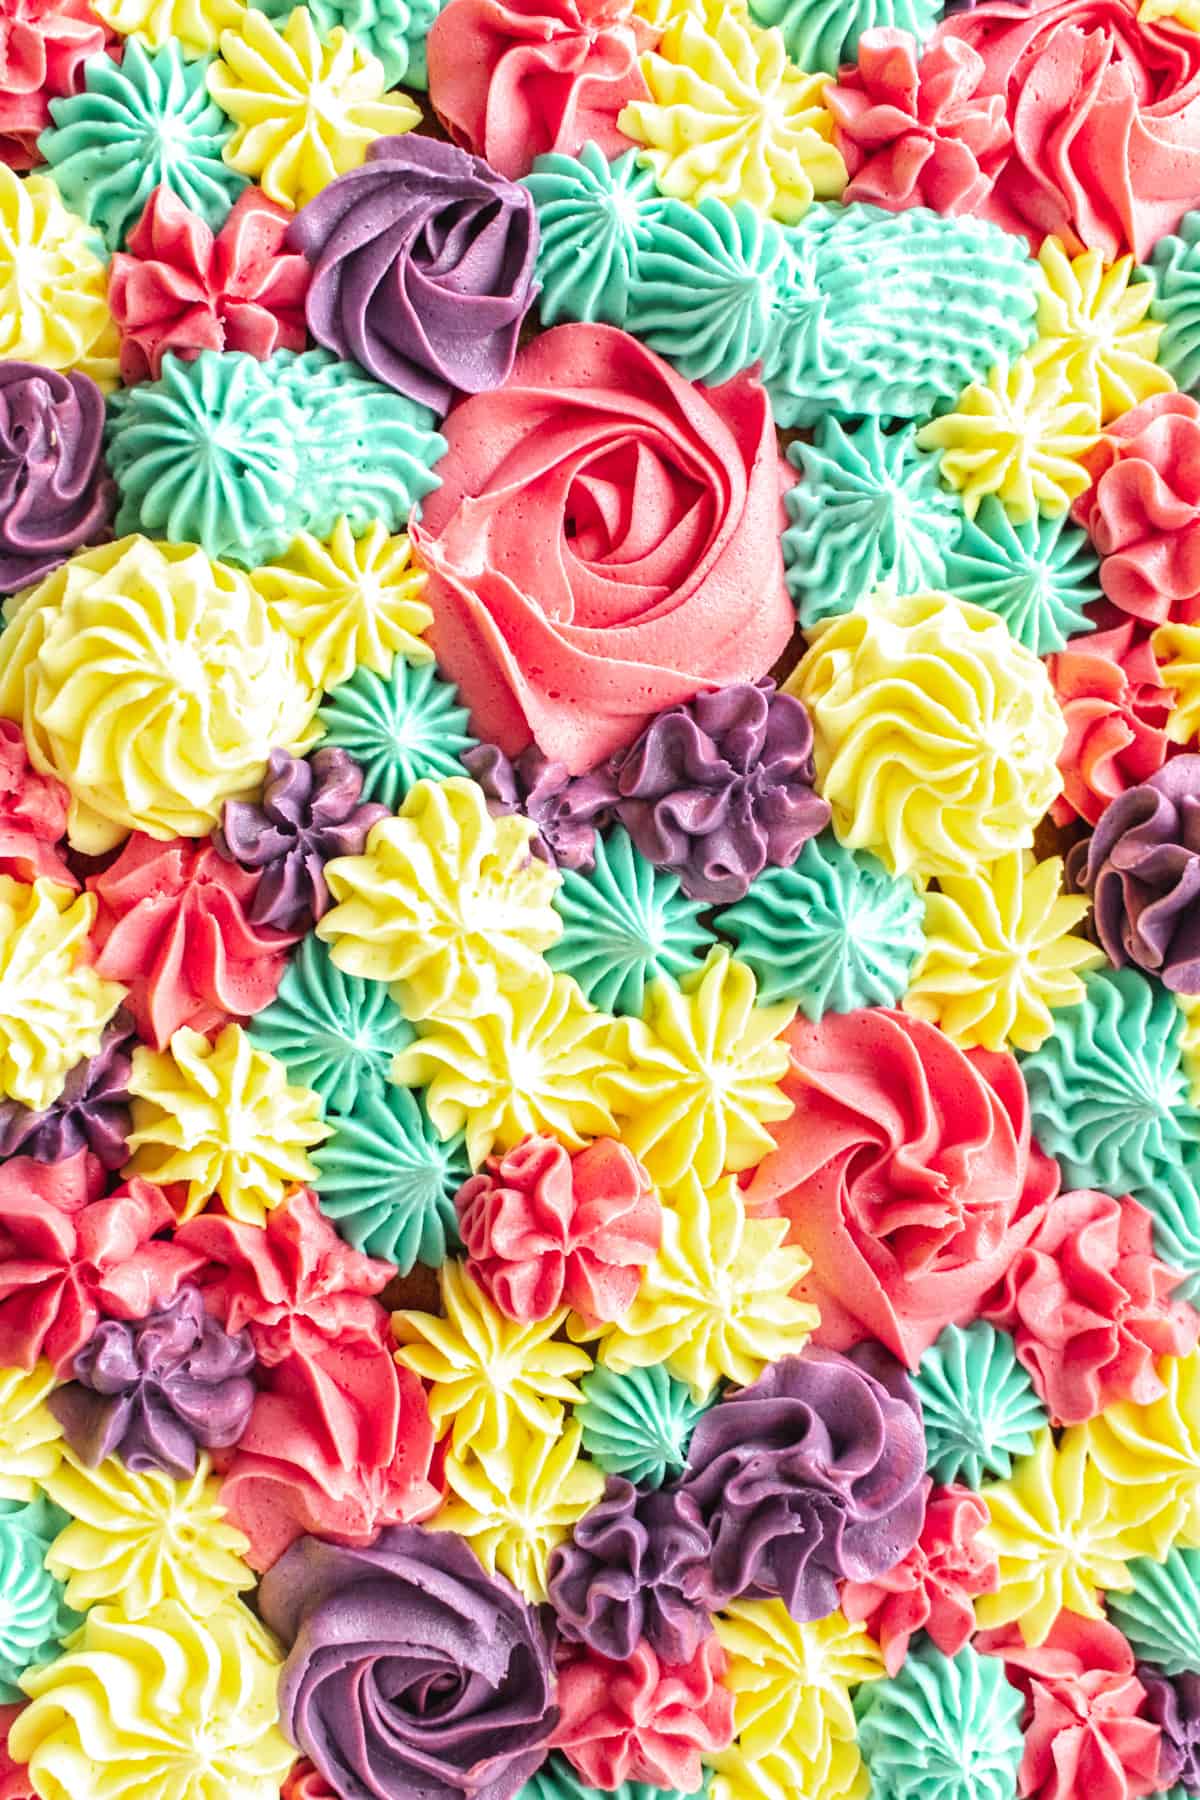
Assemble and Decorate
If you want to, you can now split the buttercream into equal amounts and colour; then pipe over the top of the cake using different types of piping nozzles.
I prefer to use ProGel food colouring gels, but Americolor gels create fantastic colours too! Food colouring gels are recommended as they are highly concentrated and will not alter the buttercream consistency.
Alternatively you can leave the buttercream uncoloured and either pipe over the top of the cake, or smooth it over with an offset spatula.
TOP TIP: If you want to go for a quick and easy design, smooth over one colour buttercream with a palette knife and scatter with sprinkles or sweeties.
Step by step live video
Frequently asked questions
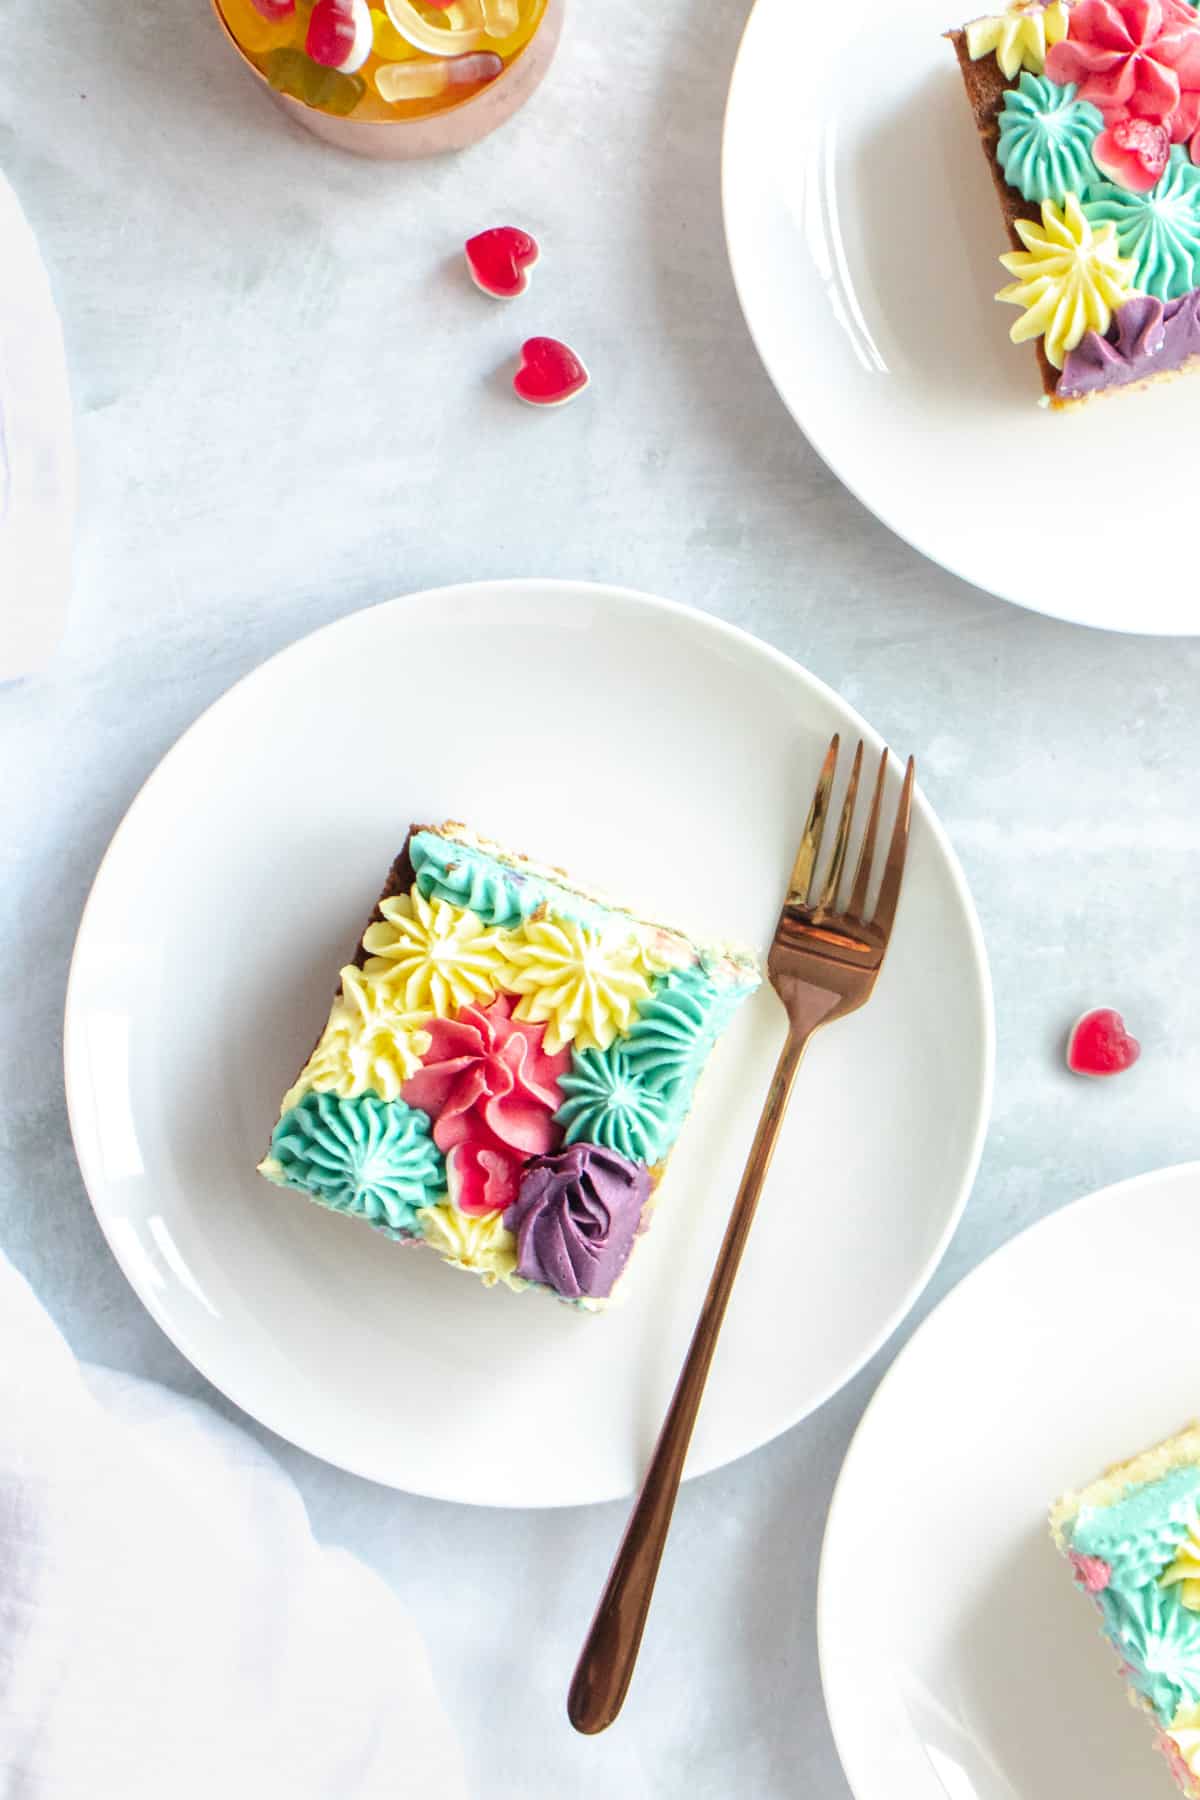
A 13×9 inch sheet pan will make about 24 slices.
Yes you can! Remember to allow the cake to fully cool, before wrapping it in cling film/ plastic wrap and keep at room temperature for 1-2 days. Ensure the cake is well wrapped, alternatively you can freeze the cake for up to 2 months.
The decorated cake should be kept in an air-tight container at room temperature.
The vanilla tray bake cake will keep for up to 3 days are room temperature.
Yes, the cake can be frozen for up to 2 months; either decorated or un-iced. Remember to defrost it thoroughly before eating or decorating.
If you have any leftover buttercream, keep it in an air-tight container in the fridge for up to 2 weeks or in the freezer for 3 motnhs.
No you don’t. If you want to go with a really easy decoration, smooth on the buttercream with a palette knife and scatter over sprinkles or sweeties. Check out my pinata cupcakes video for how to make rainbow buttercream.

Top tips for the fluffiest vanilla tray bake cake
- Use room temperature butter – To get that beautiful buttery taste and texture, make sure your butter is softened but not too soft. To test it, press a clean finger in the butter; it should leave an indent but not go all the way through.
- Coat your pan with cake release – The homemade release is perfect for greasing your sheet pan without it affecting the cake as it bakes. You can also line with baking parchment so it’s easy to lift out.
- Use baking powder and baking soda for lift – As we’re using plain flour, there is no added rising agent as with self-rising flour. Baking soda is stronger than baking powder, but we don’t want to add too much else you will get a slight metallic taste to your cake. To balance out the baking soda but still get the lift, use a combination of baking powder and baking soda to lift your cake and avoid a dense sponge.
- Whisk butter for buttercream – Start with room temperature butter for your buttercream, and whisk it with a handheld mixer or stand mixer with the balloon whisk attachment. Whisk for 3-5 minutes until the butter is pale, smooth and fluffy. This helps to incorporate air for a light and airy texture.
- Add double cream into buttercream – Adding double or heavy cream into the buttercream increases the lightness of the frosting, so it tastes soft and airy, rather than heavy and dense.
More tray bake recipes to try
If you liked this vanilla tray bake cake recipe here are some other recipes that I think you’d enjoy…


Vanilla Tray Bake Cake
Equipment
Ingredients
For the Sheet Cake
- 350 g Plain Flour or All Purpose Flour
- 300 g Caster Sugar or Superfine Sugar
- 1 tsp Baking Powder
- ½ tsp Baking Soda or Bicarb of Soda
- 230 g Butter Salted
- 240 ml Whole Milk
- 80 g Soured Cream or Natural Yogurt
- 1 tsp Vanilla Extract or Vanilla Bean Paste
- 3 Eggs Medium
For the Buttercream
- 250 g Butter Salted
- 500 g Icing Sugar or Powdered Sugar
- 1 tsp Vanilla Extract or Vanilla Bean Paste
- 80 ml Double Cream or Heavy Cream
Instructions
- To make the sheet cake: Preheat oven to 180C/350F and line a 13×9 inch sheet pan with baking paper. Alternatively, coat the pan with homemade cake release.
- In a large bowl or a stand mixer bowl, sieve together the flour, baking powder and baking soda, then add the caster sugar. Mix together until well combined.
- Add the butter to the flour mixture and beat with a handheld mixer until everything is well well-combined and the butter evenly distributed. Alternatively, you can use a stand mixer with the beater attachment.
- Add the vanilla extract and half of the milk. Beat the mixture again until the ingredients begin to form a thick batter.
- Add the remaining milk and the soured cream, and beat the ingredients again. They should be well combined into a runny cake batter.
- Add the eggs and whisk the batter on medium-high for approximately 3 minutes. The cake batter should be thick and frothy.
- Pour the cake batter into the lined sheet pan, and level if required using an offset spatula.
- Bake for 25-30 minutes until springy to touch and skewer inserted comes out clean. Allow the cake to cool in the tin for 10 minutes, then turn out onto a wire rack to cool.
- To make the buttercream: In a large bowl with a handheld mixer or stand mixer with the balloon attachment, whisk the butter until pale and creamy. This should take about 3-4 minutes on medium-heat.
- Add vanilla extract, and then the icing sugar, a tablespoon at a time, beating between each addition until smooth. If the frosting is too stiff, add a tbsp of whole milk and mix.
- Once all the icing sugar is combined, add the double cream into the buttercream mixture. Whisk on medium-high for 2-3 minutes to thicken the cream. The buttercream should be thick but easily spread using a palette knife.
- To assemble the cake: If you are transporting the cake and left it to cool in the pan, you can ice in the cake in place. If you have turned the cake out onto a wire rack, place the cake on a serving plate and then decorate.
- If you are decorating with multi-colour swirls, divide the buttercream into equal portions and colour with food coloring gels. Add into piping bags fixed with different nozzles and pipe over the top.
- Alternatively, spoon the buttercream on top of the cake, then using a palette knife, spread the buttercream evenly across the cake. You can add swirls with the palette knife for texture if you prefer. Sprinkle all over with sprinkles and sweeties.
Notes
- How many does this cake serve? A 13×9″ sheet pan will make about 24 slices.
- Can I make this cake ahead? Yes you can! Remember to allow the cake to fully cool, before wrapping it in cling film/ plastic wrap and keep at room temperature for 1-2 days. Ensure the cake is well wrapped, alternatively you can freeze the cake for up to 2 months.
- How to store this cake? The decorated cake should be kept in an air-tight container at room temperature.
- How long will the cake keep for? The vanilla tray bake cake will keep for up to 3 days are room temperature.
- Can you freeze this cake? Yes, the cake can be frozen for up to 2 months; either decorated or un-iced. Remember to defrost it thoroughly before eating or decorating.
Nutrition
DISCLAIMER
The nutritional information provided is approximate and is calculated using online tools. Information can vary depending on various factors, but we have endeavoured to be as accurate as possible.


I made this cake today. It’s 98% the same recipe as Sally’s Baking Addiction. Either way, it’s a very good recipe. Sponge was light and springy. I increased my batter by one third so I had more cake and used 1tbsp vanilla extract and a vanilla pod. I used the cake flour you recommended. Thank you.