
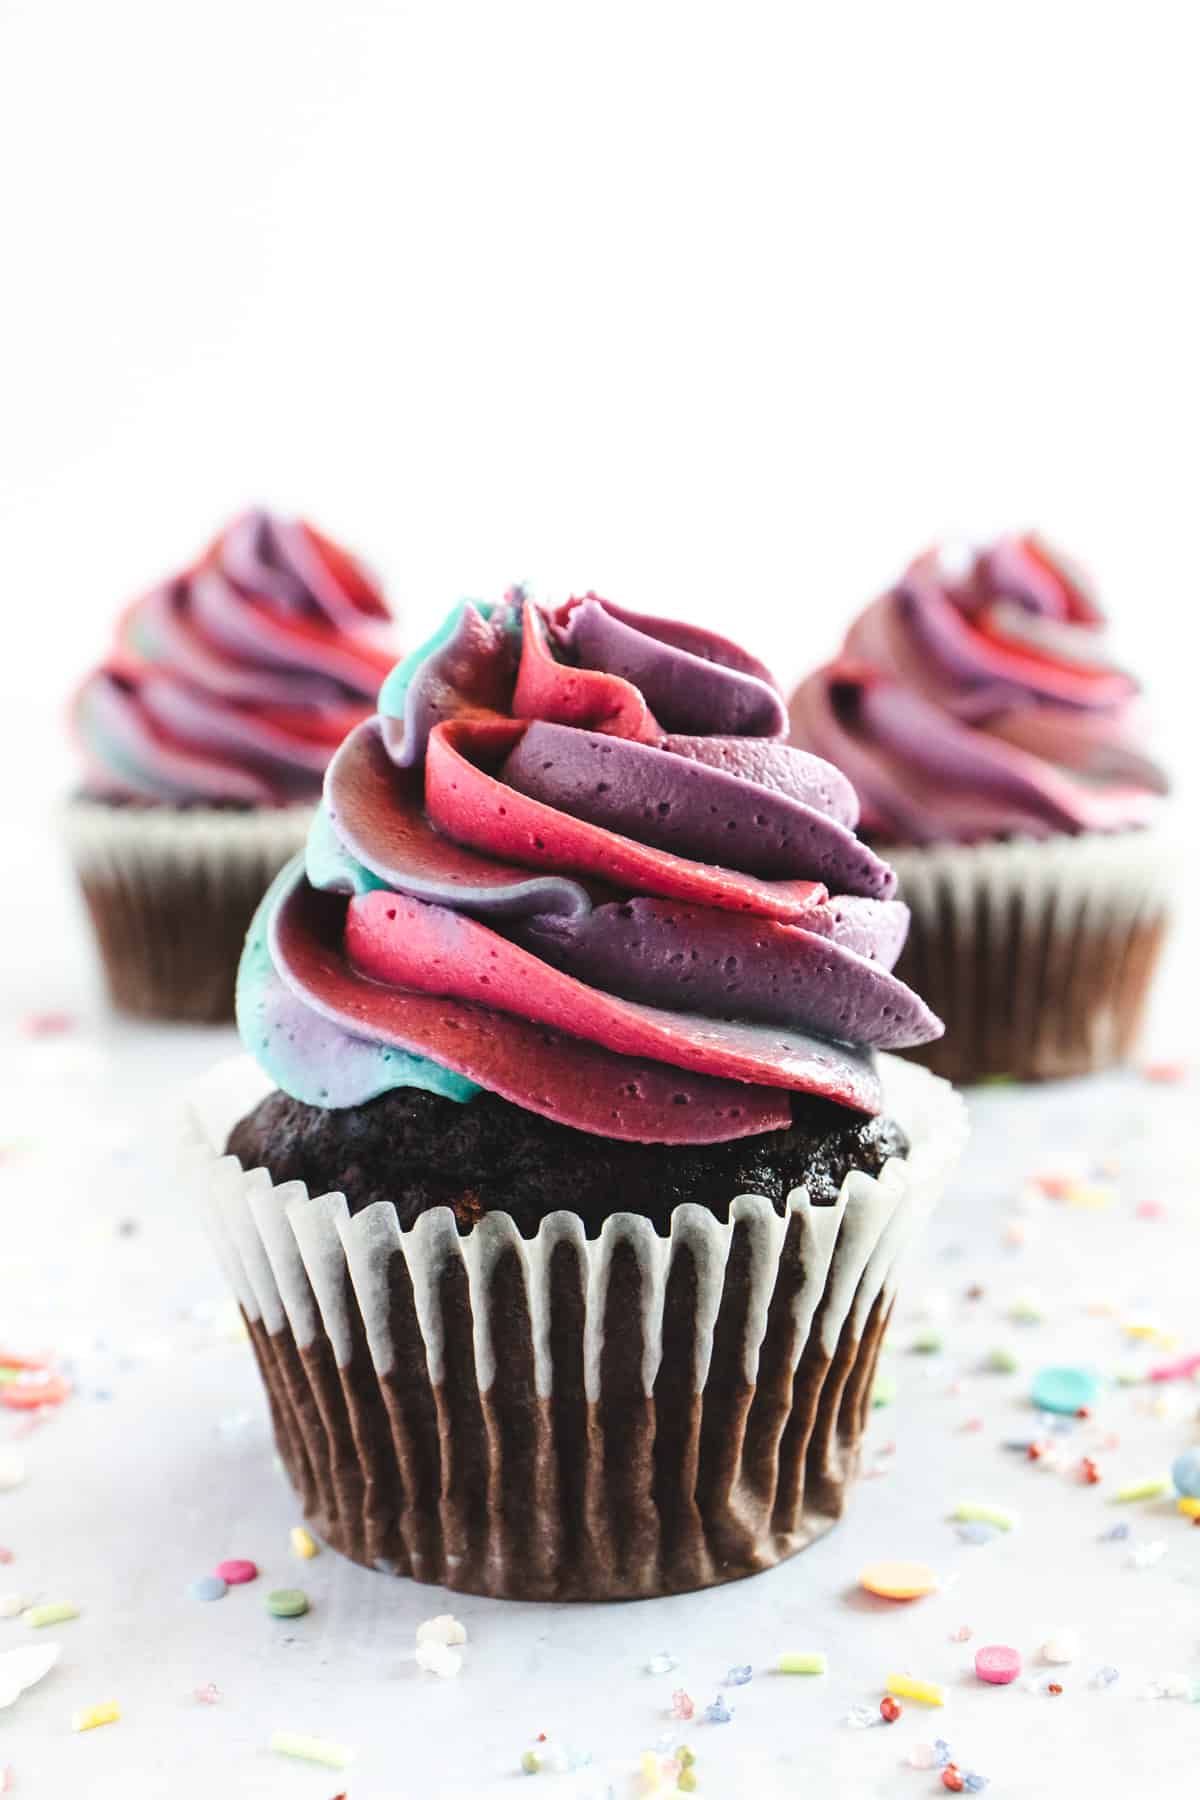
So simple to make, this rainbow piñata cupcake recipe makes twelve chocolate cupcakes, and is perfect for birthdays, baby showers and other celebrations. Add your favourite sprinkle mix or candy filling and top the cupcake with a beautiful, bright rainbow frosting swirl. The recipe can be easily doubled if you need more to go round.
Is there anything better than a vanilla and chocolate cupcake combo?
You can give me all sorts of fabulous flavours and fillings but if there’s vanilla chocolate on offer then I’m straight in there! And, there’s not much you can do to improve on perfection. Well… except to add a splash of extra colour and a hidden surprise inside!
Just think of all the celebrations that these rainbow piñata cupcakes would make an amazing centrepiece for; birthdays, weddings, congratulations or just because you deserve one.
How about switching around the buttercream colours and the sprinkles inside, and these would be perfect for a baby shower or reveal as well.
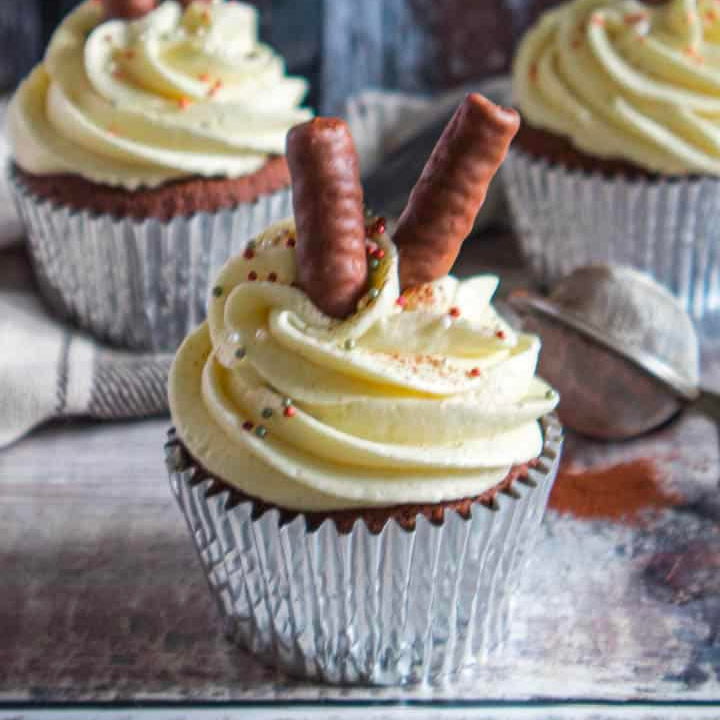
I just know you’re going to love these as much as I do; I mean just take a look at them!
Why you’ll love these rainbow piñata cupcakes
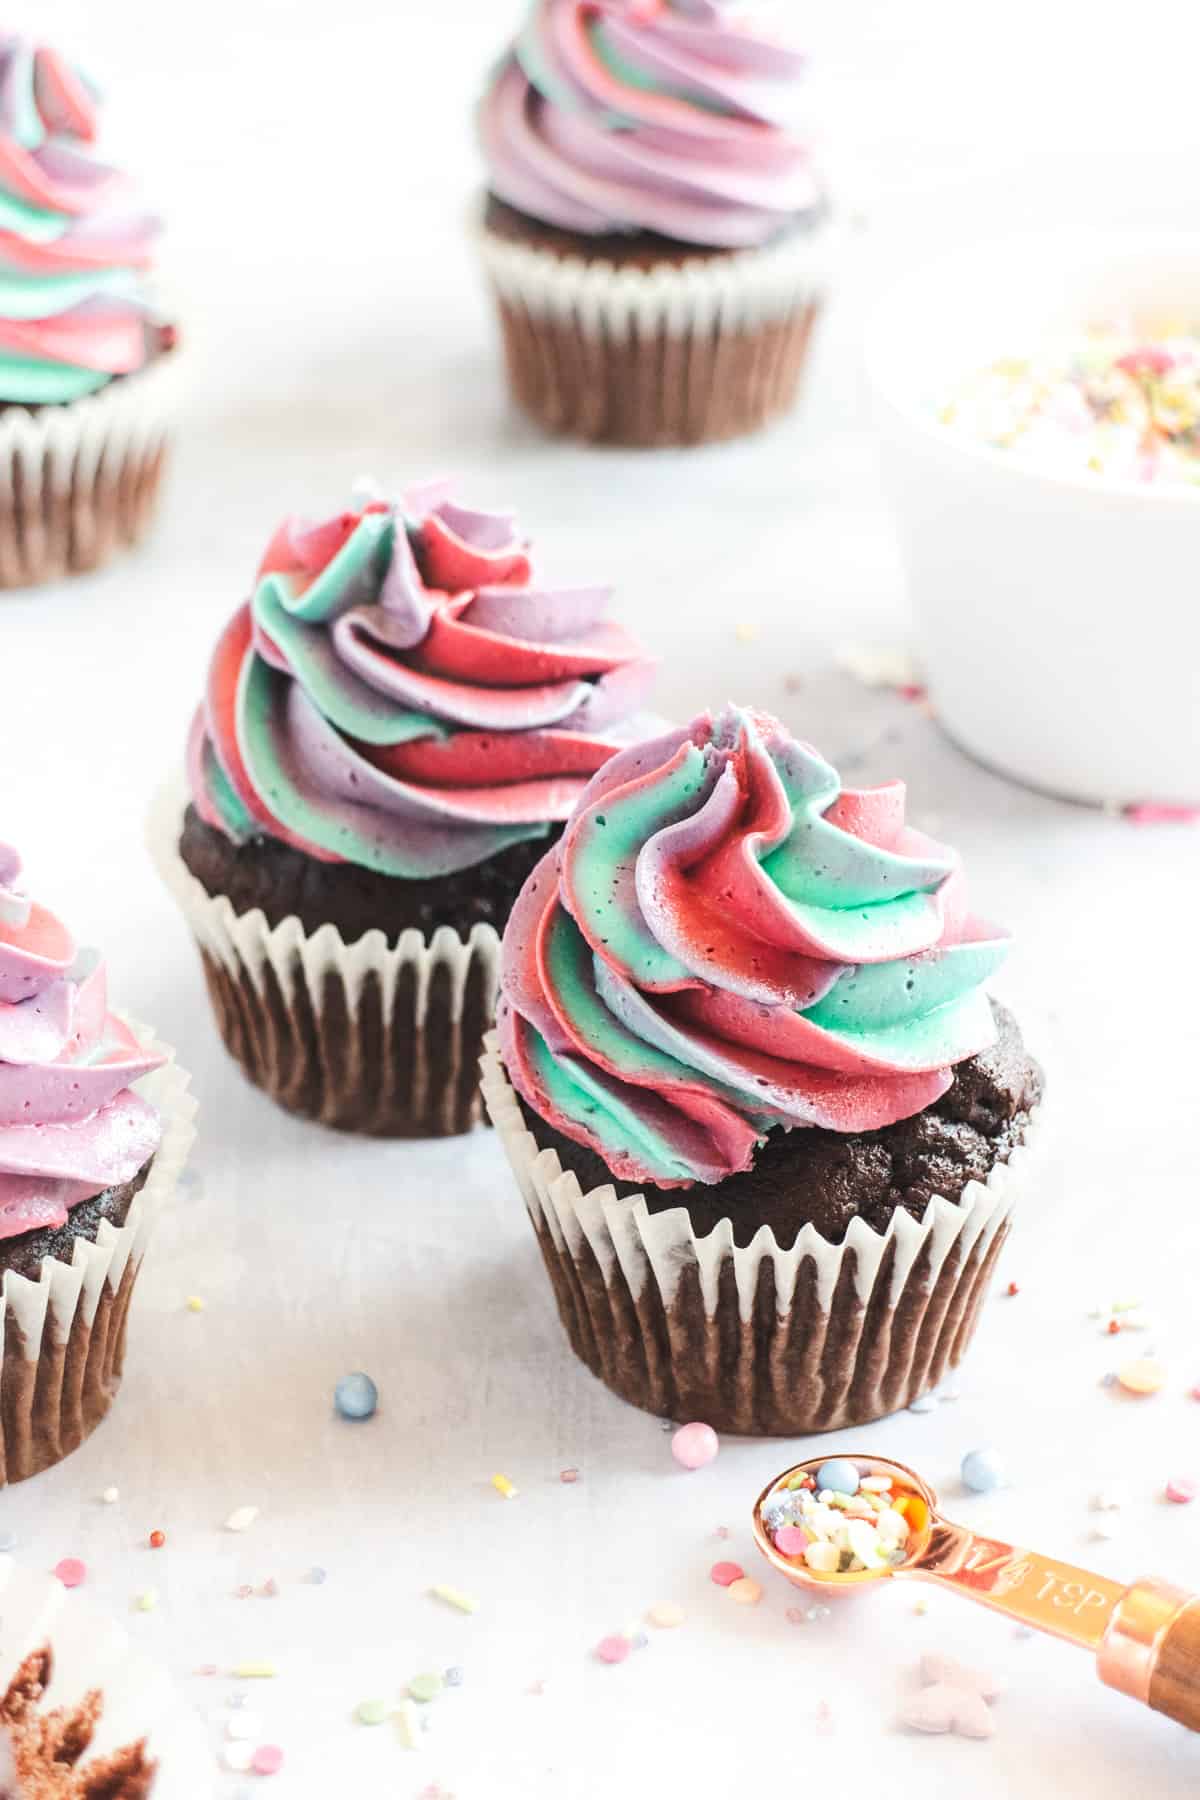
Bright and beautiful; you can’t help but smile; these rainbow cupcakes are going to delight everyone you share them with. But if you need a little extra persuasion…
- The best and easiest chocolate cupcake recipe
- Super-soft and fluffy with a rich chocolate flavour
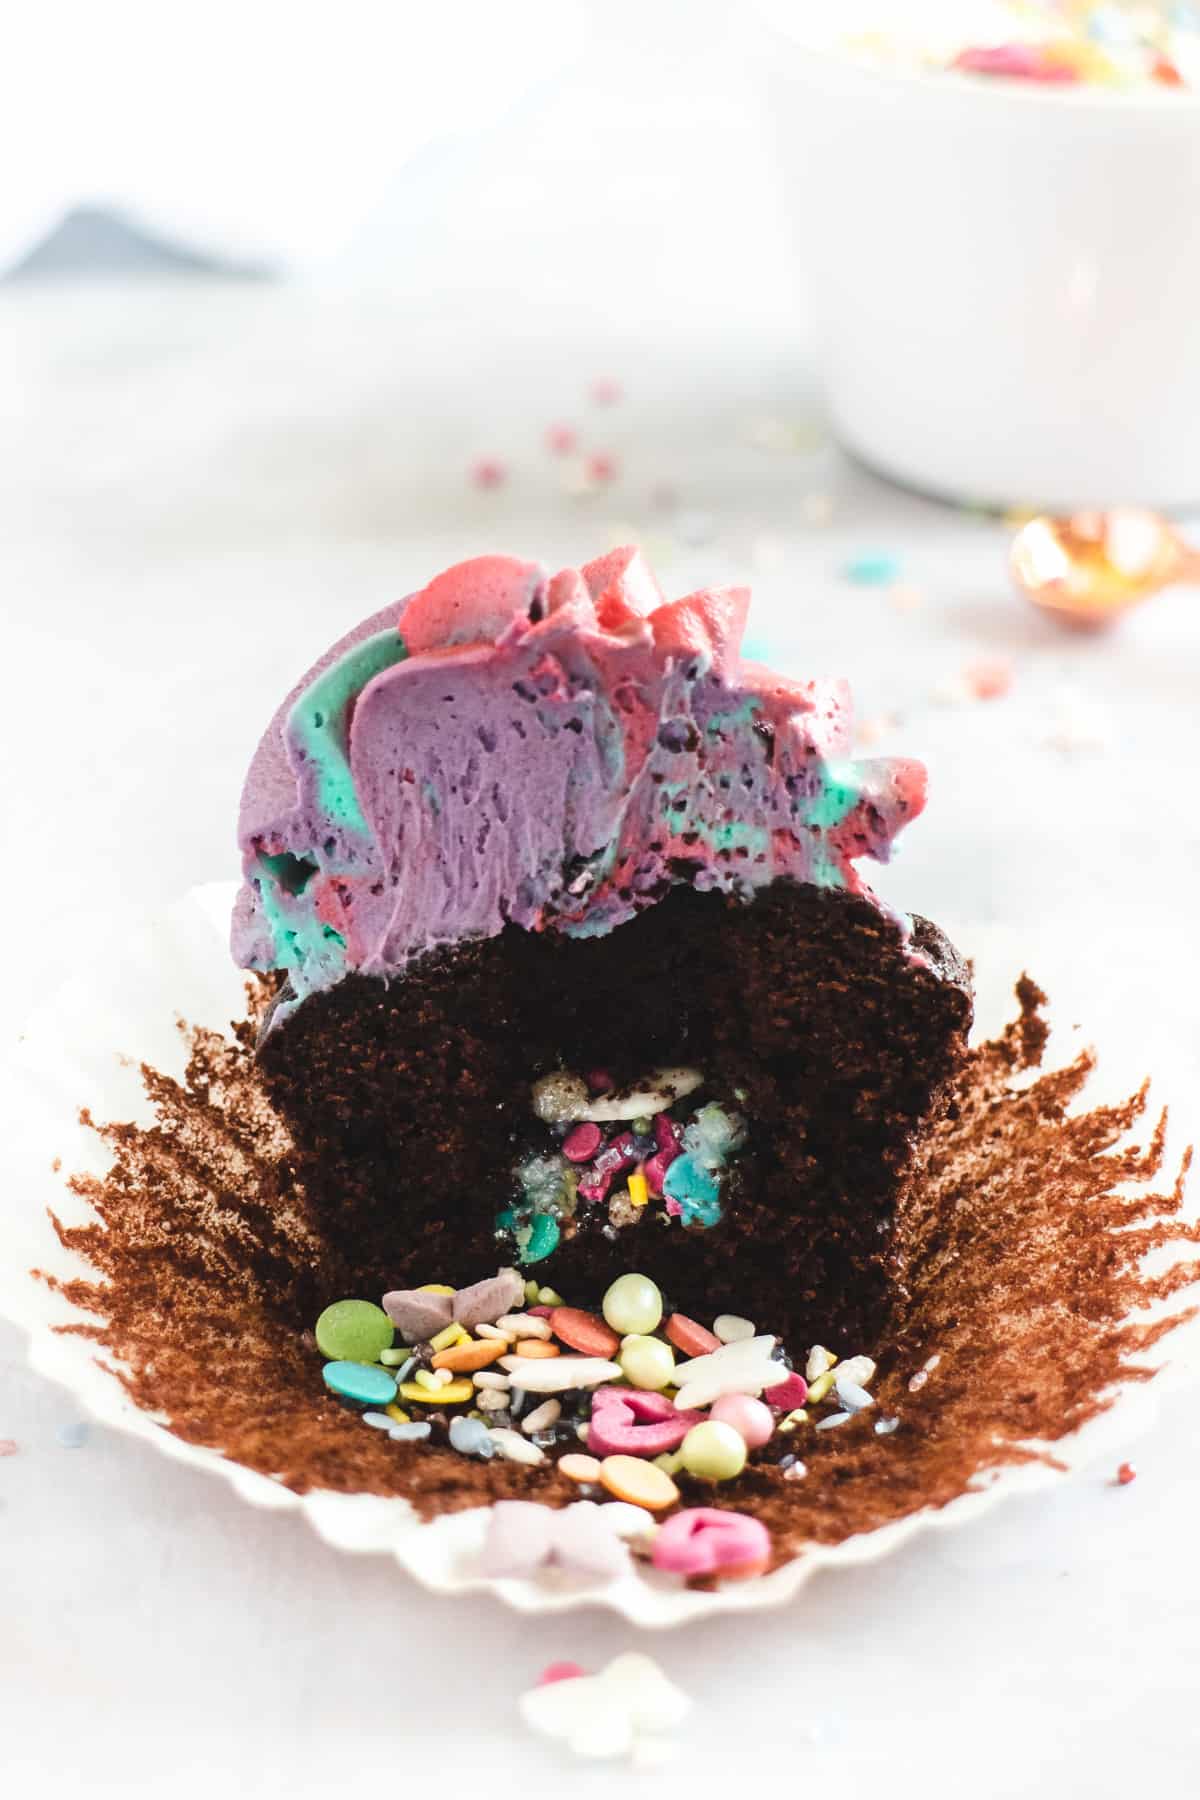
- Bright and colourful sprinkles that spill out when cut
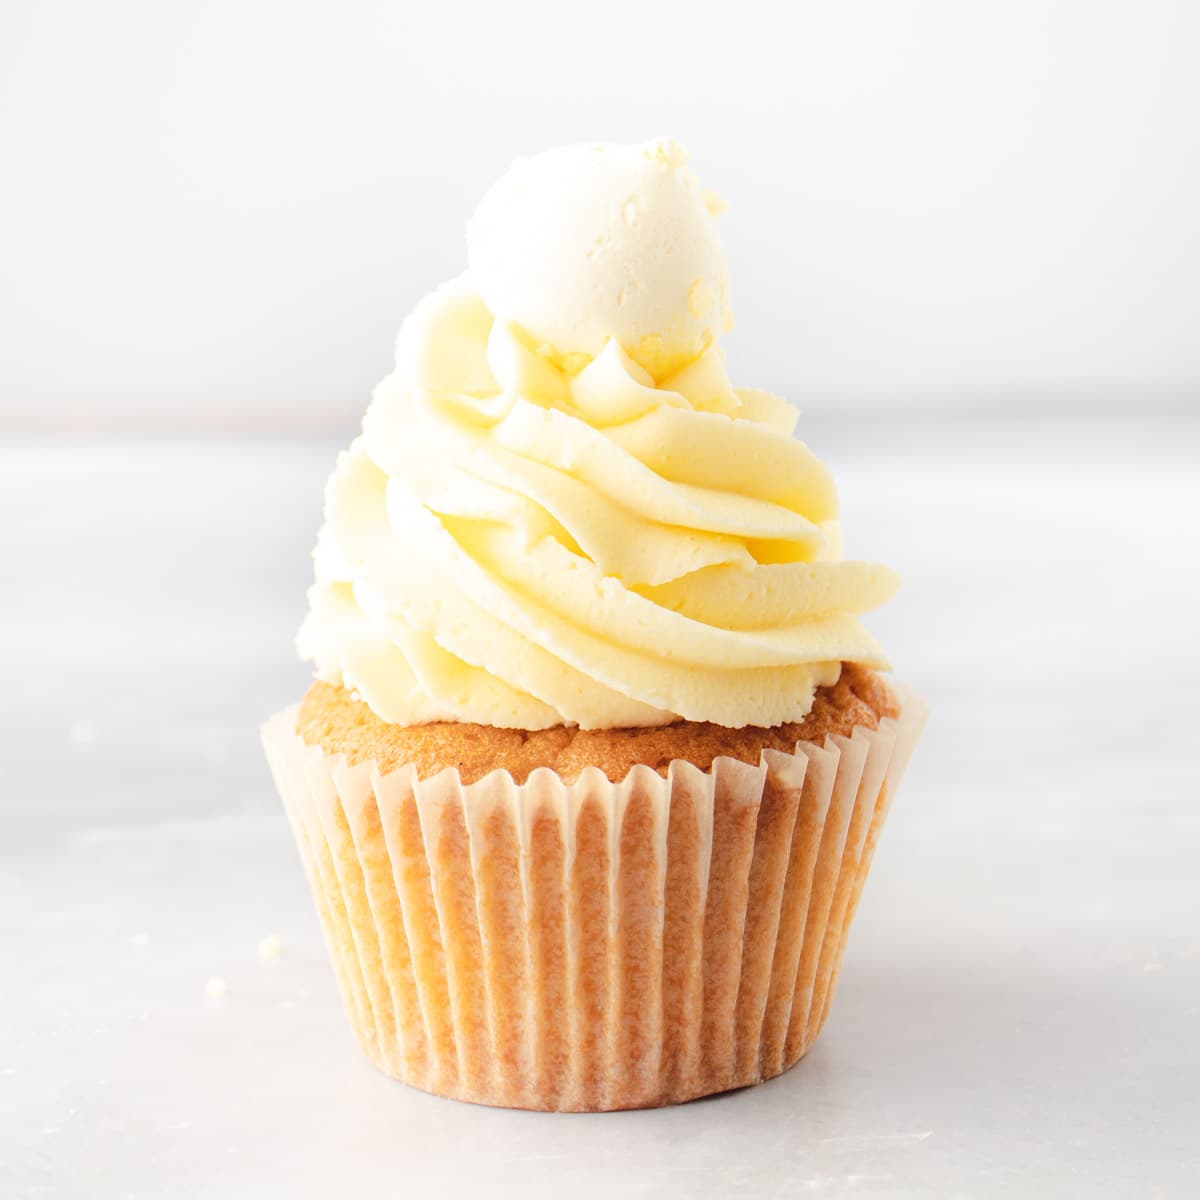
- Smooth and creamy no-fail vanilla buttercream
- Fabulous rainbow buttercream swirls perfect for all occasions
What you’ll need to make this recipe
Full measurements and instructions can be found on the printable recipe card
This recipe uses my most favourite chocolate cupcakes; it’s a great base for lots of ideas including my KitKat cupcakes, Baileys cupcakes or Chocolate Mocha cupcakes and my no-fail vanilla buttercream!
The Cupcake
I absolutely love how perfectly light and fluffy these come out, and they don’t compromise of chocolate flavour! Here’s what you’ll need:
- Butter – You can use either salted or unsalted butter with a pinch of flakey sea salt. Unsalted gives you more control of how much salt you have in your recipe. I do prefer to use a slightly salted; rather than add salt.
- Soft Light Brown Sugar – This really compliments the chocolate flavour and adds richness. The sugar is hygroscopic, which means it is able to absorb water, keeping the cupcakes light and moist.
- Soured Cream – Along with the sugar, soured cream will help get your cupcakes moist without compromising on flavour. Alternatively you can use natural yogurt instead.
- Eggs – Giving you lift and lightness to your cupcakes, but remember to take them out of the fridge before you want to use them; 15 minutes should be plenty of time.
- Self-Raising Flour – If you can’t find self-raising flour, you can use all-purpose flour. For every cup of flour add 1 1/2 teaspoons of baking powder with 1/4 teaspoon salt.
- Cocoa Powder – Regular or intense dark cocoa powder works well. If I want a really dark sponge, I’ll go for the intense powder, as I’ve used here. It does also give a deeper flavour that goes well with vanilla buttercream.
- Espresso Coffee – A shot of cooled espresso, really does intensify the chocolate flavour, and I promise you can’t taste it. But you can leave it out if you prefer.
- 1/2 tsp Baking Powder – Just for a little extra lightness, but don’t add any more otherwise your cupcakes will rise too much and sink when they come out of the oven.
- Sprinkles – Any colour, shape, design you fancy, or head on down to find out how to make your own sprinkle mix.
The Rainbow Buttercream
Just like the cupcakes, the buttercream is also another of my most favourite recipes. It’s a simple classic and is absolutely no-fail; I promise! And you’ll need just 3 simple ingredients…
- Icing Sugar – Also known as powdered or confectioner’s sugar. Make sure you sieve the icing sugar before adding get rid of any clumps of sugar.
- Butter – Again, either unsalted with a pinch of salt or slightly salted. Take the butter out of the fridge the night before you want to use it and it will soften up, ready to be whipped up.
- Vanilla Extract – Or you can use 1/2 teaspoon of vanilla bean paste. You can use vanilla essence, it will give you a vanilla flavour that might remind you of store-bought frostings.
- Food Colouring Gels – You’ll want to colour your buttercream to get a rainbow effect. Colour gels give a bright, vibrant colour without adding any extra liquid.
DON’T MISS: Head on down to watch step-by-step how to easily pipe rainbow frosting with no mess!
Recommended equipment


View my Amazon shopping list with equipment and ingredients.

Make your own sprinkle mix
Whether it’s piñata cupcake fillings or decorating buttercream cakes, fancy sprinkle mixes are all the rage! And while I love adding another colour palette mix to my every increasing hoard; they can be a bit on the expensive side.
But, making your own means you can match your own preferred colours and they are reasonably inexpensive.
For the rainbow piñata cupcakes, I have a large jar that I add odds and ends of leftover sprinkles to. I also have a couple of smaller jars that I use for specific colour blends. Just a few simple steps…
- Choose your colour palette – to complement your cake or celebration. Three colours work best together.
- Choose any shaped sprinkles – Look at the different shapes available in the bakery aisle at the supermarket, especially for seasonal styles. Again three different shapes work well together.
- Choose different sized sprinkles – Having different sizes creates interest, so include a range of at least three sizes.
- Mix together – Use a clean, dry jar and add the sprinkles. Add a lid and gently roll the jar to mix everything together.
TOP TIP: Save clean, empty jam jars and add any leftover sprinkle packets into them. Sort into different colour combinations for the best homemade sprinkle effects!

How to pipe perfect rainbow swirls
Rainbow buttercream swirls look so much fun, and certainly brighten up a celebration or just cake time! And believe it not, they’re so simple to make, here’s how and don’t forget to check out the step-by-step video:
- Colour the buttercream – Divide the buttercream equally between clean bowls and tint with your preferred colours.
- Fill piping bags with buttercream – Transfer each colour to their own piping bags with the tip snipped off.
- Pipe the coloured buttercream – Lay a sheet of plastic wrap or clingfilm on to a flat surface, and pipe 6-8 stripes of buttercream, about 1-inch thick, in alternating colours.
- Roll into a buttercream log – Using the clingfilm roll the buttercream into a roll. Twist one end of the clingfilm to seal, and cut off the opposite end.
- Place into a piping bag fitted with a nozzle – Place the clingfilm wrapped buttercream into a piping bag fitted with a round star nozzle. The open end of the buttercream roll should be towards the nozzle end of the piping bag.
- Pipe! – Gently pipe the buttercream onto the cupcakes into a classic swirl.
TOP TIP: Make sure you use a wide piping tip, such as a Wilton 2D nozzle so that you end up with a perfect swirl on top of your cupcake with lots of colours.
Step by Step video: Rainbow buttercream
Recommended colour gels


Frequently asked questions
For this recipe, I use vanilla buttercream; but you can use any flavour you prefer. Remember, that if you are colouring the buttercream, adding chocolate or coffee may effect the colour intensity.
The recipe makes between 12-16 cupcakes, depending on how full you fill the cupcake liners.
The cupcakes are best kept in an air-tight container at room temperature.
The cupcakes will keep fresh for up to 3 days.
You can freeze the un-iced cupcakes in a sealed freezer bag for up to 1 month. Remember to defrost thoroughly before eating.
If you have any buttercream leftover, pop it in a sealed container in the fridge for up to 2 weeks, or the freezer for 3 months.
I prefer to use ProGel food colouring gels, but Americolor gels create fantastic colours too! Food colouring gels are recommended as they are highly concentrated and will not alter the buttercream consistency.

Handy hints for the best piñata cupcakes
- Use an ice cream scoop for even cupcakes – To get your cupcakes all the same size, try an ice cream scoop for dividing the batter into the liners. You will need about 1 scoop per liner; about 3/4s full.
- Use an apple corer for removing the cupcake centre – The best way to core out the centre of a cupcake to add a filling. Keep the cored cupcake and pop it back in the top of the cake, or they’re baker’s offcuts perfect for taste testing.
- Turn your tray halfway through – What you are looking for is nicely domed cakes with an even chocolate colour across the top. If you find some are cooking faster than others, turn the cupcake tray. My oven is hotter in the back left so I turn them halfway through the baking time.
- Test your baked cupcakes – Check the cupcakes are baked by gently pushing a toothpick into the centre; if it comes out clean, they’re ready. If there is cake batter on the toothpick, pop them back in for a few more minutes. Alternatively, gently press the cupcakes with your fingers – if the cake springs back it’s ready. If you leave an indentation back in they go.

More filled cupcakes recipes to try
If you liked these rainbow piñata cupcakes here are some other recipes that I think you’d enjoy…


Rainbow Piñata Cupcakes
Equipment
- Round Star Nozzle
Ingredients
For the Cupcakes
- 75 g 70% Dark Chocolate
- 200 g Butter Softened
- 200 g Light Soft Brown Sugar
- 25 ml Soured Cream or Natural Yogurt
- 4 Eggs Medium
- 20 ml Espresso Coffee Cooled
- 200 g Self Raising Flour or All-Purpose Flour with 1 teaspoon Baking Powder
- 50 g Cocoa Powder
- 1 tsp Baking Powder
- Sprinkle Mix
For the Rainbow Buttercream
- 250 g Butter Softened
- 500 g Icing Sugar or Powdered Sugar
- 1 tsp Vanilla Extract or Vanilla Bean Paste
- Pink Food Colouring Gel
- Purple Food Colouring Gel
- Aqua Food Colouring Gel
Instructions
- To make the cupcakes: Preheat oven to 180C/350F and line a deep muffin tray with cupcake cases.
- Add the chocolate to a small heatproof bowl, place over a saucepan of simmering water. Make sure that the bowl does not touch the water. Heat until all the chocolate has melted. Alternatively, melt in the microwave. Set aside to cool.
- Using a stand mixer with the paddle attachment, beat the butter until softened. Alternatively, you can make the cake batter, in a large mixing bowl, by hand or with an electric hand whisk.
- Add the sugar to the softened butter and cream until light and fluffy. Add the soured cream and mix through.
- Add the eggs, one at a time, to the creamed mixture. Beat well between adding each egg.
- Add the cooled espresso coffee, and mix until well combined.
- Sift the flour, cocoa powder and baking powder together, and add to the mixture. Gently mix together until the cake batter is soft and smooth. Add the melted chocolate and mix through the batter until fully combined.
- Use an ice cream scoop to divide the batter between the cupcake cases, approximately 1 scoop per case.
- Bake for 18-20 minutes, or until a toothpick inserted comes out clean. Leave to cool on a wire rack.
- To make the rainbow buttercream: In a large bowl or stand mixer, beat the butter for approximately 5 minutes until soft and pale. Add half of the icing sugar and beat until smooth.
- Add the remaining icing sugar and beat again, making sure the buttercream is smooth.
- Add the vanilla extract and mix through. If the buttercream feels too stiff, add milk, a tablespoon at a time, and beat through until the buttercream feels smooth.
- To fill the cupcakes: Use an apple corer to remove the centre of the cupcake and fill with the sprinkle mix. Make sure to only go halfway down the cupcake, otherwise the sprinkles will fall out the bottom from the cupcake liner is removed.
- To pipe the rainbow swirls: Divide the buttercream into 3 bowls of equal quantities and colour using the food colouring gel.
- Fill three piping bags without piping nozzles, with the coloured buttercream, and snip off the ends.
- Lay a sheet of plastic wrap or clingfilm onto the work surface, and pipe 6-8 stripes of buttercream in alternating colours. Then using the clingfilm to help, roll the buttercream into a roll. Twist one end of the clingfilm to seal, and cut off the opposite end.
- Place the clingfilm wrapped buttercream into a piping bag fitted with a round star nozzle. The open end of the buttercream roll should be towards the nozzle end of the piping bag.
- Gently pip the buttercream onto the cupcakes into a classic swirl. Decorate with any leftover sprinkles.
Notes
- The cupcakes are best kept in an air-tight container at room temperature.
- The cupcakes will keep fresh for up to 3 days.
- You can freeze the un-iced cupcakes in a sealed freezer bag for up to 1 month. Remember to defrost thoroughly before eating.
- If you have any buttercream leftover, pop it in a sealed container in the fridge for up to 2 weeks, or the freezer for 3 months.
Nutrition
DISCLAIMER
The nutritional information provided is approximate and is calculated using online tools. Information can vary depending on various factors, but we have endeavoured to be as accurate as possible.

