
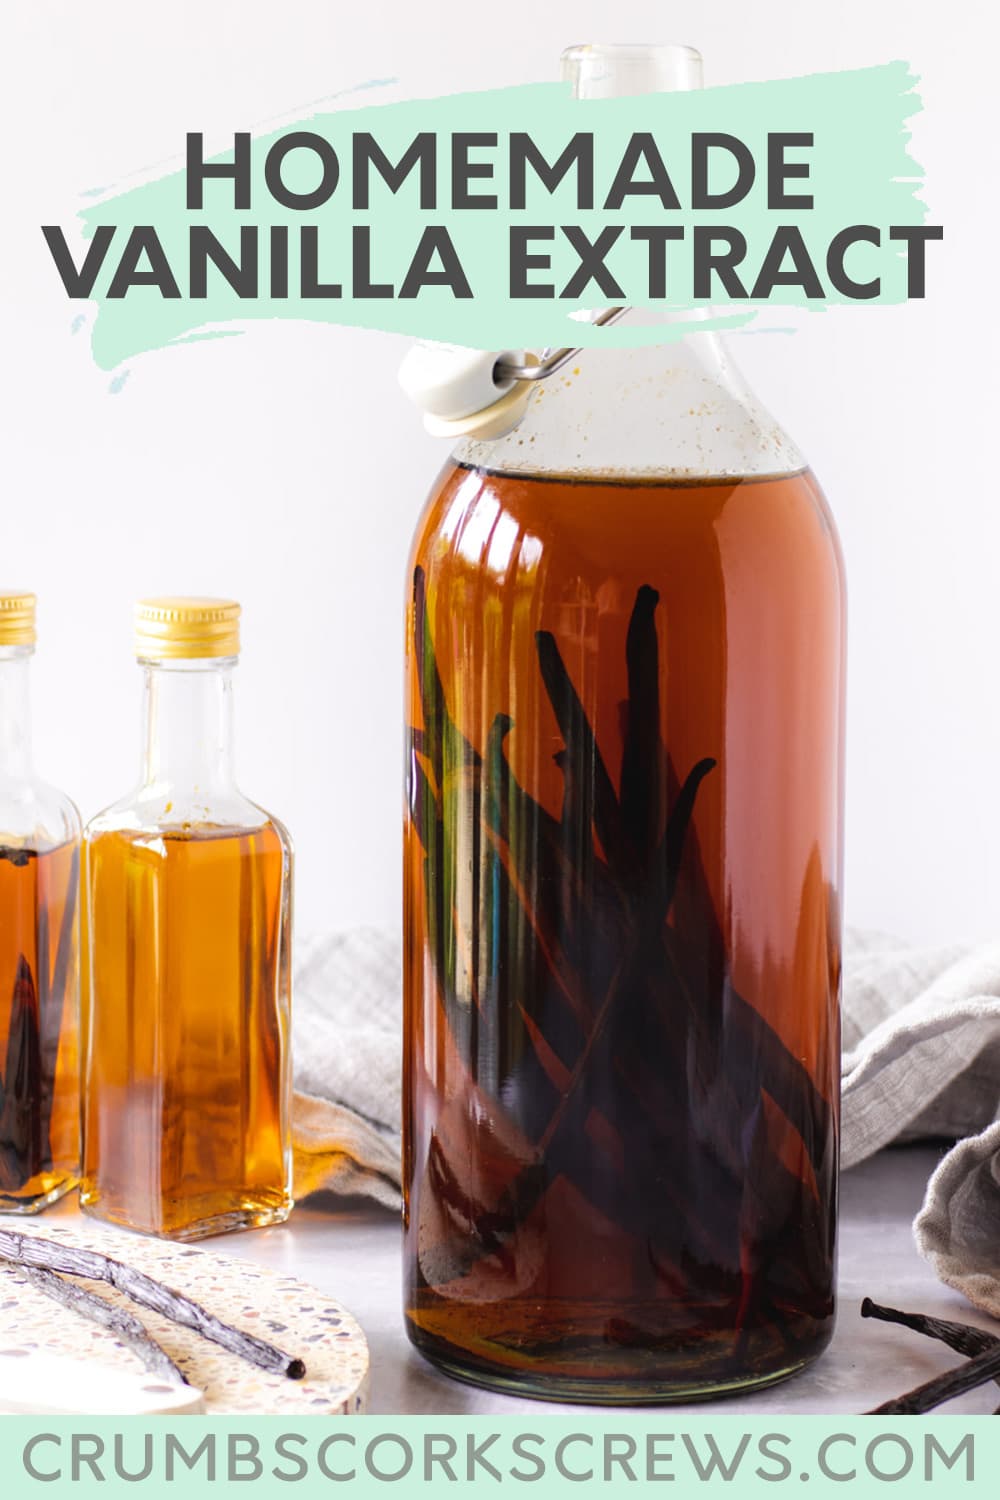
Just two ingredients and five minutes is all you need to make your own baking secret ingredient, homemade vanilla extract! A total cost and time saver, it’s super easy to make and more flavourful. And as it never expires, you’ll have plenty to use in cakes, bakes, cookies and so much more!


Lou’s recipe overview
SKILL: Beginner
TASTE: Warm, rich and sweet vanilla
PROS: One batch will last ages, and it gets better
CONS: Absolutely none!
Vanilla as a flavour in baking gets a pretty bad wrap in my opinion. How many times do you hear it called ‘just plain’?
Hold up…
Vanilla is anything but plain! It’s one of my most favourite flavours; it’s rich, sweet and warm, and it’s an important ingredient in so many of my recipes. Just one teaspoon can bring a whole new flavour, bring out others and just generally make things taste a-maze-ing!
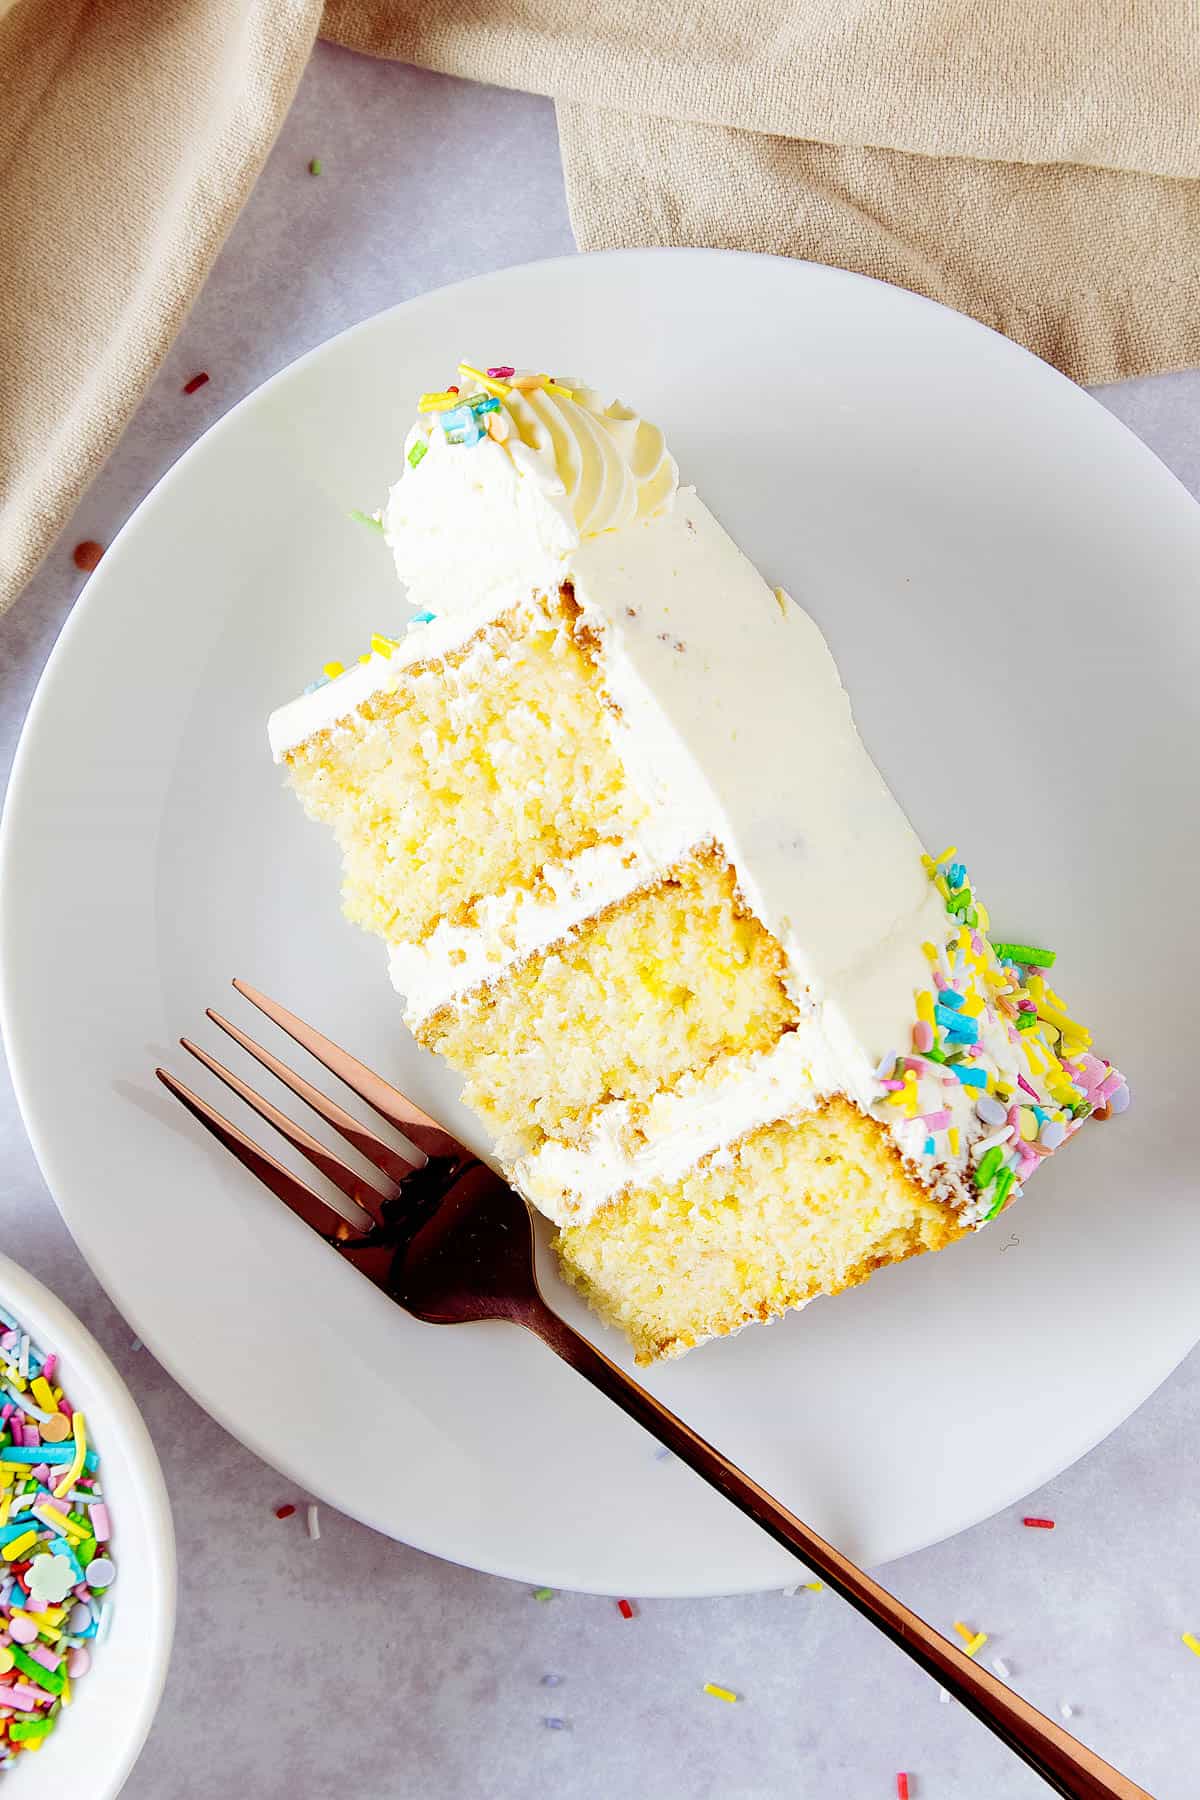
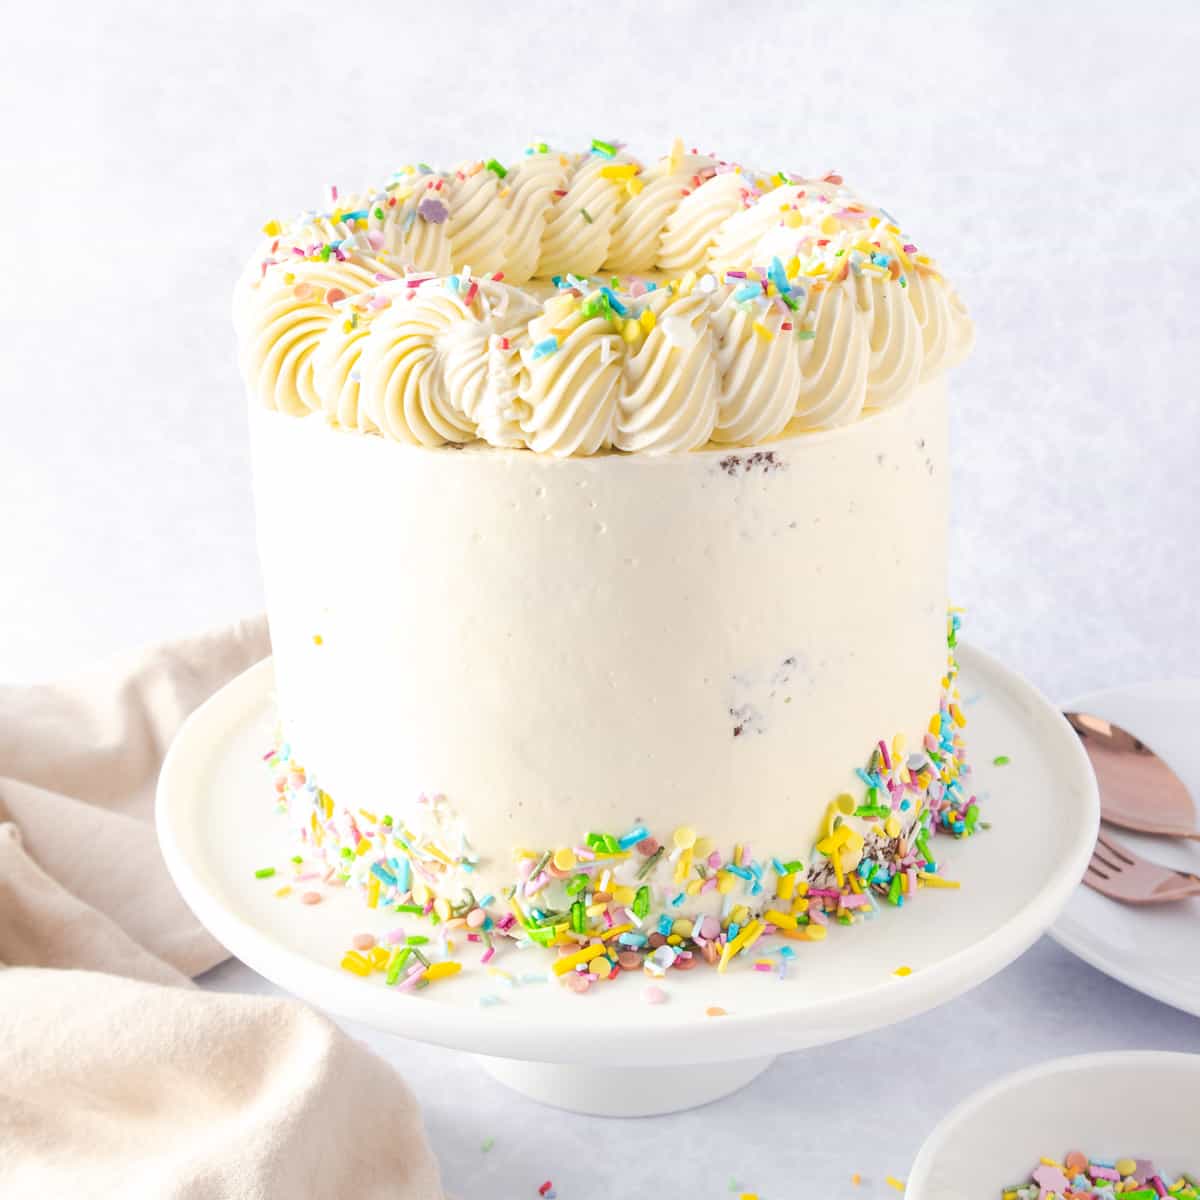
Think about it, is there anything more satisfying than a light, fluffy vanilla cake with creamy vanilla buttercream?

Skip the essential recipe information and tips for making your own homemade vanilla extract, and head to the recipe card.
Do you buy your vanilla from the store?
Just stand in the baking aisle of any supermarket and you’ll be faced with an array of various vanilla products from beans to paste, extracts, essences, and even vanilla powder.
All of them will bring vanilla to your recipes but there’s one that I can’t live without… vanilla extract. And even then there are so many to choose from.
But wait… did you know that you can make your own vanilla extract and it is super simple?
I know I say all my recipes are easy, but homemade vanilla extract is genuinely the most simple thing to make. Not only will you be able to use it in all your bakes; it also tastes so good and it’s a total cost-saver as well!

What is vanilla extract
Before we get going, it’s important to know the difference between vanilla extract and vanilla essence. They are so often mistaken for being the same thing, and while both of them will add vanilla into your recipes, they are actually quite different.
The easiest way is to explain is to take a look at vanilla essence; it’s synthetic which means it’s not actually vanilla just vanilla flavour. It’s therefore cheaper to make and buy, especially if you’re on a tight budget. But, it doesn’t taste as vanilla-y as extract.
On the other hand, vanilla extract is natural! So that means its…
- A true, natural vanilla flavour
- Free from any artificial ingredients
- Really easy to make at home
- Cost-saving in the long run
Open up a bottle of vanilla extract and just smell that sweet and warm aroma…that’s why I prefer to use vanilla extract!
TOP TIP: Go for making a big batch of vanilla extract, at least 1 litre; you’ll get better value for money and offers on bulk buy vanilla pods
Why you should make your own
So I know you’re sat there thinking, if I can buy extract easily in the supermarket why would I make my own. Well, you’re right, why would you?
Although go back to the baking aisle and notice how much a small bottle of extract actually is?
If you’re in the UK, it’s about £5.00 (roughly $7.00) or more for 60ml; and if you’re looking for the really good stuff you can pay £15.00 upwards; that’s over $20!
Yes, it’s true vanilla pods are expensive and the price can vary depending on the quality grade. However, when you buy from the supermarket what you are really paying for is the convenience of the extract being bottled and ready to go
Yet if you buy yourself a bundle of vanilla pods for the same price as a high quality readymade bottle, you can make at least 1 litre of extract. That’s about 16 bottles from the supermarket; think how much you could save!
And not only that, your own homemade vanilla extract will last you for years, ageing and maturing all the time; smelling and tasting SO good.
What you’ll need to make vanilla extract
View my Amazon shopping list with equipment and ingredients
The Ingredients
This honestly is the simplest recipe ever and you really only need two ingredients to make your extract! So go and grab…
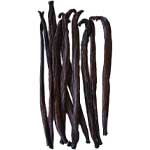
- Vanilla Pods – I really recommend buying your vanilla pods online as you will get bulk buy deals that you can’t get in the supermarket. For extracts, you want to go with Grade B pods for the best flavour and aroma. Most store brought extracts are called ‘single-fold’ which give a weaker flavour and colour, so don’t skimp on the number you use. We’re going for a ‘double-fold’ recipe here, meaning just that – we’re using double the number of pods.
TOP TIP: For ‘double-fold’ vanilla extract, use 4-5 pods per 250ml of alcohol; or up to 20 pods for 1 litre.
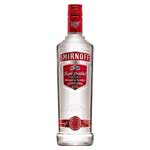
- Vodka – The most common alcohol used is vodka as it helps preserve the extract and gives it a longer shelf life. It’s also clear and flavourless, so you will get that real vanilla flavour coming through. I’m making a large batch of extract and using 1 litre of store own brand vodka; there’s no need to splash our of expensive premium vodka, unless you really want to.
- Glyercin – If you do not want to use alcohol for any reason, then you can make your extract in exactly the same way using liquid vegetable glycerin instead.
Recommended ingredients

The Equipment
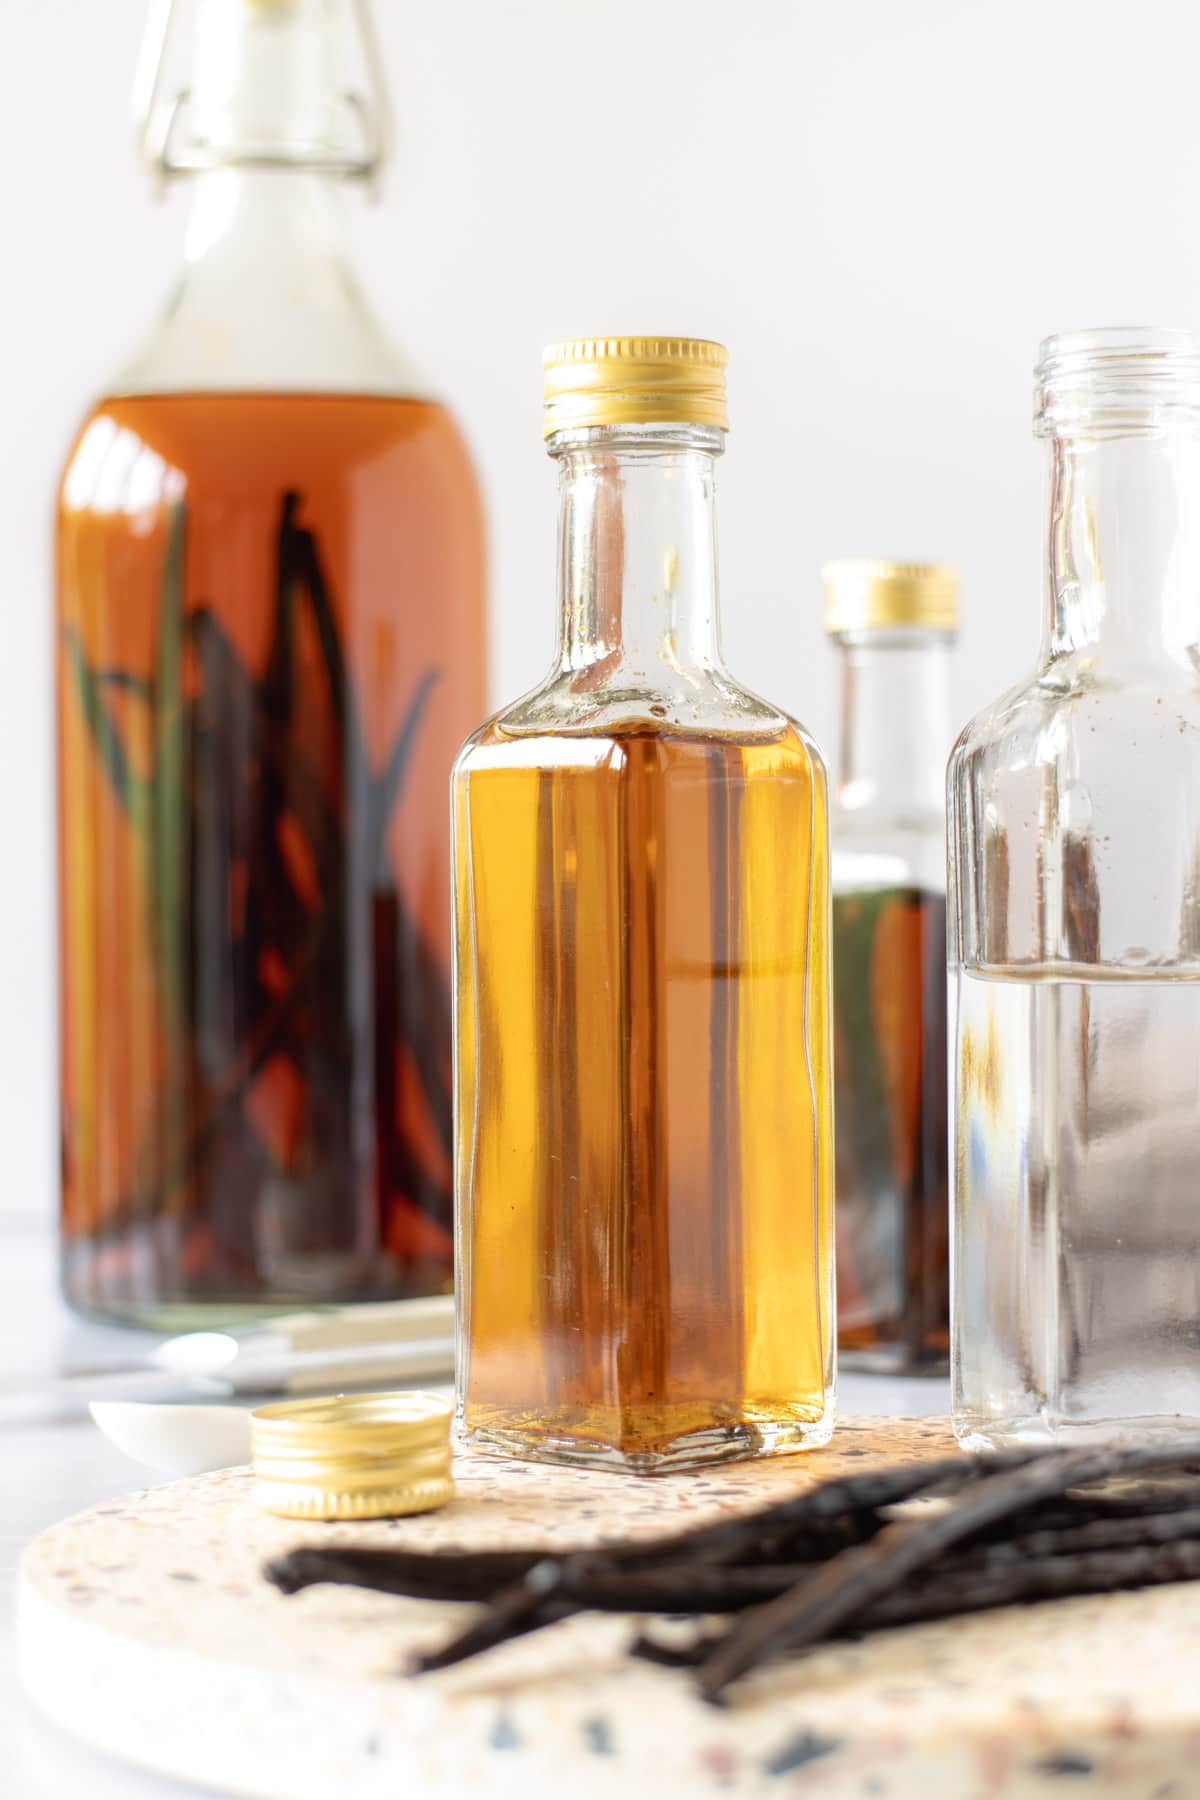
Literally the only thing you’ll need equipment-wise is something to store your vanilla extract in. You could make and store it directly in the bottle of vodka or in smaller bottles.
I prefer to mature my vanilla in a larger bottle and decant off what I need into a smaller bottle that’s easily kept in my baking cupboard.
I really recommend either:
- Swing top bottles – These hold about 100ml and are absolutely ideal for using everyday or if you’re gifting your extract to friends or family
- Small sauce bottles – These tend to hold a little more, about 150ml, and have a screw-top. There are just as good as the swing top bottles, its all down to personal preference.

What vanilla pods should I use?
Pop vanilla pods into Google and your search results will come back with so many different varieties and ‘grades’. Let’s talk variety first…
You’ll find the most common varieties available are Madagascan, Tahitian and Mexican; with Madagascar vanilla pods being the most popular. Whichever you decide to use will be a personal preference; they will all work for making extract they just have slightly different flavours. I prefer the rich and creamy flavour of Madagascan bean pods.
In terms of grade, this is determined by the length and condition of the pod, and the moisture content which is the most important factor. You’ll generally find beans either as Grade A and Grade B
- Grade A – Are soft and plump with a high moisture content; these are best used for cooking and scraping out the beans
- Grade B – Lower moisture content and appear drier; these are best used for extract as when rehydrated the vanilla is more concentrated so you get more flavour
TOP TIP: Use Grade B pods for extract, not only do they give a great flavour then are usually cheaper as well
What alcohol should I use?
Most homemade extracts are made with alcohol, it preserves the vanilla and prolongs the shelf-life.
Ideally, you want to use an alcohol that is at least 80% proof. I tend to use unflavoured vodka for my extracts, but you could use a bourbon, rum or even brandy for a touch of spice.
TOP TIP: Don’t worry about using expensive alcohol unless you prefer too, store-brand versions are just as good and significantly cheaper. For those of you in the UK, I use a supermarket own brand Premium Vodka.

How to make vanilla extract
Full measurements and instructions can be found on the printable recipe card at the bottom of the page
So this is a 2-step, 2-ingredient recipe and there really is absolutely no faff here. Just follow these easy steps and you’ll soon have your own homemade vanilla extract on its way!
- Add the vanilla pods into a clean, sterilised bottle
- Pour in the vodka so the pods are completely covered and seal the bottle
- Seal the bottle and store in a cool, dark cupboard for at least 6 weeks until ready to use
NOTE: You may see some recipes suggesting splitting the vanilla pods before adding them to the alcohol. This will speed up the extract making and give you a deeper colour, but you will loose the beans when you use the extract. I prefer to use the pods un-split and have a longer seep.
I told you it was super simple! Now check out the Kitchen Live video for all my recipe hints…
Step by step live video
Can I make vanilla extract without alcohol?
Yes you can!
Alcohol is mainly used as it is the best way to extract the flavour from the vanilla pods. However, there are many reasons why you would want to make an alcohol-free extract.
For those of you that prefer not to use alcohol, you can substitute this with liquid vegetable glycerin instead. You’ll find it in either the baking or healthcare aisle in the supermarket.
How to store your vanilla extract
When you’ve got you vanilla extract set up, the extraction process will take some time; so a little patience is all you need now.
In the meantime find a place to store your bottle – it should be cool and dark; the best place is safely in a kitchen cupboard. Now I know it’s tempting to keep checking in on your extract but it really does need to be left alone to do its thing!
The extract will take about 6-8 weeks to start being ready to use, but the longer you leave the richer and creamier the extract will get. I left this one for at least 12 weeks before using.
TOP TIP: Grab a sneaky peek of your vanilla extract give it a shake once a week to help develop the flavour.
How long will the extract keep for?
TOP TIP: When ready to use decant some of the extract into a smaller bottle and top the main bottle up with more of your alcohol. This will help develop that rich, vanilla flavour.
So long as you store your homemade vanilla extract properly in a cool, dark location then it will keep indefinitely. Do not refrigerate or freeze.
I find decanting into smaller bottles is easier when I using my extract in bakes, and also that the extract is nice and fresh. Just remember to top up your main bottle if decanting from it to keep the vanilla pods submerged.
For the best flavour and aroma, you will want to use your extract within 5 years. But you can also add extra vanilla pods if and when you have some spare from other recipes.
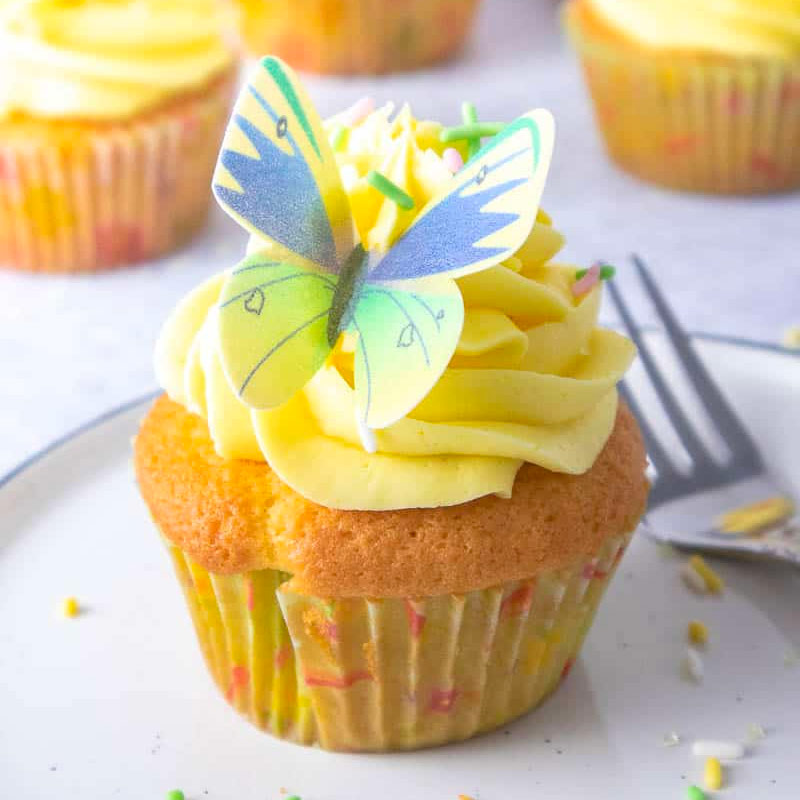
More vanilla recipes to try
If you liked this homemade vanilla extract recipe here are some other recipes that I think you’d enjoy…


Homemade Vanilla Extract
Ingredients
- 250 ml Vodka
- 4 Vanilla Pods Grade B
VIDEO
Instructions
- In a large, sterilised bottle add the vanilla pods; using 4 to 5 pods for every 250ml of extract you wish to make. For 1 litre of extract, you would use 16 to 20 vanilla pods.
- Using a funnel, pour the vodka into the bottle ensuring that all the vanilla pods are submerged.
- Seal the bottle tightly and store the extract in a cool, dark cupboard for at least 6 weeks. The longer the extract is stored, the richer the flavour. Shake the bottle once per week to help the extract develop.
- When the extract is ready to use, decant off into smaller bottles and top up the main bottle with more vodka; ensuring that the vanilla pods are completely covered.
- Remember to always store the extract in a cool, dark cupboard. Do not refrigerate or freeze.
Nutrition
DISCLAIMER
The nutritional information provided is approximate and is calculated using online tools. Information can vary depending on various factors, but we have endeavoured to be as accurate as possible.

