
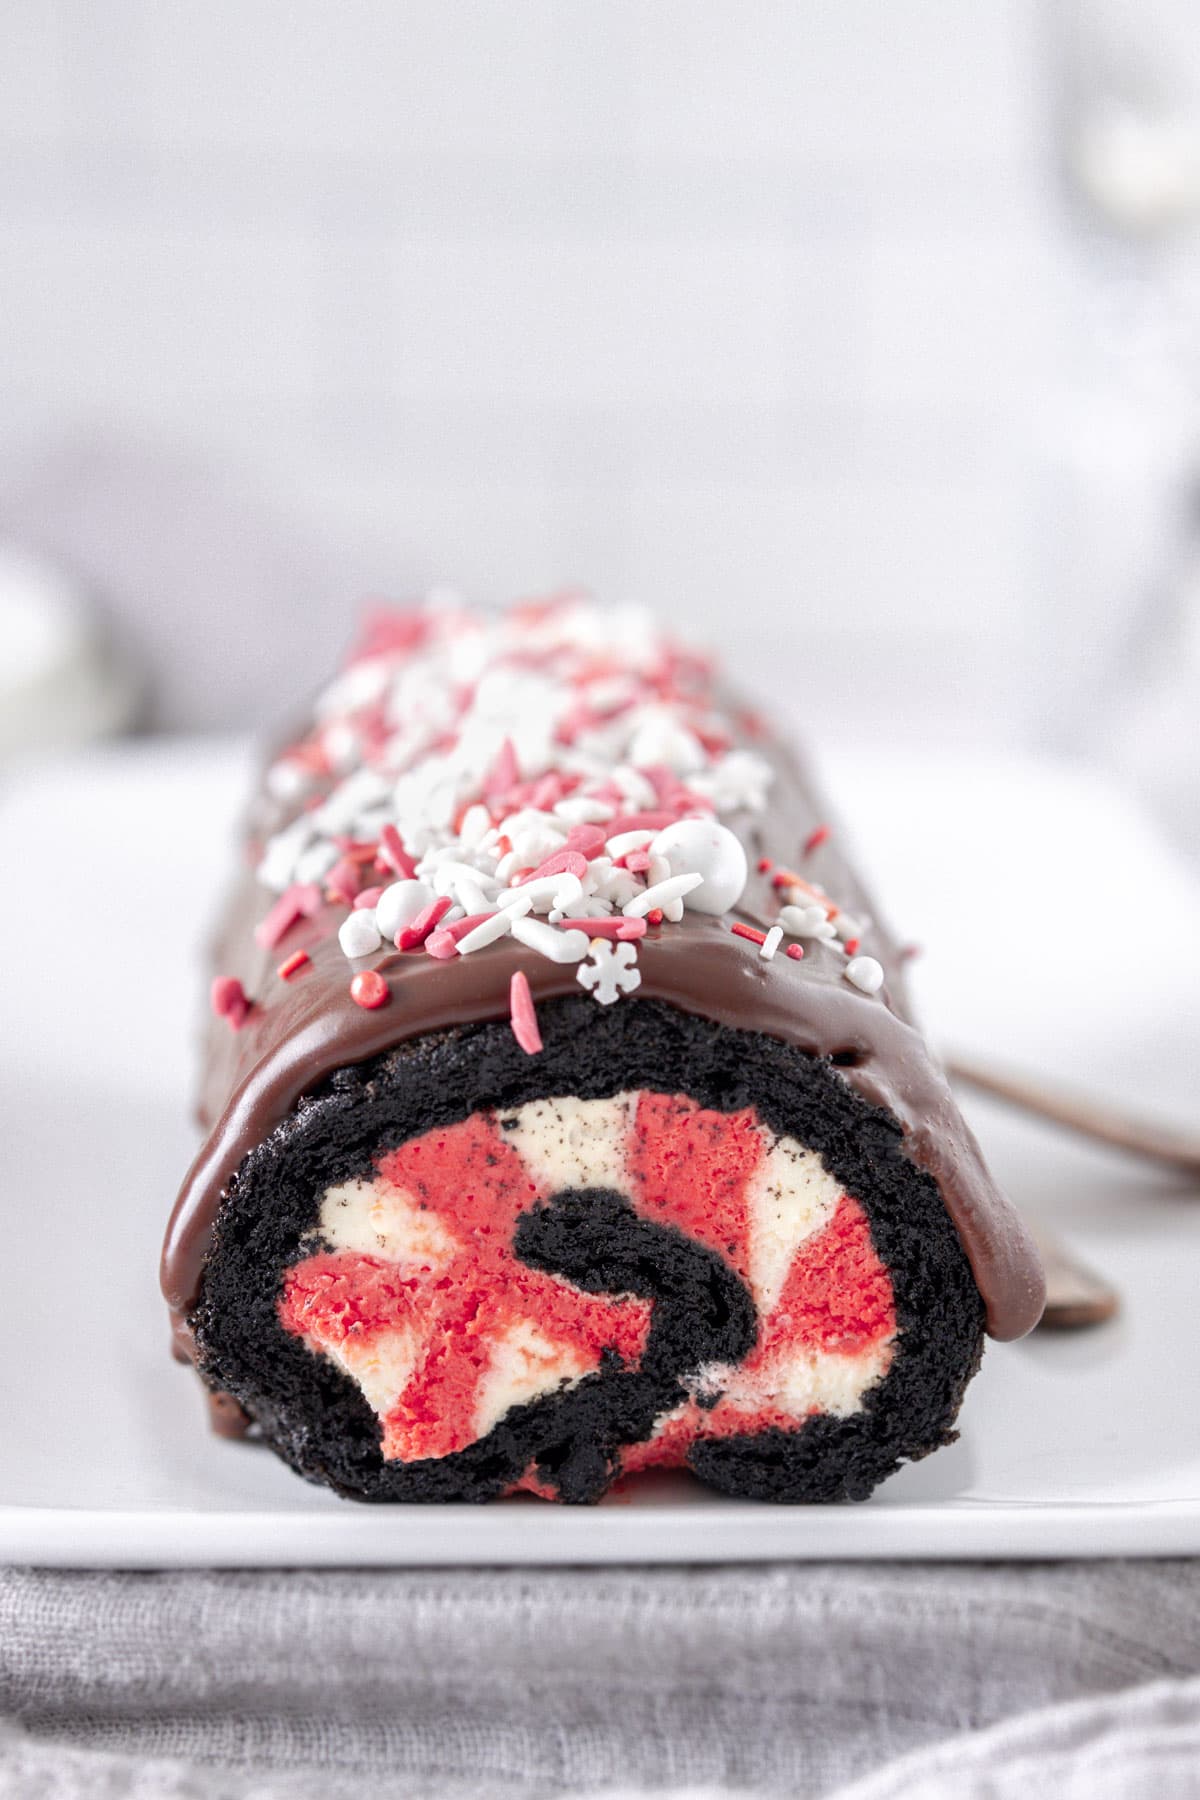
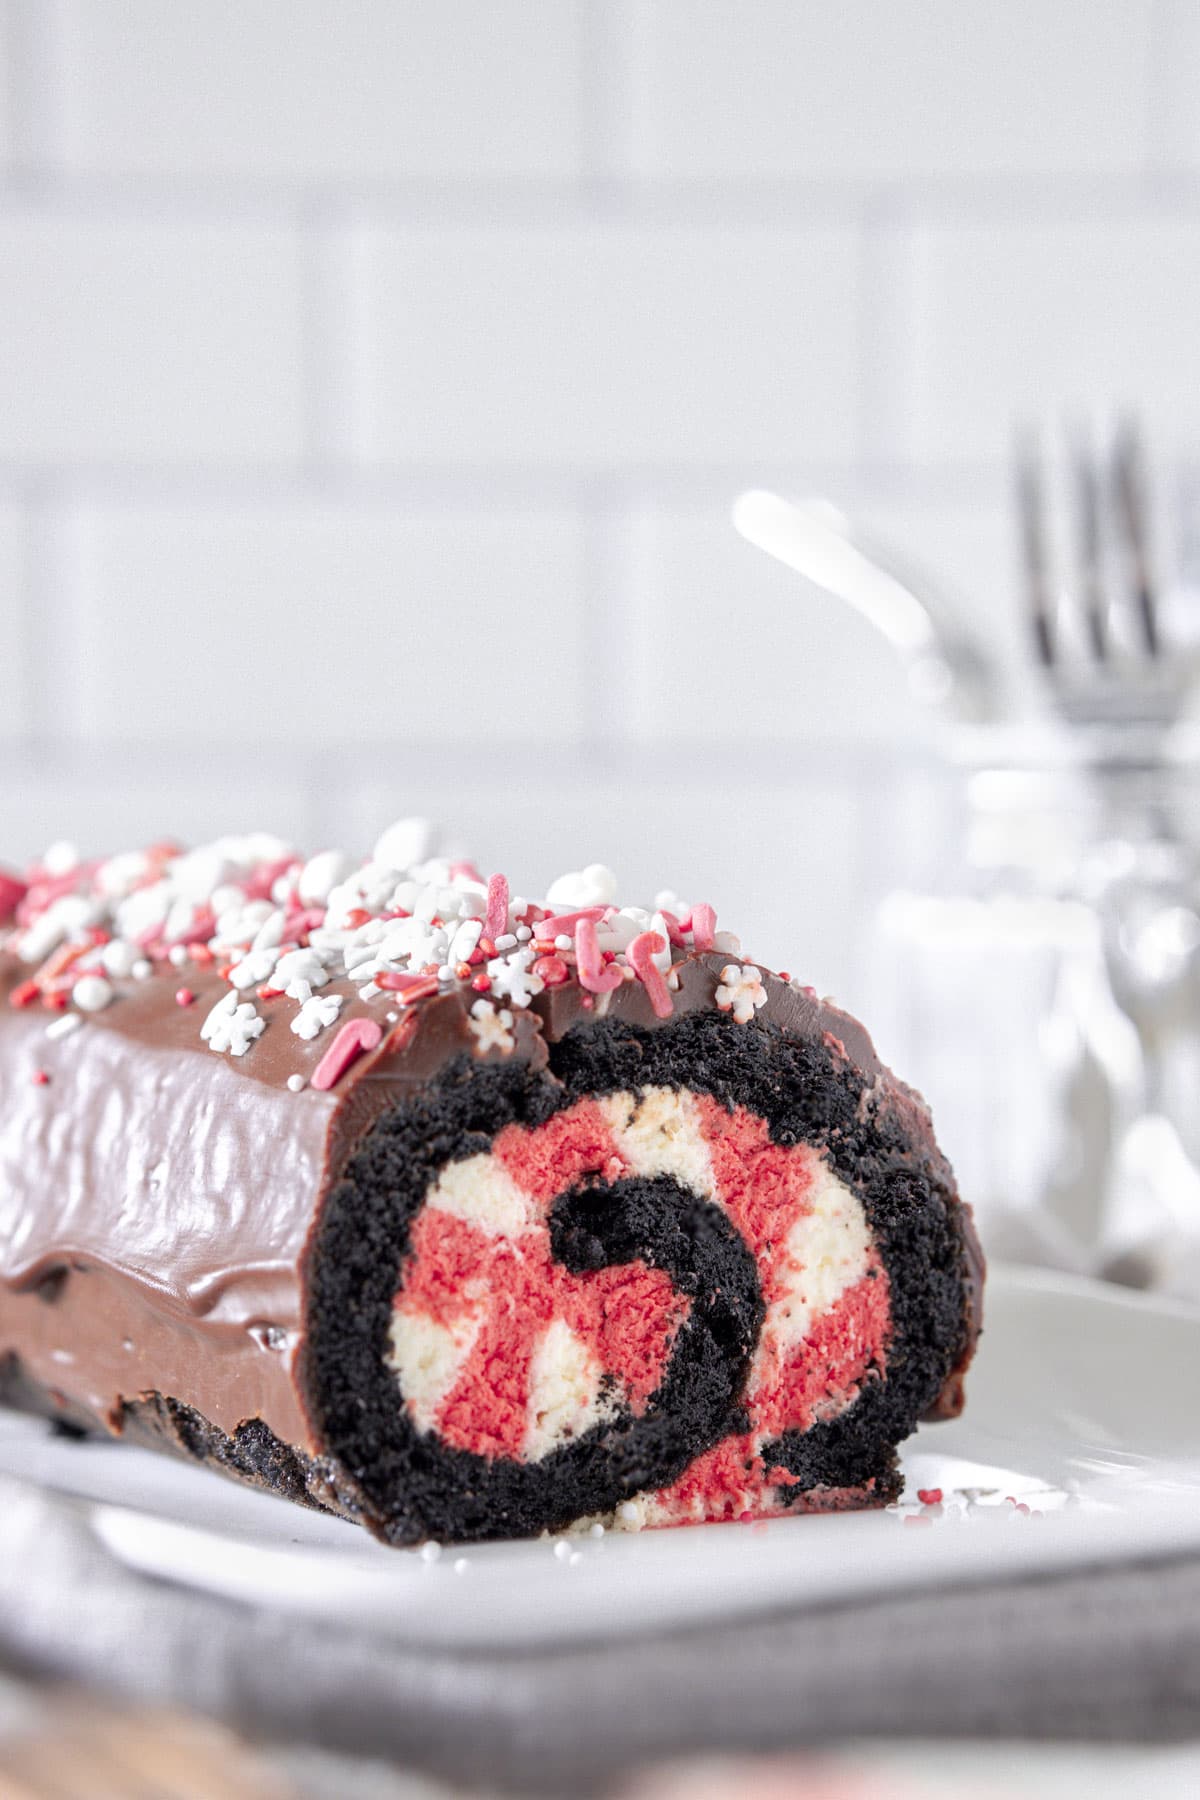
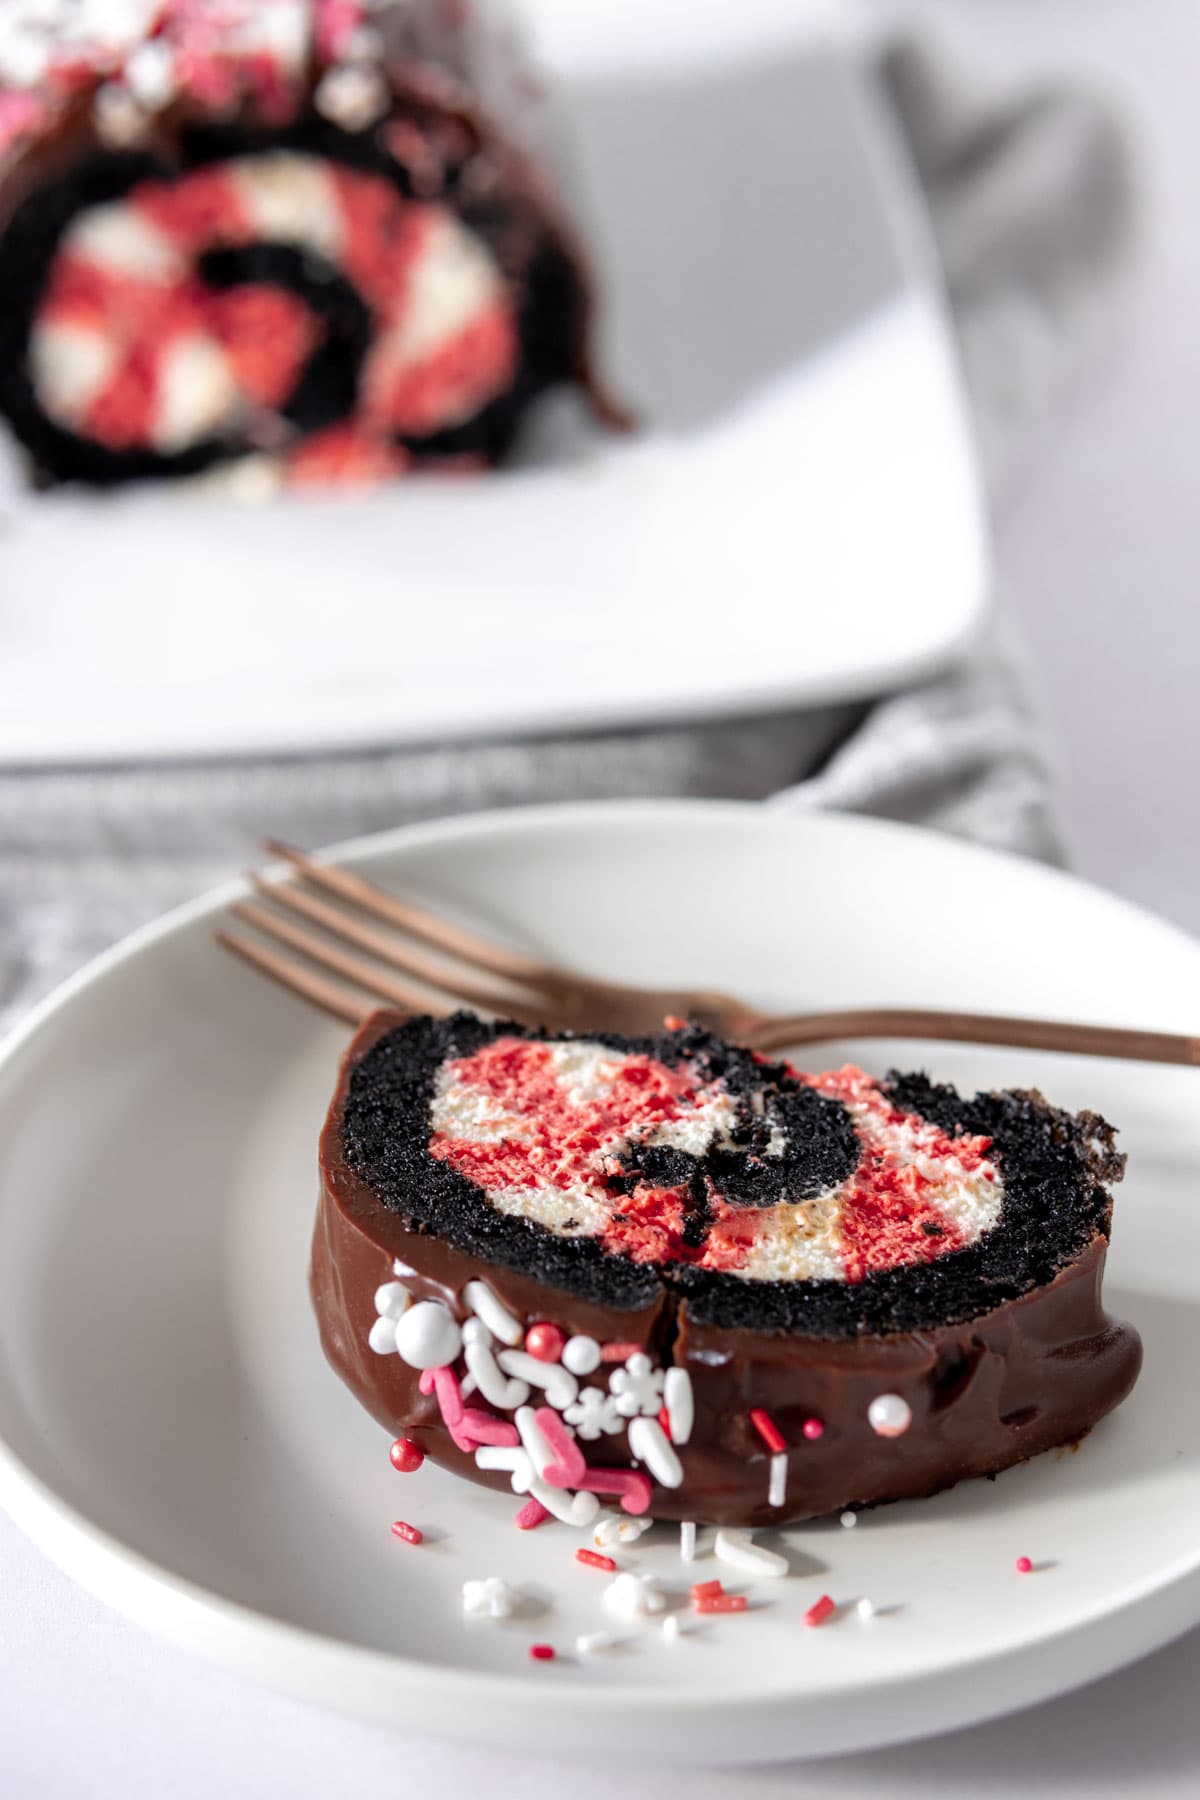
This chocolate peppermint swiss roll is to-die-for! All the best festive flavours are wrapped up in one super easy dessert. With a fun candy cane inspired peppermint cream filling, wrapped up inside a rich and fluffy chocolate roll cake, and coated with a glossy chocolate ganache, it’s perfect for Christmas!

Lou’s recipe overview
SKILL: Beginner
TASTE: Like chocolate and candy canes in one bite
PROS: Super easy, no faff cake sponge
CONS: Getting you cream stripy – check out my tips!
If like Buddy the Elf and you love candy canes, then this candy cane inspired festive dessert is just for you. And Buddy of course! Just look at those classic red and white stripes in the filling one of my favourite Christmas recipes – Chocolate Peppermint Swiss Roll.
I love a chocolate log, chocolate swiss roll, chocolate cake roll at any time of the year; my raspberry and chocolate version is a summer winner. But at Christmas the humble chocolate log becomes the star of the show as a Yule Log.
I absolutely love a yule log but this chocolate peppermint version, adds a little pizazz to your Christmas dessert table. It’s certain to bring a smile to even the biggest Grinch on the big day! And here’s why they’ll love it just as much as I do…
- Light and springy chocolate cake layer thats rolls up easily without cracking
- Stripy candy cane peppermint cream filling that are super easy to do
- Silky smooth, glossy chocolate ganache that adds that extra chocolate hit
- Decoration is super cute and festive, and it’s SO EASY to do
VARIATIONS: If you want to use this recipe for creating a Christmas log, check out my traditional chocolate Yule log and just the same assembly instructions. You can also make it with raspberries for a summer recipe.
Ingredients
Check out my shopping list for ingredients and equipment
This candy cane inspired swiss roll is made with simple ingredients. Here’s everything you’ll need to make this festive treat…
- Plain Flour or All-Purpose Flour – There is no raising agent in the cake sponge, instead the whisked eggs will do the rising
- Cocoa Powder – I use an intense cocoa powder but you can use regular cocoa powder if you prefer
- Caster Sugar or Superfine Sugar
- Eggs – Make sure your eggs are at room temperature before whisking. This helps the egg protein bonds break and incorporates air into the cake batter. This helps the sponge rise when baking and keeps it nice and light
- Double Cream or Heavy Cream – you’ll need this for the filling and the chocolate ganache covering
- Dark Chocolate – If you prefer to use a milk chocolate, you can easily substitute this. I prefer the classic flavour combo of the dark chocolate’s slight bitterness with the peppermint
- Peppermint Extract
- Unsalted Butter
- Red and White Christmas Sprinkles – I love these cute candy cane sprinkles
- Red Food Colouring – I used Color Mill food colour for this recipe and loved it. Alterantively, Rainbow Dust is my other go-to food colour gel
Recommended ingredients


CONVERT TO CUPS: There is a cup conversion option in the recipe card to convert the ingredients. This is automatic and I can’t guarantee the accuracy. For best baking results, I recommend using digital scales and weighing the ingredients.
Equipment you will need
Just like the ingredients, you only need basic equipment. These are the exact tools I use in my kitchen…
- Swiss Roll Tray – The tray should be approximately 33x23cm / 13×9 inches in size and at least 1cm deep. I love my Masterclass trays, they give the perfect bake and last for years. Well worth an investment
- Large Mixing Bowl
- Hand Mixer – The batter needs to whisk for at least 5 minutes so using a mixer is easier than doing this by hand. You can also use a stand mixer with the balloon attachment or whisk by hand if you prefer
- Angled Palette Knife – Ideal for levelling your cake batter, spreading the filling and coating the chocolate ganache. It’s one of my top 10 essential pieces of baking equipment!
- Rubber Spatula
- Baking Parchment
- Digital Kitchen Scales


How to make chocolate peppermint swiss roll
Full measurements and instructions can be found on the recipe card
With just a few simple steps and absolutely no faff, this chocolate peppermint swiss roll is super easy to make! Here’s everything you have to do…
The chocolate cake layer
This really is the easy chocolate sponge you’ll ever make. It’s perfectly light and the ultimate swills roll cake.
- Whisk the eggs and caster sugar together using either a stand mixer or handheld mixer for at least 5 minutes on high speed. The mixture will become very pale and foamy with lots of bubbles. The mixture will triple in volume
- Sieve together the plain flour and cocoa powder and gently fold into the whisked mixture, being careful not to knock the air out.
- Pour the batter into a swiss roll tray lined with baking parchment
- Bake for 12-14 minutes until the sponge is light and springy
TOP TIP: Test the cake is baked by gently pressing on it with your finger tips. If the cake is baked, it will feel springy. If the cake is underbaked, it will feel spongy and will not spring back when you take your fingers away
When the chocolate sponge layer is baked, it’s important that you roll it up while it’s still warm. If it’s cold when you try and roll, the sponge will break apart and crumble. When it’s warm it holds together and you can unroll when you’re ready to assemble.
Here’s how to roll the sponge layer…
- Dust a piece of baking parchment with caster sugar. The parchment should be as big as your sponger layer
- Turn the cake layer out onto the caster sugar roll and carefully remove the top layer or baking parchment
- Roll the cake layer up tightly, using the bottom piece of baking parchment to help you it up tightly using the paper. Leave the cake to cool
The baking parchment will roll up inside. Don’t worry, this prevents the sponge layer sticking to itself stops the sponge sticking to itself. Leave the sponge to cool until.
BAKERS NOTE: The baking parchment will roll up inside. Don’t worry, this prevents the sponge layer sticking to itself stops the sponge sticking to itself. Leave the sponge to cool until.
The peppermint cream
I’ve chosen to use a fresh whipped cream filling as it’s nice and light with the chocolate cake layer. You could use a buttercream if you prefer.
- Whisk the double cream, icing sugar and peppermint extract together into a large mixing bowl, until thick and spreadable
- Divide the whipped cream in half and put one half into a piping bag with the end snipped off or one with a round piping nozzle fitted
- Add red food colouring to the remaining cream and stir through. Put the red cream into another piping bag with the end snipped off or with a round piping nozzle fitted
The chocolate ganache
I love a glossy and silky smooth ganache, especially as it’s so easy to make.
- Break the chocolate into chunks and piece in a heatproof bowl.
- Gently heat the double cream and butter in a small saucepan, over a low to medium heat until the cream starts to gently boil. You will see little bubbles forming at the edges
- Pour the mixture over the chocolate and leave for 1 minute, before stirring until all the chocolate has melted
Let the ganache cool down before using, otherwise it is too thin and will run off the swiss roll. I leave mine to thicken up but is still spreadable at room temperature but you can chill in the fridge.
TOP TIP: If you want an extra peppermint flavour hit, add 1/2 teaspoon of peppermint extract into the chocolate ganache.
How to assemble the swiss roll
So you’ve got your cake layer, that whipped cream filling and the glossiest chocolate ganache, you’re ready to assemble…
- Unroll your cooled cake layer and remove the remaining baking parchment.
- Pipe white and red whipped creams onto the cake layer. Pipe diagonal stripes, starting at the bottom-left of the cake layer, until you go to the top right corner alternating between the white and red creams. Leave a 1cm gap around the edges; this prevents the cream squeezing out when you roll up
- Re-roll the cake layer as tightly as possible so you get a good swirl, but being careful not to squeeze out the cream. Place the roll on to a serving plate and set it on the seam
- Spread the chocolate ganache over the swiss roll using an angled offset spatula. Alternatively if your ganache is a little runny, place the swiss roll on a cooling rack with baking parchment underneath and pour the ganache over the roll
- Scatter over sprinkles to decorate
TOP TIP: Want to know how to get that perfect spiral without cracking? Head on over and watch how to roll a swiss roll now!

Tips for success
Although this is an easy recipe, here’s my top tips that will help you make the perfect chocolate peppermint swiss roll every time…
- Make sure to whisk the egg and sugar well – As there’s no rising agents in the cake layer, the eggs will be doing all the work. You want to whisk the egg and sugar for about 3-4 minutes until the mixture is pale, thick and at least tripled in size
- Leave a baking parchment overhang – When you line the swiss roll tray with the baking parchment, leave an extra 1-inch overhang on all four sides. The excess is super helpful when rolling up the cake layer, as it gives you leverage to make a tight spiral
- Roll the chocolate cake layer while it is still warm – This is my number one top tip when it comes to swiss rolls, yule logs and cake rolls. When the cake is still warm, it is more easily rolled, preventing the cake from cracking. If the cake is cold, starts to become more rigid and will crack when rolling. certainly makes things easier and helps prevent the sponge from cracking. So always roll when warm!
- Roll the cake layer from the shorter side – You want that lovely spiral when you slice into your swiss roll, so this one is important. If you roll from the long edge, the width is short so you get a very small swirl. Rolling from the shorter side, gives you the whole length of the cake layer to roll, giving you a well-formed spiral
- Switch the cream for peppermint buttercream – If you prefer not to use a whipped cream filling, use a peppermint buttercream as a filling instead. Or you could make a chocolate buttercream and add 1 teaspoon of peppermint extract.
FAQs about chocolate peppermint swiss roll
What size baking tray do I need to use?
I recommend using a swiss roll tray for this recipe. You want one that is approximately 33x23cm / 13×9 inches in dimension, and is at least 1cm deep.
How should I store the swiss roll?
Because the peppermint filling is made with fresh whipped cream, the swiss roll should be kept chilled, in the fridge. Cover the swiss roll with clingfilm or in an air-tight container if you have one it will fit in.
How long will the swiss roll last for?
As the swiss roll is filled with fresh cream it is best eaten within 1 day. However if stored correctly in the fridge, it will last up to 3 days.
Can I freeze the swiss roll?
For sure! The swiss roll can either be frozen when fully assembled for up to 1 month. Alternatively, I recommend that you freeze just the cake layer and assemble when you’re ready to use it. The cake layer will keep up to 3 months in the freezer. Whichever way you decide to freeze the swiss roll, make sure you wrap well with cling-film before freezing. Remember to defrost thoroughly before serving or assembling the swiss roll.u003cbr/u003e

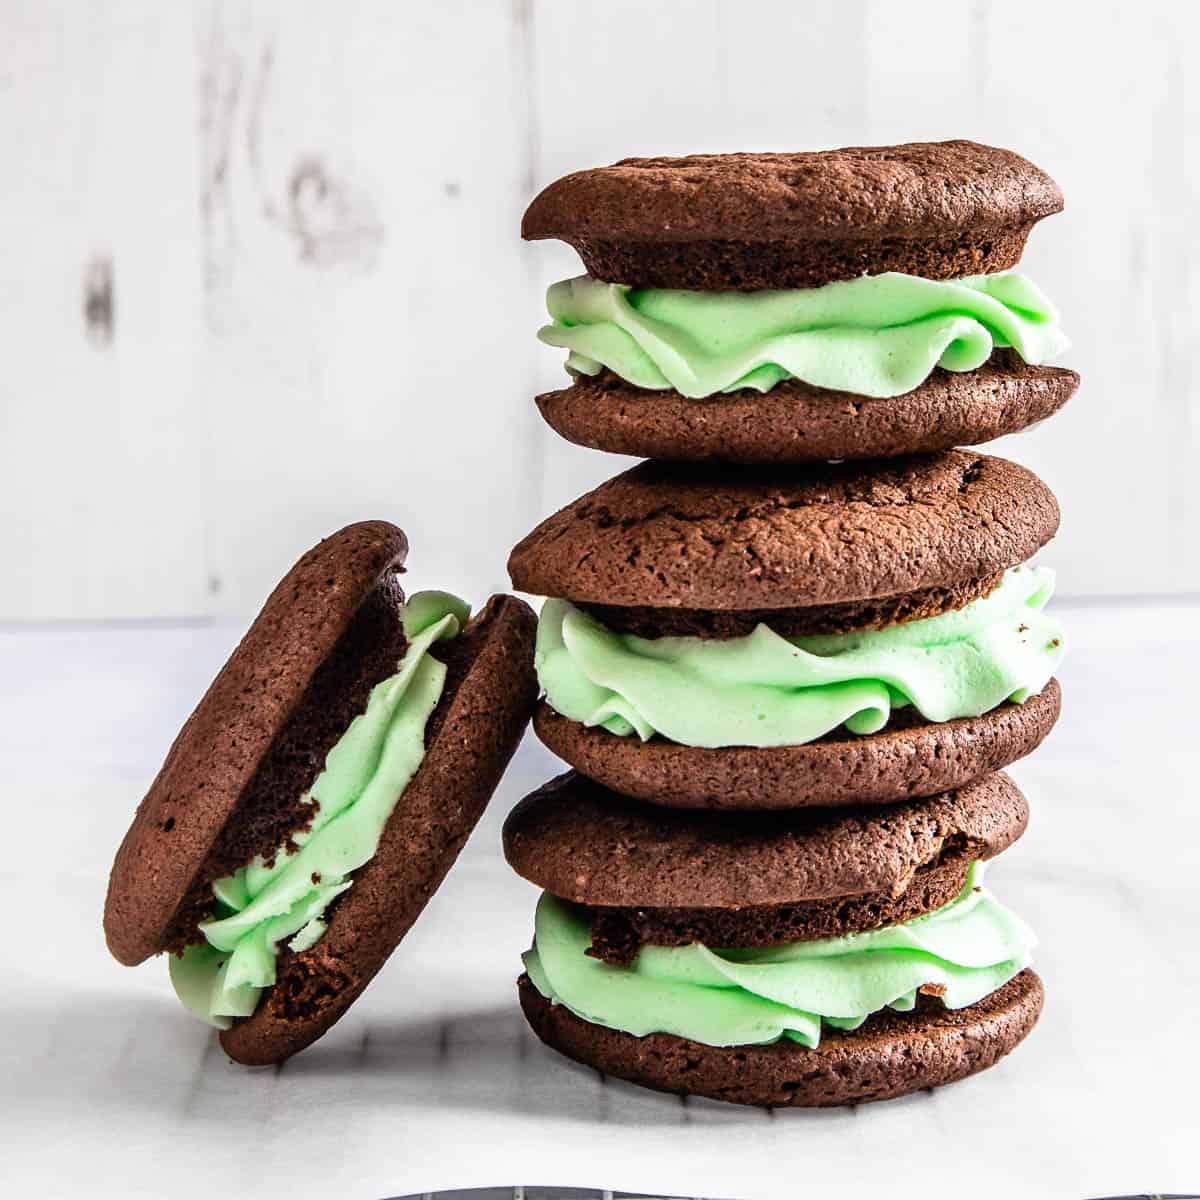
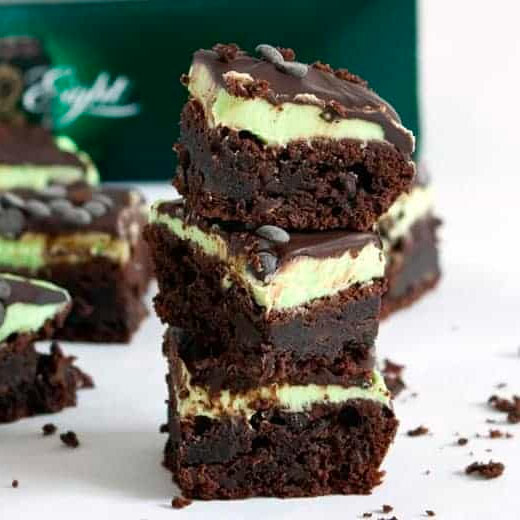
More chocolate mint recipes to try
If you liked this chocolate peppermint swiss roll here are some other recipes that I think you’d enjoy…


Chocolate Peppermint Swiss Roll
Ingredients
For the Chocolate Sponge Cake
- 4 Eggs Medium
- 125 g Caster Sugar or Superfine Sugar
- 50 g Plain Flour or All Purpose Flour
- 25 g Cocoa Powder
For the Filling
- 150 ml Double Cream or Heavy Cream
- 2 tbsp Icing Sugar or Powdered Sugar
- 1 tsp Peppermint Extract
For the Chocolate Ganache
- 100 g Dark Chocolate or Semi-Sweet Chocolate
- 100 ml Double Cream or Heavy Cream
- 25 g Butter Unsalted
Instructions
To make the chocolate cake layer
- Preheat oven to 180C/350F and line a swiss roll tray, approx 13×9 inches, with baking parchment.
- Add the eggs and sugar into a large mixing bowl, and whisk on high with a handheld mixer for about 5-8 minutes until the mixture is thick and pale. When you lift the beaters out, they should leave a ribbon of the mixture on the surface. Alternatively you can use a stand mixer.4 Eggs, 125 g Caster Sugar
- Sieve the plain flour and cocoa powder together, then add to the whisked mixture and gently fold in until completely combined. Be careful not to knock the air out.25 g Cocoa Powder, 50 g Plain Flour
- Pour the mixture into the lined swiss roll tray and gently spread into the corners with a palette knife.
- Bake for 12-14 minutes until the sponge is light and springy to the touch.
- When baked allow the sponge to cool slightly in the tin. Whilst it is still warm, flip the sponge out onto another piece of parchment paper dusted with caster sugar. Gently roll the sponge, starting from a shorter edge and set aside whilst you make the filling and ganache.
To make the whipped cream filling
- Add the cream, icing sugar, and peppermint extract in a large bowl and whisk until the cream starts to thicken but is still smooth enough to spread.150 ml Double Cream, 2 tbsp Icing Sugar, 1 tsp Peppermint Extract
- Divide the whipped cream in half and put one half into a piping bag with the end snipped off or one with a round piping nozzle fitted
- Add red food colouring to the remaining cream and stir through. Put the red cream into another piping bag with the end snipped off or with a round piping nozzle fitted
To make the chocolate ganache
- Add the double cream and butter in a small saucepan, and heat over a low heat until it starts to gently boil.100 ml Double Cream, 25 g Butter
- In a separate bowl, break the dark chocolate into small pieces and pour the mixture over the top. Leave for 1 minute, before stirring until all the chocolate has melted.100 g Dark Chocolate
- Place the ganache to one side to cool down until to becomes thick but spreadable. You can also chill the ganache in the fridge, but be careful that it doesn't get too cold.
To assemble the swiss roll
- Carefully unroll the cooled chocolate cake layer and remove the remaining baking parchment.
- Pipe white and red whipped creams onto the cake layer. Pipe diagonal stripes, starting at the bottom-left of the cake layer, until you go to the top right corner alternating between the white and red creams. Leave a 1cm gap around the edges; this prevents the cream squeezing out when you roll up
- Re-roll the cake layer as tightly as possible so you get a good swirl, but being careful not to squeeze out the cream. Place the roll on to a serving plate and set it on the seam
- Use a offset spatula or palette knife to spread the thickened chocolate ganache all over the swiss roll. Alternatively if your ganache is a little runny, place the swiss roll on a cooling rack with baking parchment underneath, then pour over the ganache
- Scatter over sprinkles to decorate
Notes
Nutrition
DISCLAIMER
The nutritional information provided is approximate and is calculated using online tools. Information can vary depending on various factors, but we have endeavoured to be as accurate as possible.

