
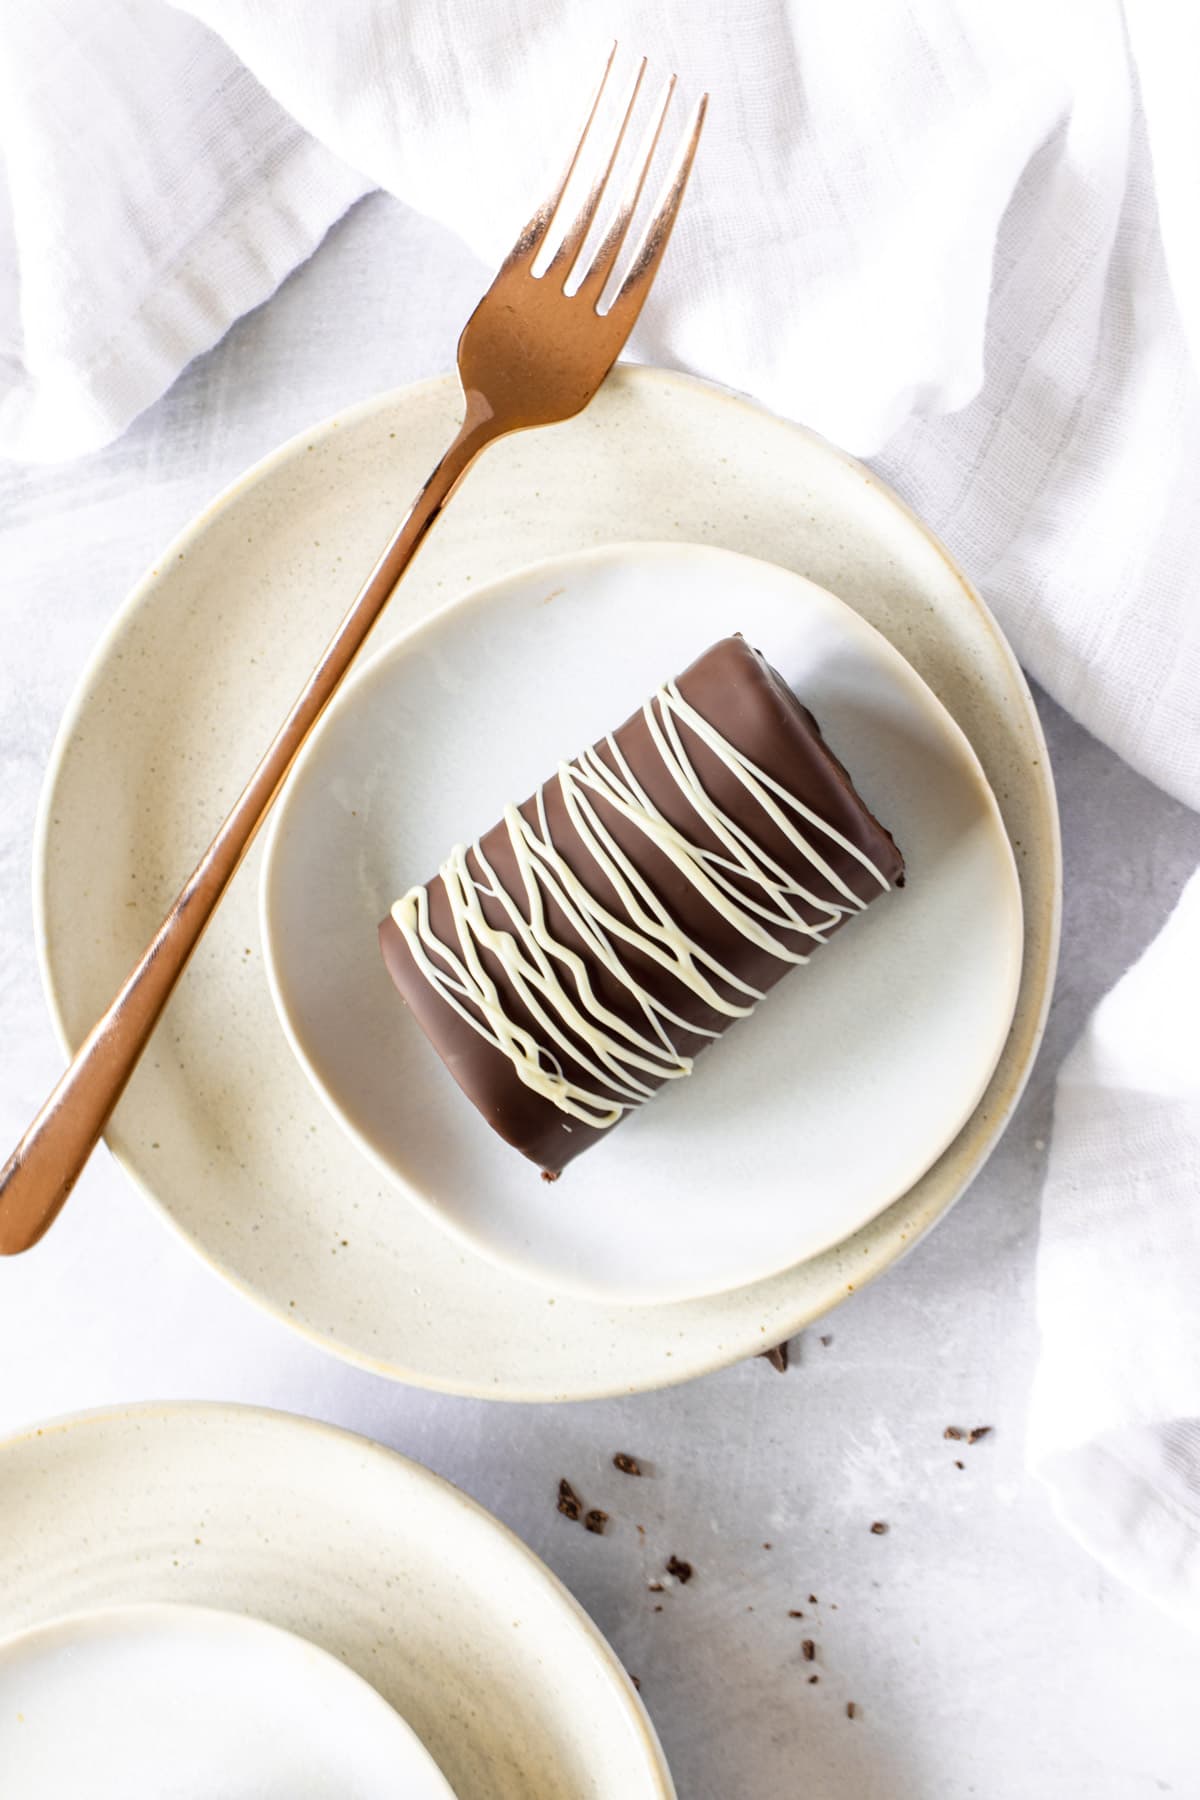
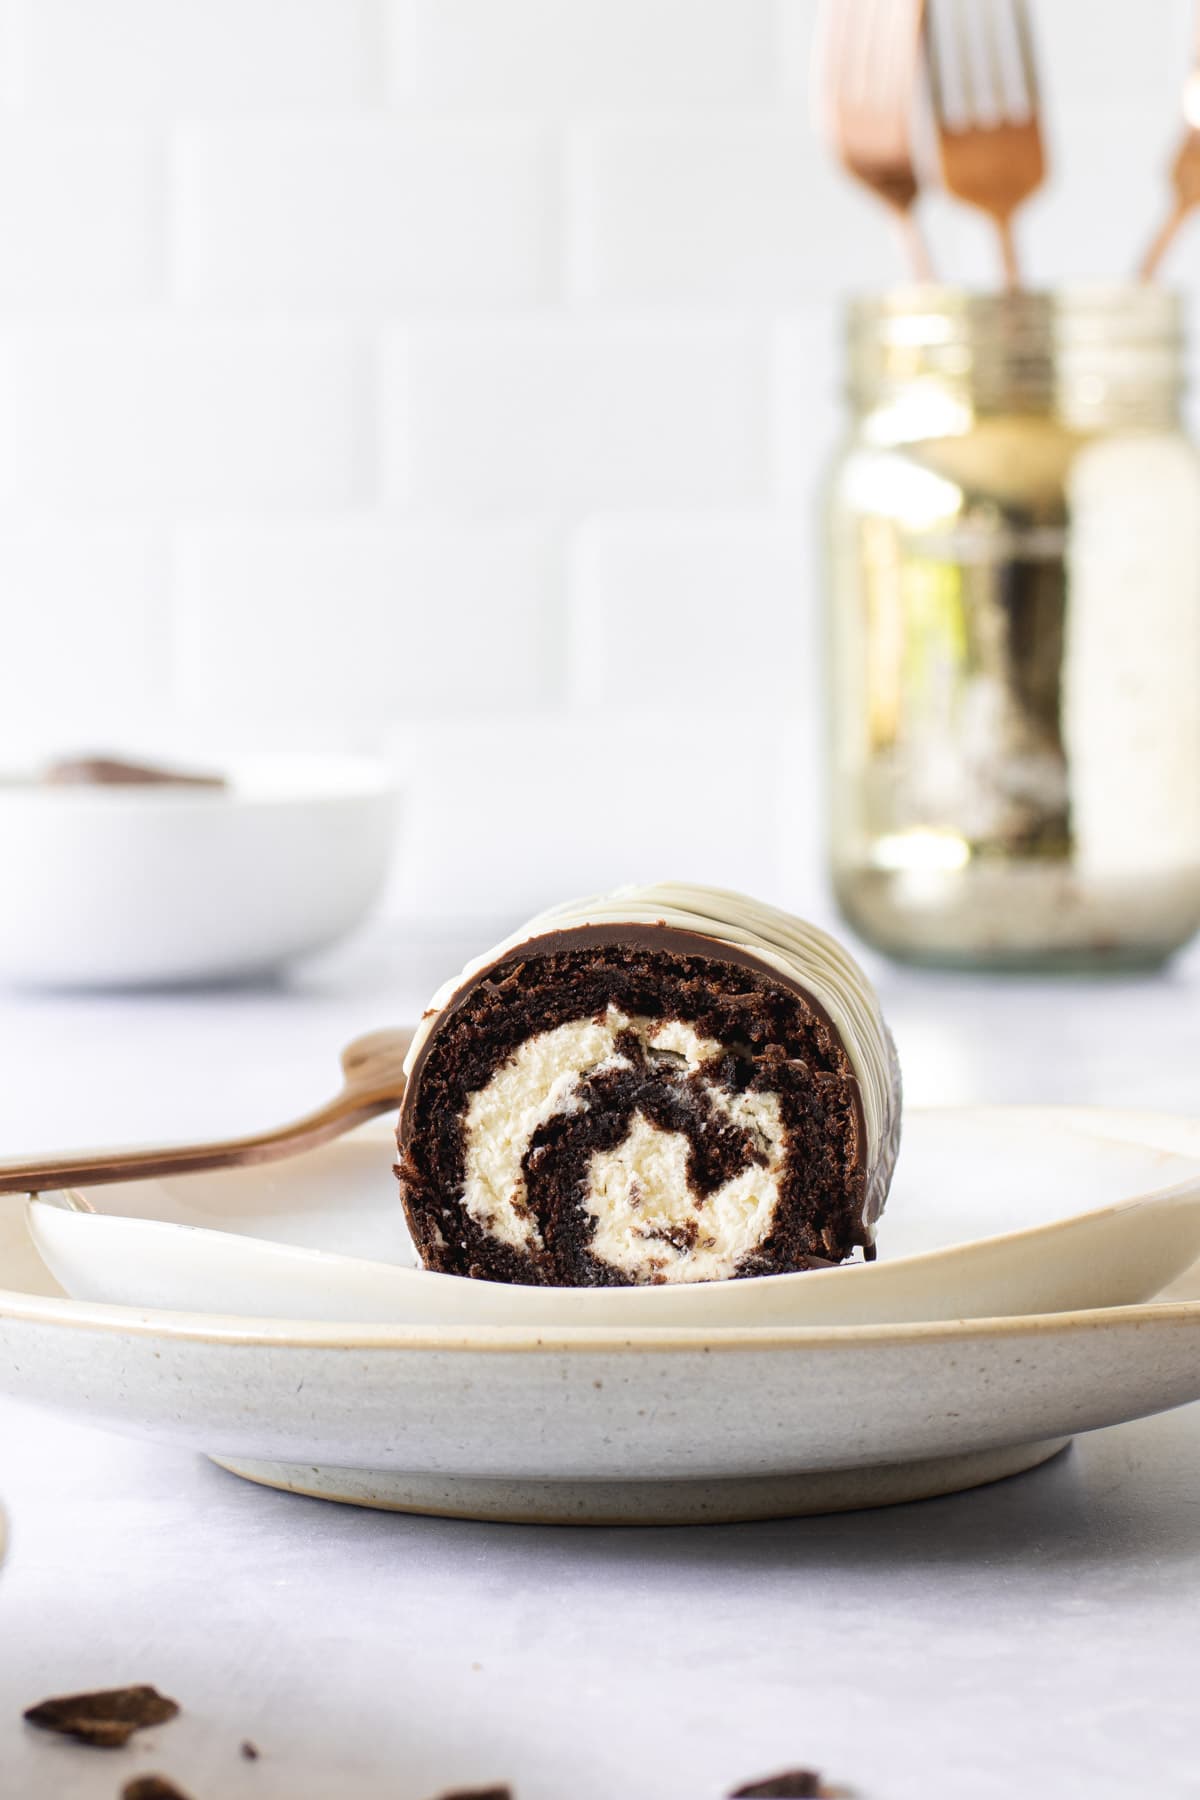
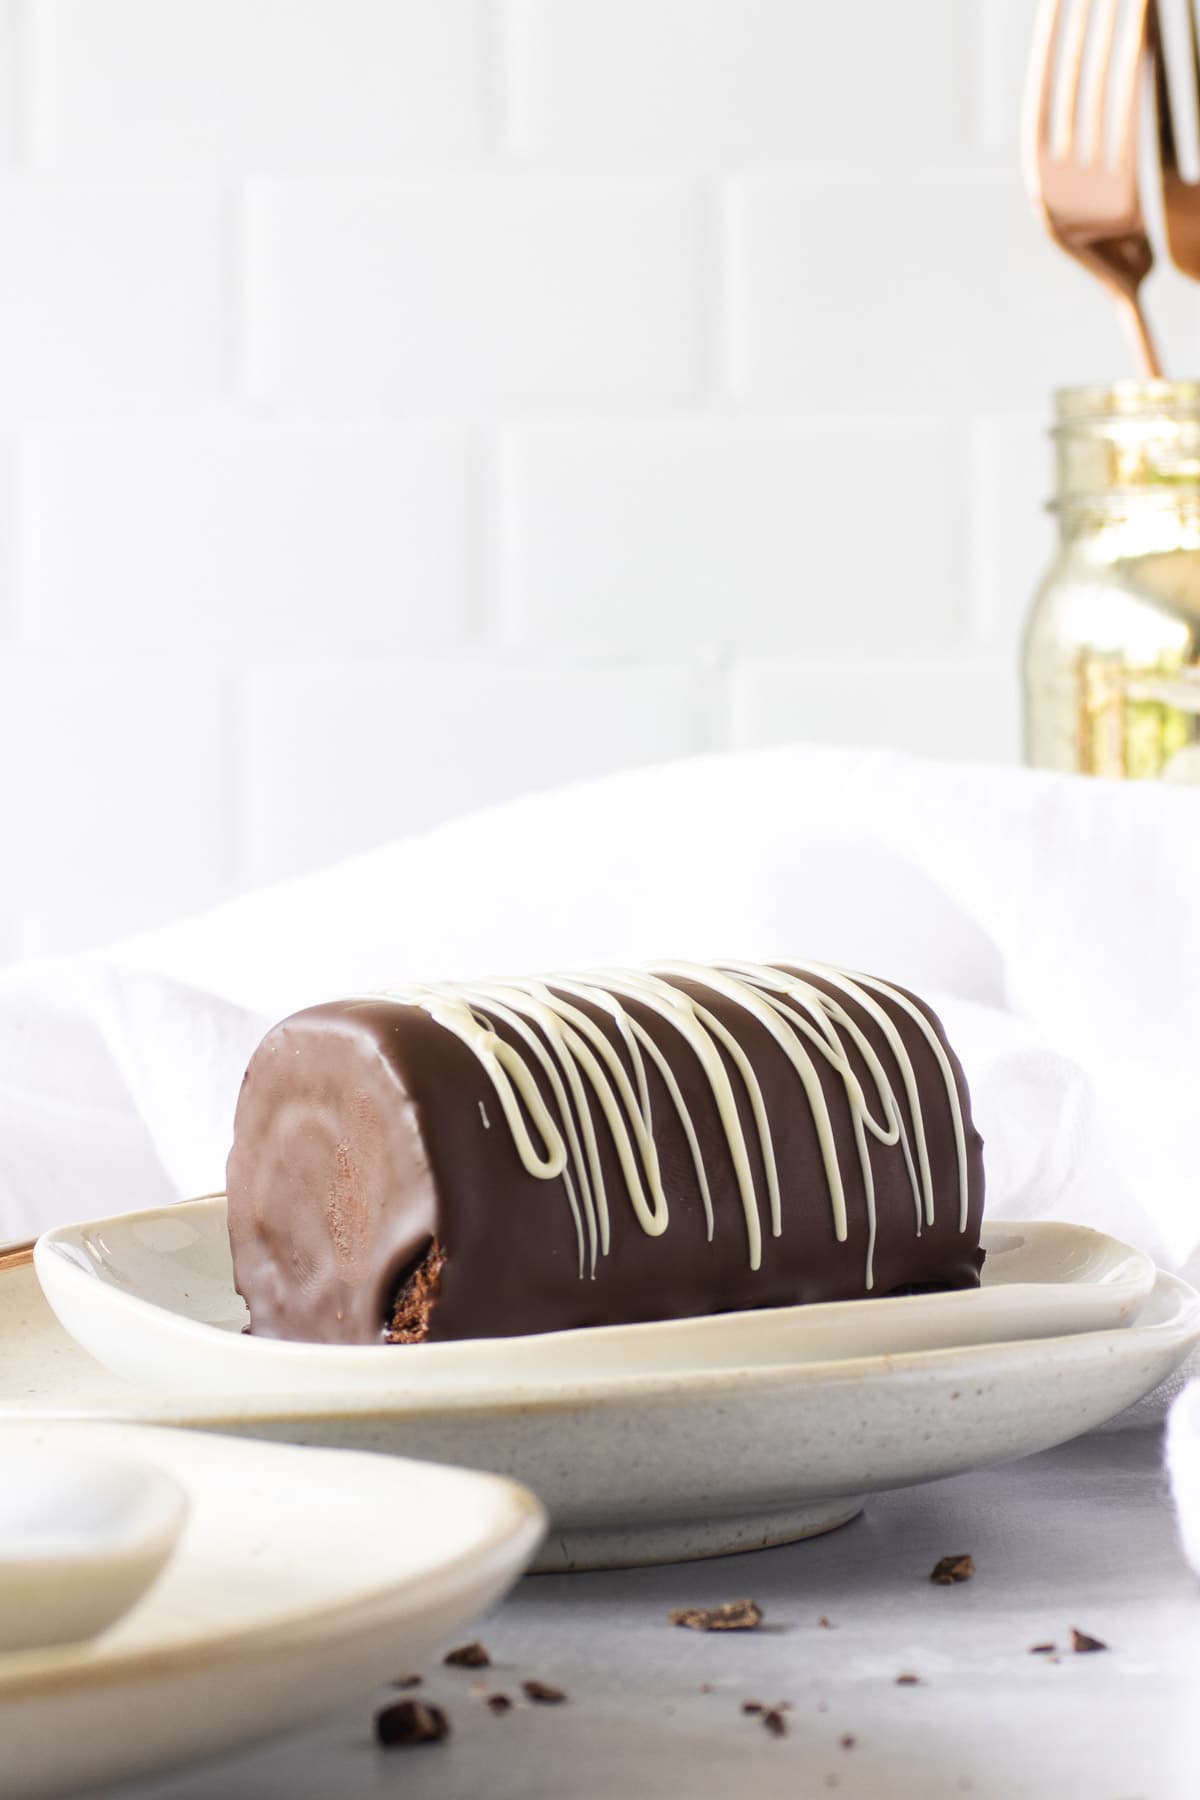
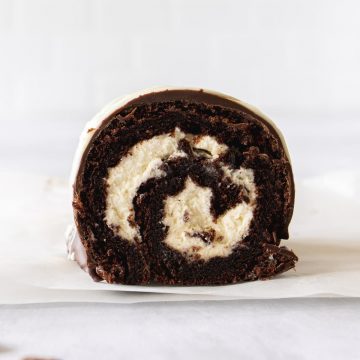
Once you’ve made these mini chocolate rolls, you’ll never go back to store-brought ones again. Light as a feather chocolate sponge with a sweet, vanilla cream filling and enrobed in a dark chocolate glaze, they really are the star of the show.


Lou’s recipe overview
SKILL: Advanced
TASTE: Light chocolate with fresh vanilla
PROS: Like the store-brought one, but BETTER!
CONS: Everyone wants them
Bake Off is back on and yes, I’m beyond excited!
Just as we head into my favourite baking part of the year, there’s twelve weeks of new inspiration, flavour combos and some epic signature and technical recipes to try out.
I love it! Although there was a time when it fell out of favour, but just like anything you love, I can’t be mad at it for long.
And Cake Week this series called for a signature bake of mini cake rolls.
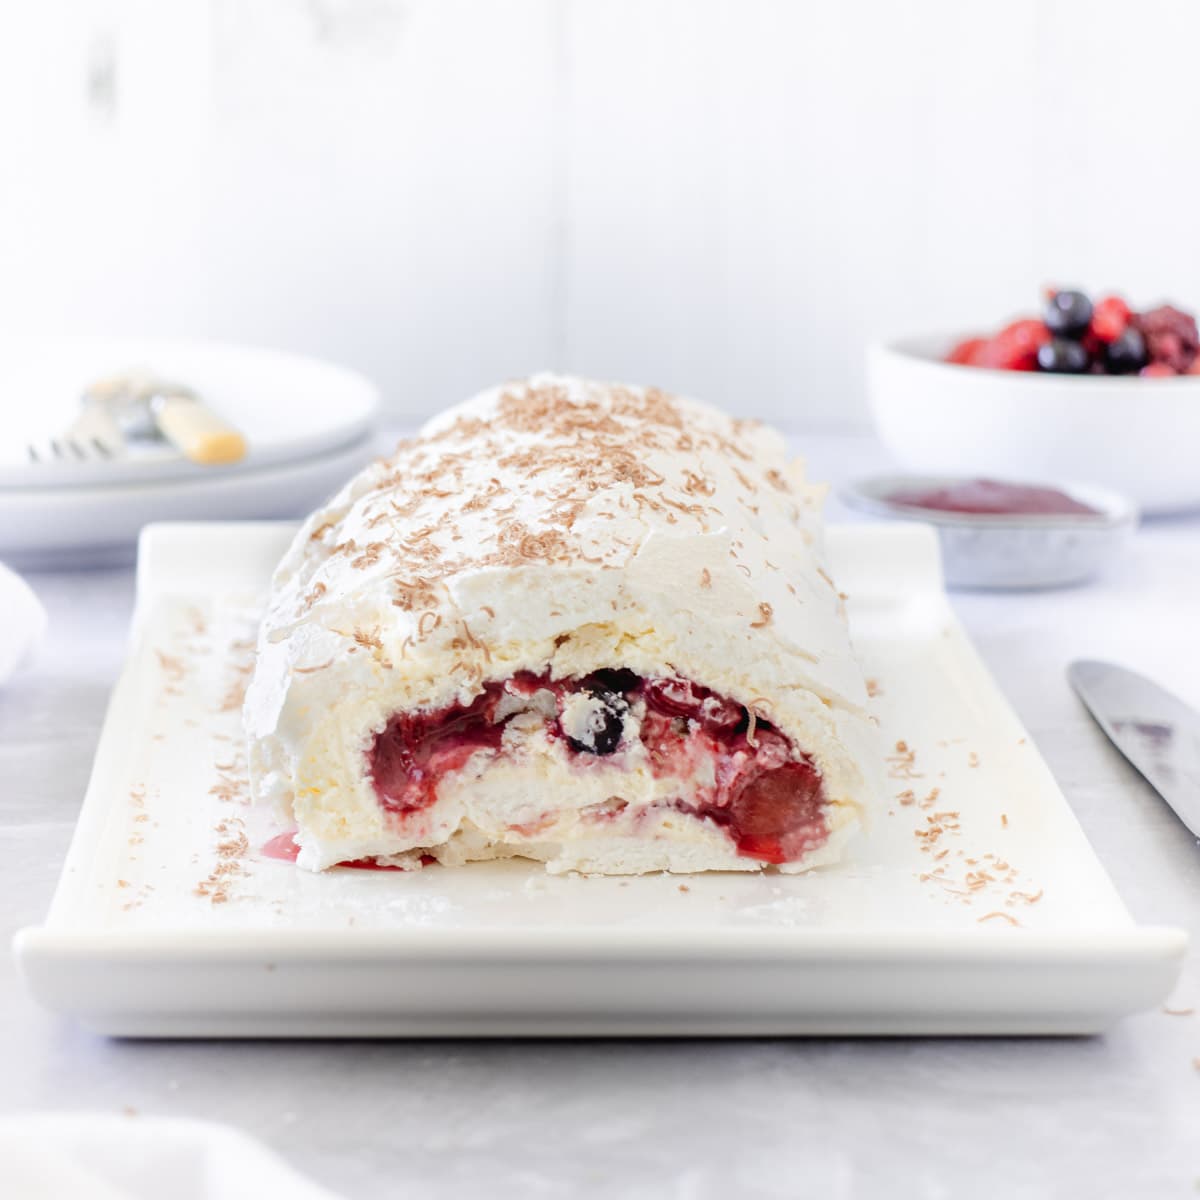
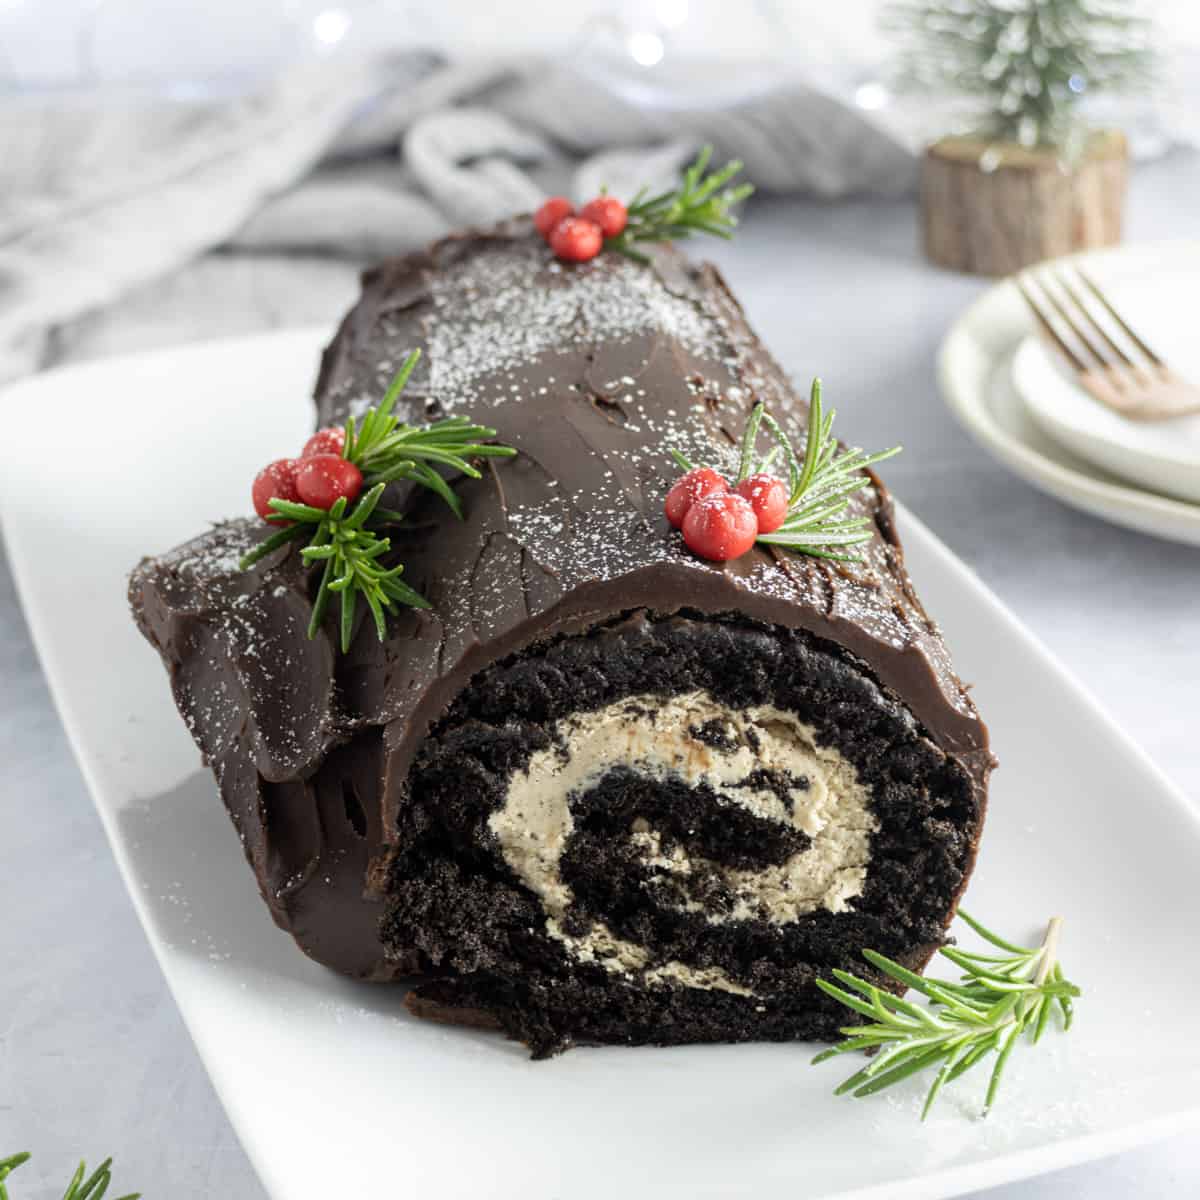
Now you know I love a cake roll, especially a chocolate one filled with cream, just like my raspberry chocolate roll or a chocolate yule log, and I’ve even dabbled with a winter-inspired gingerbread version too.
But what I haven’t done is make them mini, so now was the time!
And what memories mini chocolate rolls have. Who else remembers opening their school lunch box to find the delight of a purple foil wrapped chocolate roll?
Right let’s get cracking…

Ingredients and substitutions
Check out my shopping list for ingredients and equipment
These chocolate mini rolls are made with basic store-cupboard ingredients. Here’s everything you’ll need…
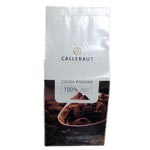
- Cocoa Powder
- Caster Sugar
- Eggs
- Double Cream or Heavy Cream
- Vanilla Extract
- Icing Sugar
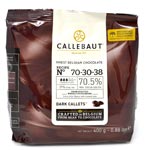
- Dark Chocolate – If you prefer you could swap for milk chocolate or white chocolate instead
- Coconut Oil – Melting a little with the chocolate makes it easier to pour over the mini rolls and get an even coverage
Recommended ingredients

Substitutions
The recipe is naturally gluten-free as no flour is used in the sponge layer.
If you want to switch up the filling, here are a few easy swaps for the vanilla extract…
- Peppermint Extract for a mint-chocolate version
- Orange Extract for an orange-chocolate version
- Milk Chocolate or White Chocolate, melted, for a double chocolate option
CONVERT TO CUPS: There is a cup conversion option in the recipe card to convert the ingredients. This is automatic and I can’t guarantee the accuracy. For best baking results, I recommend using digital scales and weighing the ingredients.
Equipment you will need
These are the tools and equipment I use to make these mini chocolate rolls…
- Swiss Roll Tin – For best results, the tin should be approximately 13 x 9 inches in dimension and at least 1cm deep
- Handheld Mixer or Stand Mixer – the batter needs to whisk for at least 5 minutes so using a mixer is easier than doing this by hand
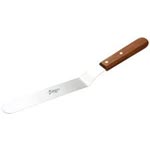
- Angled Palette Knife – I highly recommend investing in one of these, the cranked handle makes it so much easier to get the perfectly smooth filling layer, but a regular palette knife or a spoon will work as well
- Digital Kitchen Scales – Don’t start a recipe without them! These Salter scales are my favourite, they’re a great investment
- Large Mixing Bowl
- Baking Parchment


How to make mini chocolate rolls
Full measurements and instructions can be found on the recipe card
You’ll need a little patience when rolling them, but these mini chocolate rolls are in fact really easy to make! Here’s everything you have to do…
The Chocolate Sponge Layer
The chocolate sponge is the quickest and easiest cake you can make. It gives you the a layer that is light and spring which means you can roll it up easily without cracking.
- Whisk together the eggs and caster sugar using either a stand mixer or handheld mixer until they have tripled in volume. This takes about 5 minutes. The mixture will become pale and foamy with lots of bubbles.
- Sieve the cocoa powder into the whisked mixture and fold in until everything is well combined. Be careful not to knock the air out.
- Pour the batter into a swiss roll tin lined with baking parchment and bake until the sponge is light and springy
- Turn the baked sponge out onto a piece of baking parchment dusted with cocoa powder
- Roll the sponge up along the longer edge until you reach the middle of the cake layer; then repeat on the other side. You will end up with two rolls that meet in the middle. The parchment will roll up inside, but don’t worry, this stops the sponge sticking to itself.
- Leave the sponge to cool while you make the filling and glaze.
The Vanilla Cream Filling
While your chocolate sponge later is cooling make the cream filling and the chocolate glaze…
- Whisk the double cream, icing sugar and vanilla extract together into a mixing and whisk until it is thick and spreadable. Don’t over-whisk the cream otherwise it will become grainy and heavy.
TOP TIP: Switch up the filling flavour by swapping the vanilla extract for peppermint extract, orange extract or 15g melted chocolate
The Chocolate Glaze
The last part before assembling your mini chocolate rolls is to make the silky chocolate glaze…
- Melt together two-thirds of the chocolate and the coconut oil in a heatproof bowl placed over a saucepan of simmering water, over a low to medium heat. Alternatively, melt in the microwave, in 30-second blasts. Remove from the heat.
- Add the remaining chocolate and stir together until the chocolate has completely melted
- Allow the chocolate glaze to cool down before pouring over the mini rolls. Do not chill in the fridge otherwise the glaze will set solid.
How to assemble the mini chocolate rolls
Ok, this is the part when you need a little patience; don’t rush and you’ll have some perfect chocolate rolls. Here’s what you need to do…
- Unroll the cooled sponge and remove the baking parchment
- Spread the cream filling all over the sponge taking it as close to the edge as possible. Don’t add too much cream otherwise it will squeeze out when you roll the cake back up
- Re-roll the sponge back up as tightly as possible, into two rolls the carefully slice the sponge layer into two where the two rolls meet.
- Place each cake roll onto a piece of cling-film, setting them onto the seam of the roll and use the cling-film to tighten the cake roll so you get a good swirl. Pull the ends of the cling-film secure everything tightly.
- Chill the full length chocolate rolls in the fridge for at least 30 minutes to let the cream set.
- Use a offset spatula or palette knife to spread the thick chocolate ganache all over the rolled sponge, creating a bark effect. Alternatively you can use a fork to give the ganache texture.
- Dust the Yule log with icing sugar and decorate!
TOP TIP: Want to know how to get the perfect spiral without cracking, then check out this how to roll a swiss roll video now!
How to glaze the mini chocolate rolls
So we’re got to the final part and it’s worth the effort for the final result. Here’s what you need to do…
- Remove the chilled cake rolls from the cling-film and slice into 3 or 4 equal portions.
- Place the mini chocolate rolls onto a wire cooling rack with a baking pan or tray beneath to catch the excess chocolate glaze.
- Pour the chocolate glaze over the individual chocolate rolls; use a jug for the best results and to ensure an even coating.
- Smooth the chocolate glaze over the ends of the mini rolls with a angled palette knife.
- Before handling the mini rolls, allow the chocolate glaze to begin to set at room temperature before transferring to the fridge to firm up. Chill for at least 30 minutes.
- Drizzle melted white chocolate over the top of the mini chocolate rolls to finish.
Step by step live video
Tips for success
Although this is an easy recipe, the assembly of the mini rolls can be challenging. Here are a few tips for making these mini chocolate rolls…
- Use the right size Swiss roll tin – I recommend using a 13 x 9 inch tray that is 1cm deep. This will give you a light, springy sponge can be be easily rolled tightly for the perfect swiss roll spiral. If your tray is too small, the sponge be too thick and your mini rolls will end up chunky.
- Roll the sponge layer while it is still warm – If you leave the sponge to completely cool before rolling it up, you risk the sponge cracking; so always roll while it’s still still. Remember to flip the sponge onto a piece of baking parchment dusted with cocoa powder, this will help keep the sponge from sticking to itself and the parchment.
- Roll the chocolate sponge from the longer sides – This will ensure that you get a well-formed tight spirals and also means you can cut the perfect shape and size chocolate rolls, just like the store-brought ones!
- Try a chocolate buttercream filling – If you prefer not to use a whipped cream filling, why not use my best ever chocolate buttercream as a filling instead
- Freeze the chocolate rolls before glazing – If you’re in a hurry, when you had added the filling and re-rolled the sponge, pop the cling-film wrapped cake rolls into the freezer for 10-15 minutes. This will help the filling set and chill the cake roll quicker.
FAQs about mini chocolate rolls
What size baking pan do I need to use?
To get a thin, light and even chocolate sponge layer, I recommended that you use a swiss roll tray that has an approximate 1cm depth rather than a deep sided pan. For this recipe, I use this u003ca href=u0022https://amzn.to/302uKJlu0022 target=u0022_blanku0022 rel=u0022noreferrer noopener sponsored nofollowu0022u003e32 x 24cm (12.5 x 9 inch) tinu003c/au003e.
How should I store the chocolate mini rolls?
As the mini rolls are filled with fresh cream they must be kept refrigerated. Store them in an air-tight container to prevent any moisture developed on the outer chocolate shell.
How long will chocolate mini rolls keep for?
So long as you store them correctly, the mini rolls will keep fresh for up to 3 days. They are best eaten within a day.
Can I freeze the mini rolls?
I wouldn’t recommend freezing the mini rolls as the cream can de-stabilise if ice crystal form within it. However, you can freeze the chocolate sponge cake once it is baked. After you roll the cake layer up with baking parchment, before filling, allow the sponge to completely cool. Wrap in cling film and seal the ends, before freezing for up to 3 months. When you are ready to use the cake, allow the roll to defrost completely before filling and glazing.

More cake roll recipes to try
If you liked these mini chocolate rolls here are some other recipes that I think you’d enjoy…
Mini Chocolate Rolls
Ingredients
For the Chocolate Sponge Cake
- 3 Eggs Medium
- 75 g Caster Sugar or Superfine Sugar
- 25 g Cocoa Powder
For the Filling
- 100 ml Double Cream or Heavy Cream
- 25 g Icing Sugar or Powdered Sugar
- 1 tsp Vanilla Extract
For the Chocolate Glaze
- 200 g Dark Chocolate or Milk Chocolate if preferred
- 1 tbsp Coconut Oil
VIDEO
Instructions
- To make the cake sponge: Preheat oven to 180C/350F, and line a swiss roll tray, approx 13×9 inches, with baking parchment.
- Add the eggs and sugar into a large mixing bowl, and whisk on high with a handheld mixer for about 5-8 minutes until the mixture is thick and pale. When you lift the beaters out, they should leave a ribbon of the mixture on the surface. Alternatively you can use a stand mixer.3 Eggs, 75 g Caster Sugar
- Sieve the cocoa powder and add to the whisked mixture and gently fold in until completely combined. Be careful not to knock the air out.25 g Cocoa Powder
- Pour the mixture into the lined swiss roll tray and gently spread into the corners with a palette knife.
- Bake for 10-12 minutes until the sponge is light and springy to the touch.
- When baked allow the sponge to cool slightly in the tin. Whilst it is still warm, flip the sponge out onto another piece of parchment paper dusted with cocoa powder.
- Using the parchment for support, gently roll up the sponge, from each of the longer edges into the middle of the layer. You will end up with two long cake rolls. Set aside whilst you make the filling.
- To make the whipped cream filling: Add the cream, icing sugar and vanilla extract in a large bowl and whisk until the cream starts to thicken up but is still smooth enough to spread. Be careful not to over-whip as the cream will become grainy.100 ml Double Cream, 25 g Icing Sugar, 1 tsp Vanilla Extract
- To make the chocolate glaze: Break two-thirds of the dark chocolate into small pieces and place in a small bowl with the coconut oil. Gently melt together in a microwave in 30-second blasts or place the bowl over a pan of simmering water and gradually melt it, stirring until smooth.200 g Dark Chocolate, 1 tbsp Coconut Oil
- When the chocolate and coconut oil has melted to a smooth consistency, add the remaining chocolate and stir until melted. The heat from the melted chocolate will melt the chocolate.
- Place the glaze to one side to cool down until to becomes cool enough to handle. Don't let the glaze cool too much otherwise it won't be easily pourable.
- To assemble the mini chocolate rolls: Unroll the chocolate sponge and place onto a layer of cling film. Spread the whipped vanilla cream all over, taking the filling as close to the edge as possible. Make sure you don't add too much cream otherwise the cake will not roll easily.
- Re-roll the sponge layer back up into two cake rolls, making sure to get the spiral as tight as possible.
- Slice the chocolate sponge layer into two equal portions at the point where the two rolls meet; this will be approximately in the centre of the sponge layer.
- Place each roll, seam-side down on a piece of cling-film. Roll the cake roll up into the cling-film using it to tighten the swirl and pull the ends of the cling film tightly to secure. This will help form the perfect swirl and keep everything in place.
- Allow the full length chocolate rolls to chill in the fridge for at least 30 minutes to let the cream set.
- To glaze the mini chocolate rolls: Once the filled rolls have chilled, remove the cling film and slice into 3 or 4 portions, all equal in length. Use a smooth bladed knife to get the perfect cut.
- Place the mini chocolate rolls on a wire cooling rack and place a baking pan or tray beneath to gather the excess chocolate glaze.
- Pour the chocolate glaze over the chocolate rolls, ensuring that they have a good even coating and sides are coated. Use a small palette knife to smooth the chocolate glaze over the ends of the mini roll.
- Allow the chocolate to begin to set at room temperature before transferring the chocolate rolls onto a baking tray lined with greaseproof paper. Then chill again for a further 30 minutes to let the chocolate set completely.
- When ready to serve drizzle melted white chocolate over the top of the mini chocolate rolls to finish.
Notes
Nutrition
DISCLAIMER
The nutritional information provided is approximate and is calculated using online tools. Information can vary depending on various factors, but we have endeavoured to be as accurate as possible.

