
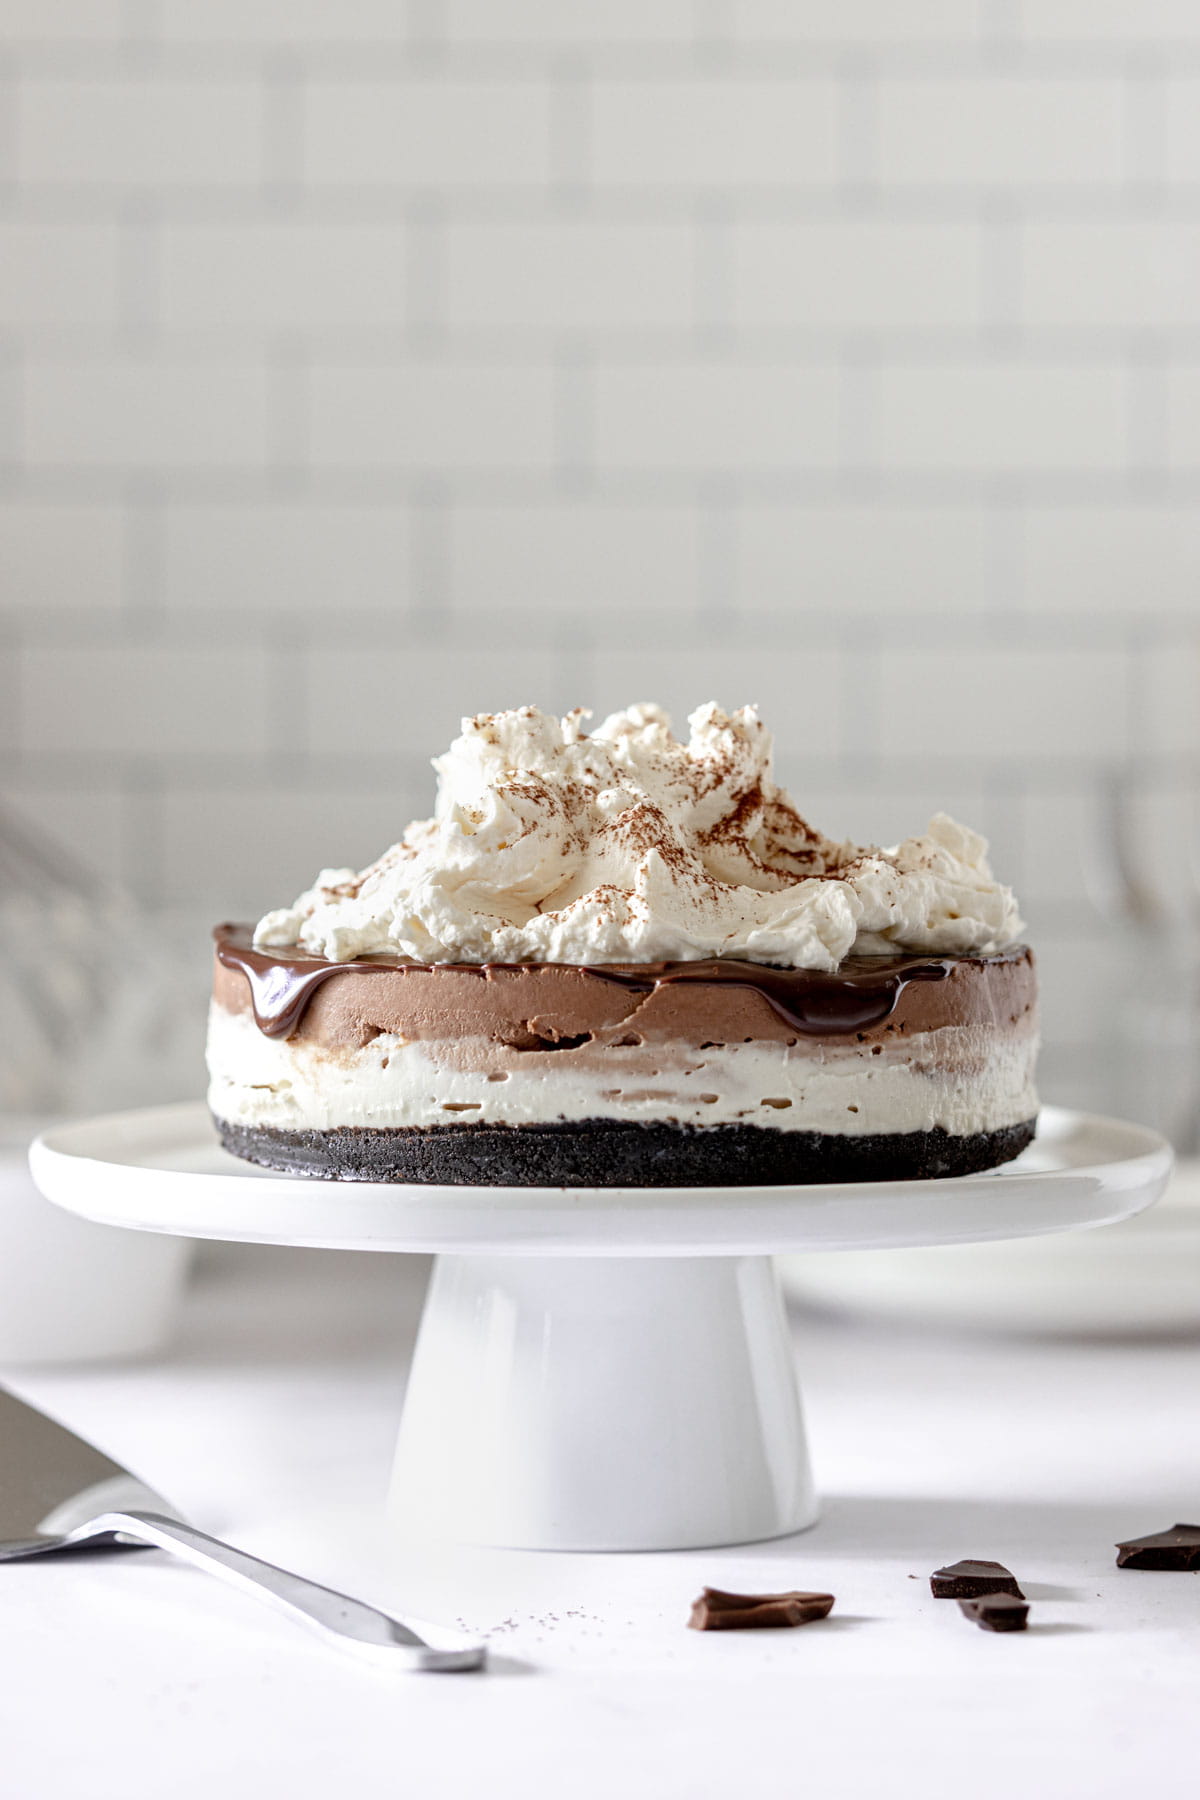
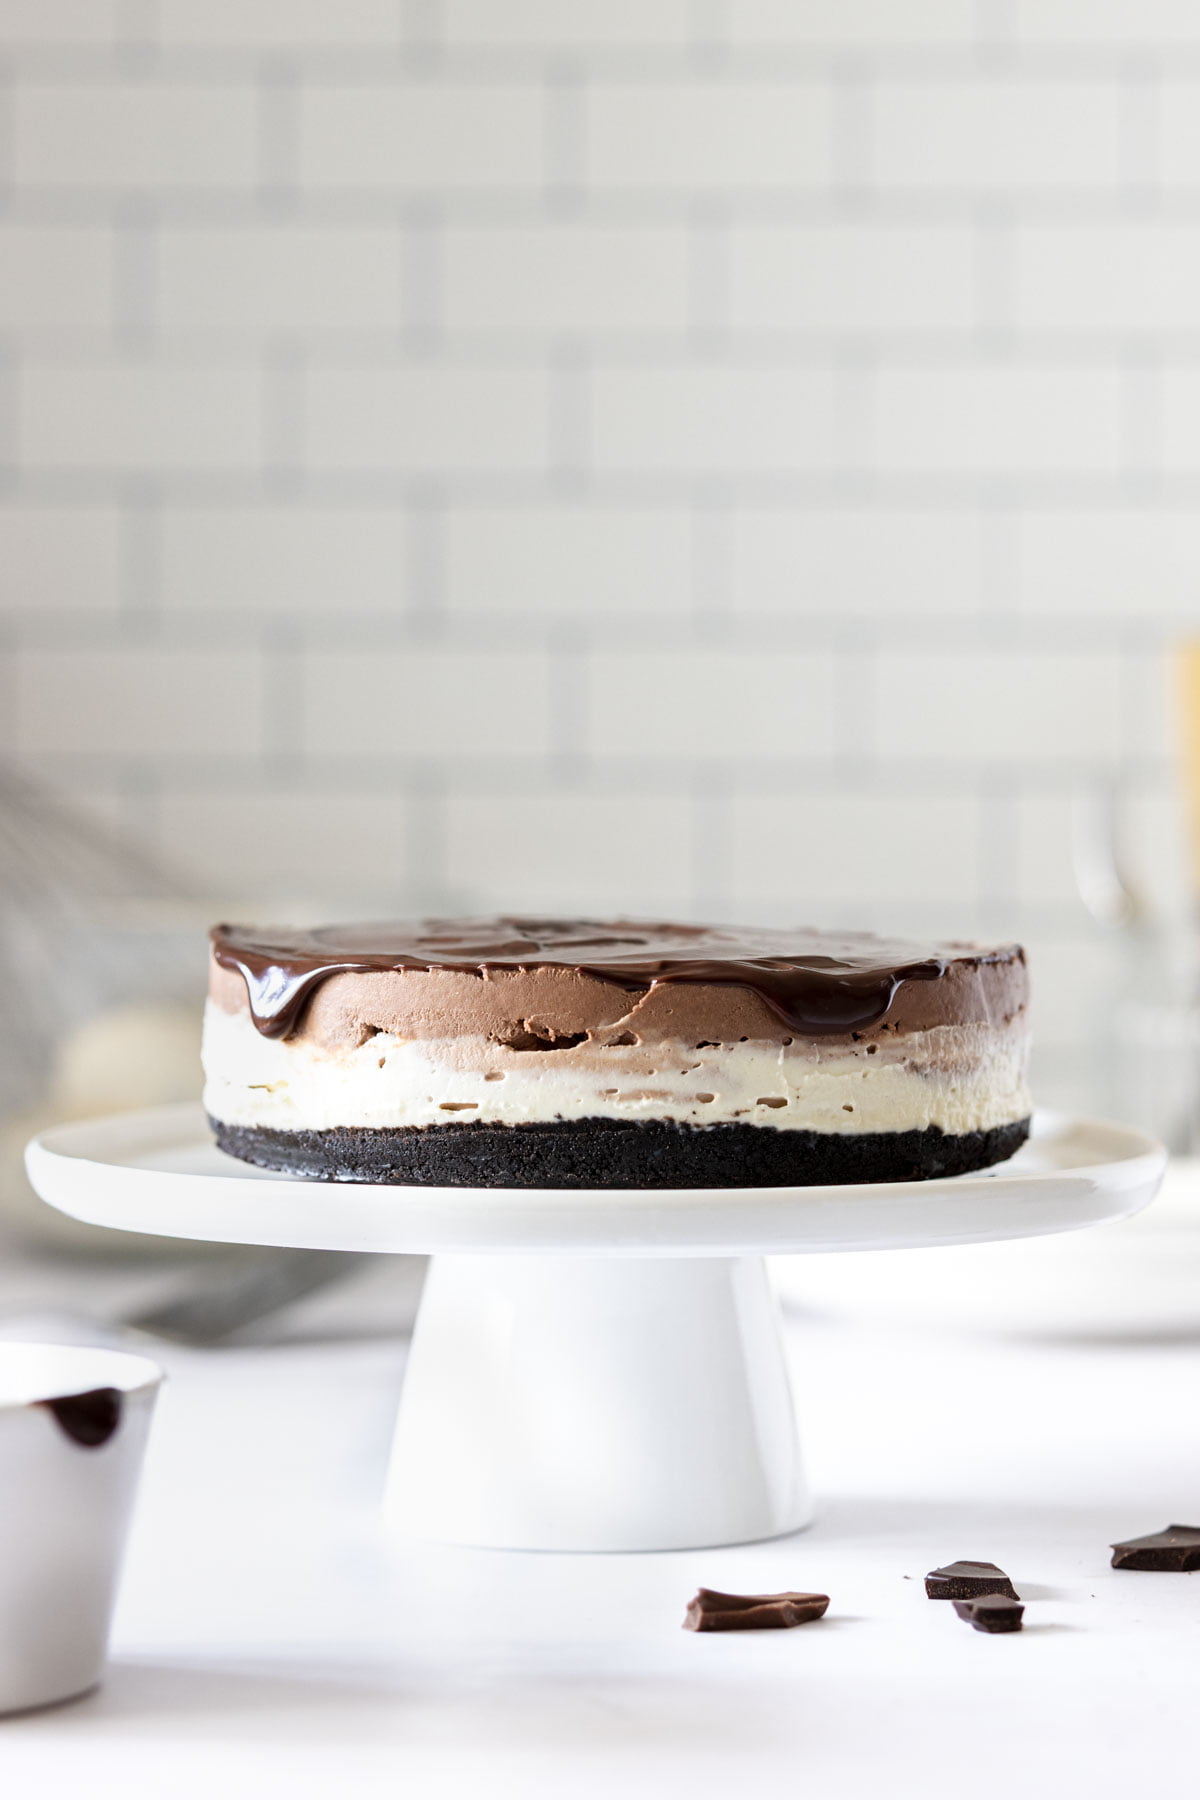
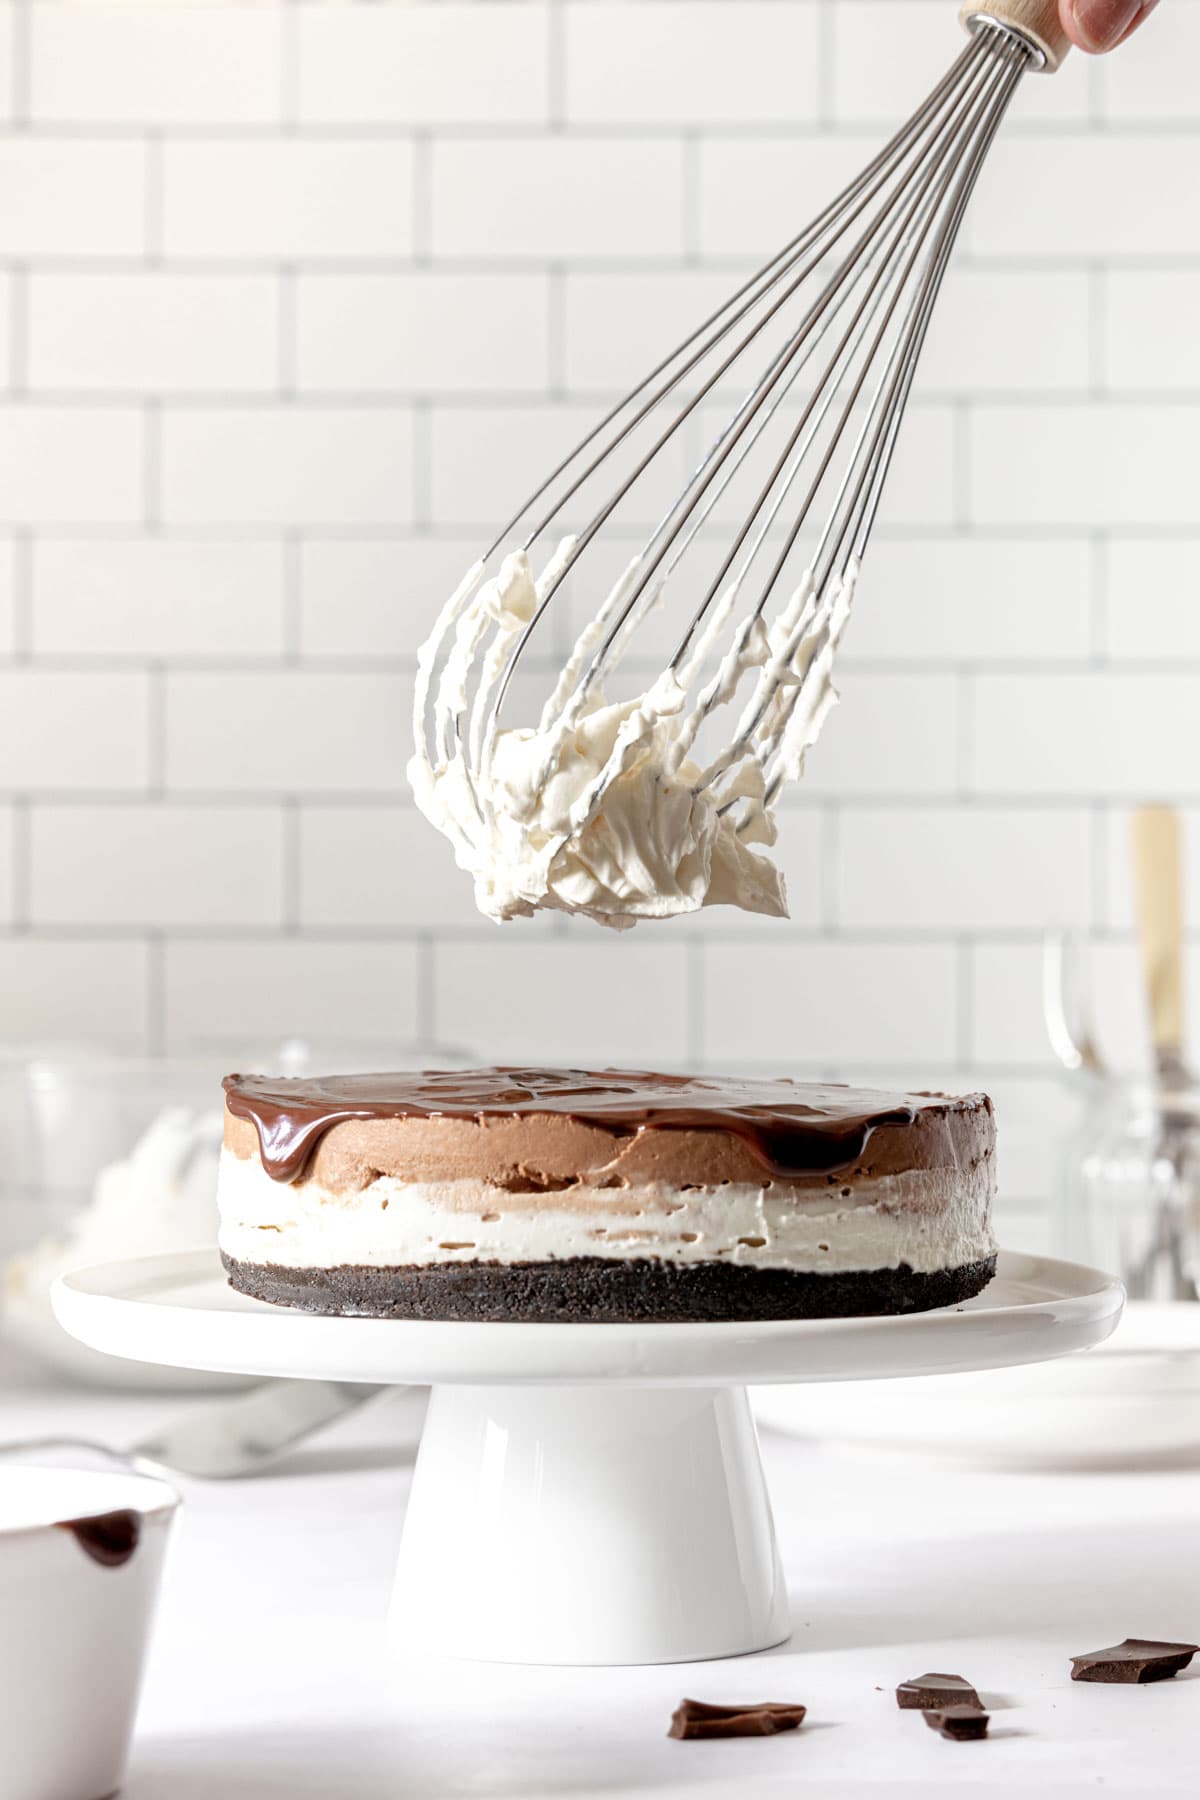
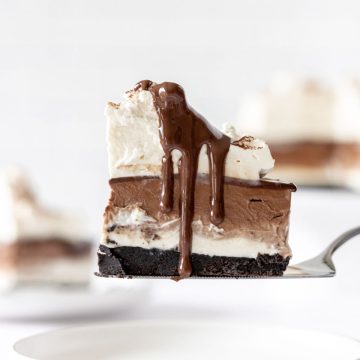
One bite of this decadently delicious triple chocolate cheesecake and there’s no going back! With an Oreo base, three layers of white, milk and dark chocolate cheesecake filling and all covered in a glossy chocolate ganache, this really is chocolate heaven. And to make it even better, it’s easy to make and no bake so no faffing with water-baths. Ready to try it?

Lou’s recipe overview
SKILL: Intermediate
TASTE: Chocolately, chocolate heaven
PROS: Quick to prepare, make ahead, all that chocolate
CONS: Waiting for it to set!
I’ve done it again, I’ve made another new favourite no bake cheesecake! I know, I know I said that the other week when I made my tiramisu cheesecake. But for someone that is a complete chocaholic this triple chocolate cheesecake; has to be my favourite… until I make something different; ha!
Anyway, this cheesecake has been swirling away in my mind for ages, and I thought it was about time I got it out of there and onto here. So you guys can indulge in a slice or two as well.
Unapologetically rich, I can guarantee you that this triple chocolate cheesecake is going to be a show-stopping dessert every time you make it. And while it packs enough chocolate flavour for the biggest chocaholic, it’s modestly easy to make ion no time at all.
The smooth and creamy, no bake cheesecake comes together without any effort, and with the super easy Oreo biscuit base, they bring together as much chocolate as you can get in one dessert.
The white chocolate, milk chocolate and dark chocolate layers give you that 3x chocolate flavour. And that glossy chocolate ganache and cloud of whipped cream whisk you away to chocolate heaven and beyond.
So if you’re a chocolate fan, go on reading. And if you’re not, then I’m sorry…
Ingredients
Check out my shopping list for ingredients and equipment
This no bake triple chocolate cheesecake is made with simple, no faff ingredients. Here’s everything you’ll need to make your own slice of chocolate heaven…
- Full-fat Cream Cheese – If you are able to buy cream cheese in blocks, then this is perfect and gives a beautiful creamy texture. In the UK, block cream cheese isn’t always readily available, so I use Philadelphia which works and tastes just as good. It is stable enough for baking and mixing without becoming slack and runny.
- Oreo Cookies – If you don’t want to use Oreos, then any chocolate biscuit will work. Why not try Bourbon biscuits or dark chocolate digestives instead.
- Unsalted Butter
- Double Cream or Heavy Cream
- White Chocolate – I used Menier chocolate for all the layers; it’s a little more expensive but it gives the perfect chocolate hit for this cheesecake. But you can use which ever chocolate you prefer to suit your budget.
- Milk Chocolate
- Dark Chocolate
- Icing Sugar
Recommended ingredients


BUDGET FRIENDLY: If you’re on a budget you can swap out most of the branded ingredients for store own-brands and many budget stores now stock good quality dupes that work just as well
Equipment
The equipment you will need to make this cheesecake is relatively basic; just make sure you have plenty of bowls and spoons handy for the cheesecake fillings. Here’s what I use in my kitchen…
- Springform Cake Pan – My absolute must-have for making cheesecakes. The clamp release side makes removing your cheesecake from the pan so much quicker and easier, with no mess. For this recipe, you’ll need an 8-inch pan
- Handheld Mixer – This Breville handmixer is my new favourite piece of kit. I absolutely love the soft grip, the power and the softening function if you need it
- Food Processor – I love my Magimix for if I have to blitz large quantities of biscuits, but you can also use a mini chopper for that perfect sandy texture. Alternatively you can bash them with a rolling pin if you prefer
- Angled Palette Knife – For that really smooth finish to the top of your cheesecake invest in an angled palette knife – it’s one of my top 10 essential pieces of baking equipment!
- Large Mixing Bowl and smaller mixing bowls
- Rubber Spatula
- Digital Kitchen Scales

8-inch Springform Pan ➝
Hand Mixer ➝
Angled Palette Knife ➝
CONVERT TO CUPS: There is a cup conversion option in the recipe card to convert the ingredients. This is automatic and I can’t guarantee the accuracy. For best baking results, I recommend using digital scales and weighing the ingredients.
How to make triple chocolate cheesecake
Full measurements and instructions can be found on the recipe card
Tried a no bake cheesecake recipe before, you’ll know just how easy and no faff they are to make. So here’s what you have to do…
The Oreo cookie base
Let’s start with one of my favourite parts of a cheesecake – the cookie crust!
- Crush the Oreo cookies to a sandy texture using a mini chopper or food processor. You can also crush them by hand, just break them into smaller pieces, place in a Ziploc bag and bash with a rolling pin
- Melt the butter and add to the Oreo crumbs in a large bowl, mixing everything together until well combined and the mixture looks like wet sand
- Press the Oreo crumb mixture into the bottom of a lined springform pan. Make sure the base is well packed. If not, when you cut the cheesecake it will crumble. Smooth over the base with the back of a spoon
- Chill the Oreo base in the fridge for at least 30 minutes to firm up while you make the filling
How simple was that?
TOP TIP: Make sure you crush the Oreos properly. If you have large Oreo chunks in the cheesecake base, they will cause the base to shatter when you slice and serve.
The chocolate cheesecake fillings
While the cookie base is chilling in the fridge, you’ve plenty of time to make filling and grab a quick cuppa as well!
- Mix together the cream cheese and icing sugar in a large mixing bowl. Be careful not to over-beat as this may cause he cream cheese to slacken and the filling may not set
- Add the double cream and vanilla extract and whisk everything together. The cream cause the cheesecake mixture to thicken and form soft peaks. You want the mixture to be thick but still smooth enough to spread easily
- Split the cheesecake mixture into three equal quantities and place in small bowls
- Melt the white chocolate either in a bowl over a pan of simmering water, or in the microwave in 30 second blasts. Pop the melted chocolate to the side to cool slightly
- Add the melted white chocolate to one bowl of cheesecake mixture and stir through until well combined
- Pour the white chocolate cheesecake mixture onto the chilled Oreo base and pop back in the fridge to chill while you prepare the next layer
- Repeat with the milk chocolate and dark chocolate until you have three layers of cheesecake filling
- Chill the cheesecake for at least 3-4 hours, over overnight is best
HOW IT SETS: This triple chocolate cheesecake does not contain gelatine or eggs, and uses full-fat cream cheese and double cream to set the filling. Some recipes suggest gelatine, but I prefer the simplicity of this recipe and the smooth and creamy texture it gives the cheesecake
The chocolate ganache
The chocolate ganache is totally an optional extra, but heck if you’re going in for triple chocolate why not add as much chocolate as you can! And it’s super easy to make.
- Add the dark chocolate into a heatproof bowl, making sure you have broken it into pieces first
- Gently heat the cream in a small saucepan, over a low heat, until it begins to simmer
- Pour the warm cream over the dark chocolate. Allow the cream and chocolate to sit for a minute or two, then stir together until the chocolate has completely melted
- Leave the ganache to cool before pouring over the top of the cheesecake
When pouring the ganache onto the cheesecake, make sure you save some for an extra drizzle when you serve!
TOP TIP: I make the chocolate ganache about 30 minutes to an hour before I’m ready to serve the cheesecake. But you can make it in advance, and warm it slightly in the microwave for 30 seconds so that it’s easy to pour and spread over the cheesecake
Assembling the cheesecake
For your final step, it’s time to take the cheesecake out of the springform pan and serve!
After you’ve removed the cheesecake from the pan, pour the chocolate ganache into the centre and gently use an angled palette knife or the back of a spoon to push it to the edges. Allow the ganache to run over the sides slightly for a decadent drip.
If you want to add extra indulgent, whip up some double cream with some vanilla extract and icing sugar, until it forms thick soft peaks. Spoon clouds of whipped cream onto the ganache and dust with cocoa powder.
Then get ready to get stuck in!
Step-by-step live video

Tips for success
Although this is an easy recipe, making sure you get the cheesecake filling the right consistency can be challenging . Here are a few tips for making this triple chocolate cheesecake…
- Invest in a springform cake pan – Have you ever tried to get a cheesecake out of a normal cake pan? What a mess! I can’t live without my springform cake pan for making no-bake cheesecakes. The outer ring unclips and lets you release the cheesecake without having to turn it out.
- Use full-fat cream cheese – As the recipe does not contain gelatine to help the filling set, it’s important to make sure that you use full-fat cream cheese. The fat content will help the filling set and will give you the smooth, creamy texture you’re looking for
- Start with room temperature cream cheese – Before you start making the cheesecake, take your cream cheese out of the fridge 5-10 minutes before. Cold cream cheese can be prone to lumps and you’ll want to avoid those; also, it whips to a creamier texture.
- Whip the cream to soft peaks – To help the filling set, you need to whip the cream up so that it forms thick, soft peaks; but be careful not to over-whip it. Double cream is quite stable when whipped but it can vary depending on the type of cream available in your country
- Too runny? – If your cream is not whipping up or the filling seems too runny, try adding more cream cheese. Just remember to not over-whip it, as the cream cheese will slacken and the filling will not set fully.
- Make sure to set the cheesecake for at least 3-6 hours – As there is no setting agent like gelatine in the recipe, you really do need to let the filling set properly in the fridge for a minimum of 3 hours, or preferably 6 hours and even better overnight if you can.

FAQs about triple chocolate cheesecake
What size baking pan do I need to use?
The cheesecake is best made in an 8-inch springform cake pan, and will serve between 10-12 portions, depending on how you slice the cheesecake.
How should I store the cheesecake?
The cheesecake should be keep chilled in the fridge. Cover the cheesecake loosely with cling film or kitchen foil. I recommend keeping the cheesecake in the tin until you are ready to serve.
How long will the cheesecake last for?
If stored correctly, the cheesecake will keep for up to 3 days.
Can I freeze the cheesecake?
The cheesecake can be frozen for up to 3 months. I recommend freezing without the ganache and topping. If freezing, wrap the set cheesecake with cling film and a layer of kitchen foil. This reduces the risk of ice crystals forming in the filling and helps protect from freezer burn. Allow the cheesecake to defrost in the fridge before topping with ganache and serving.

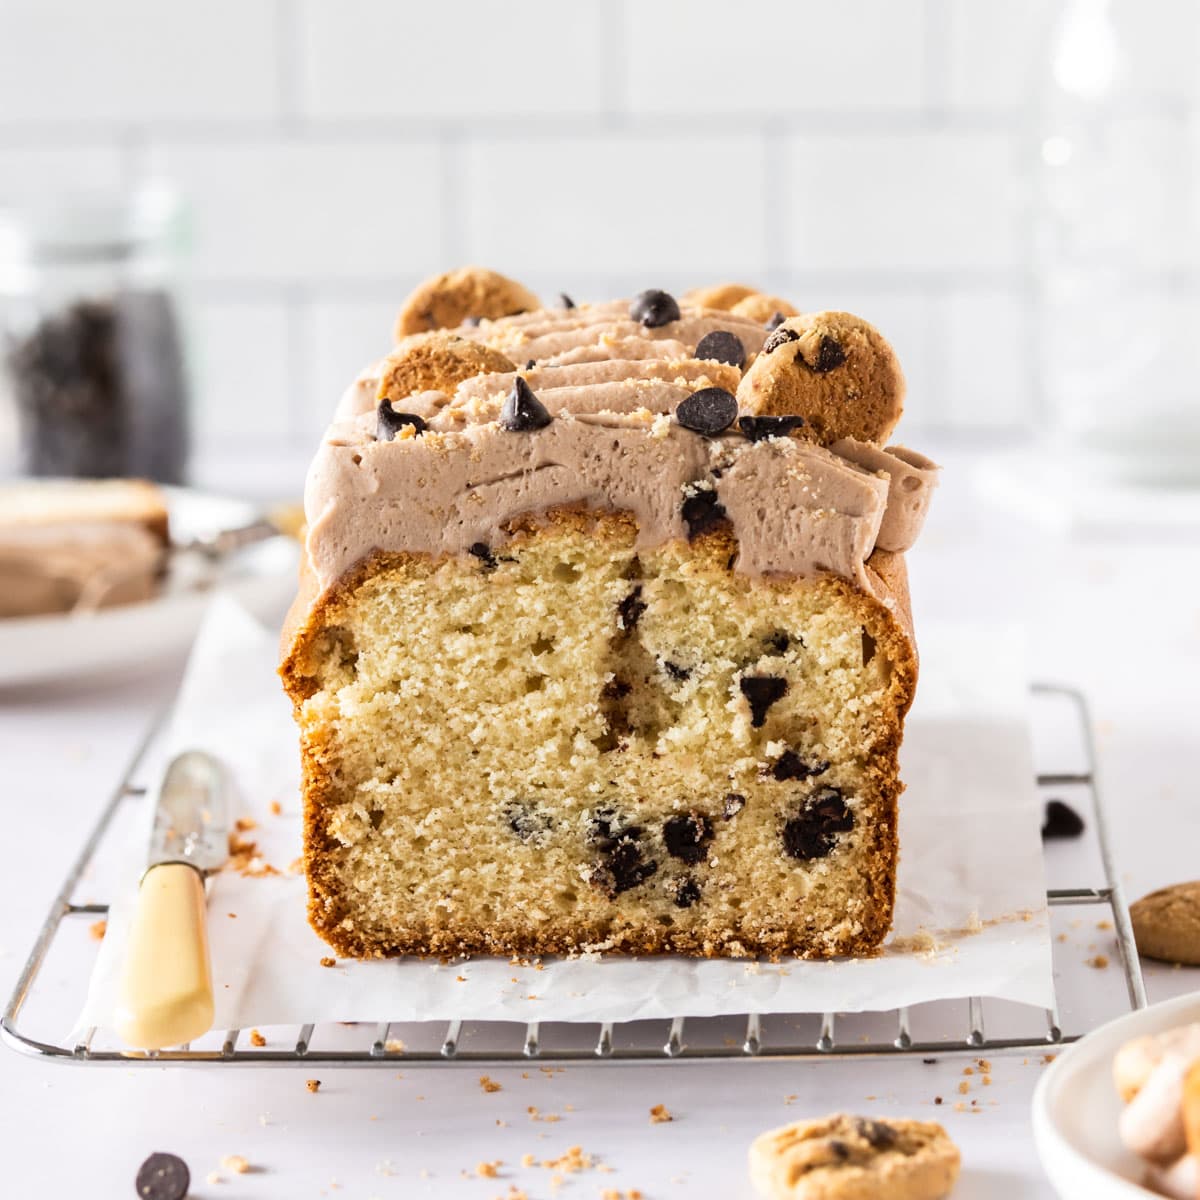
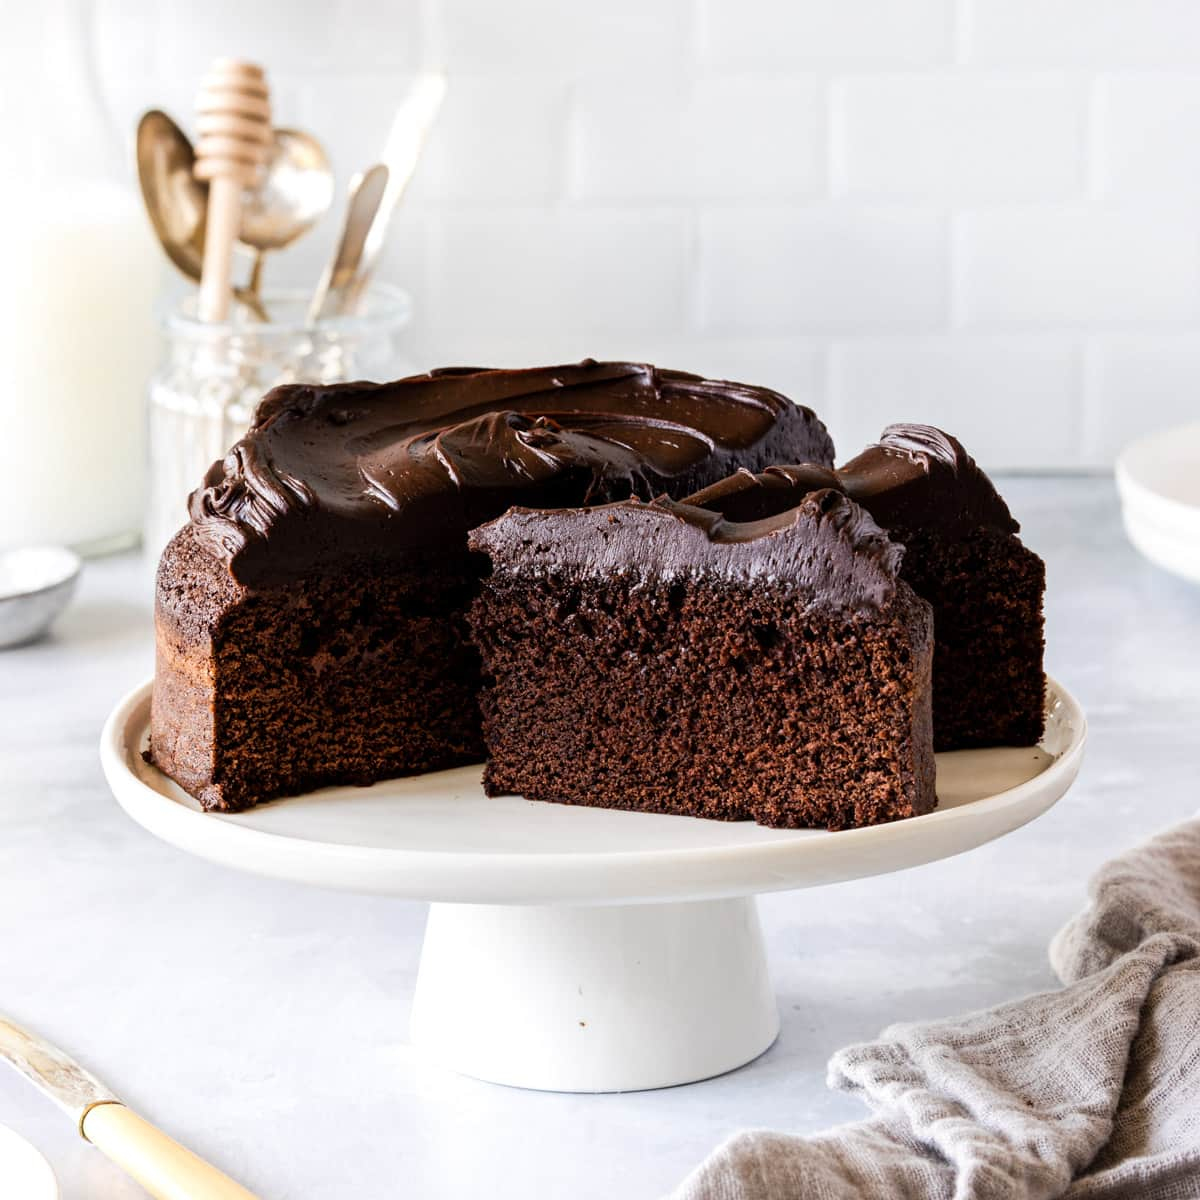
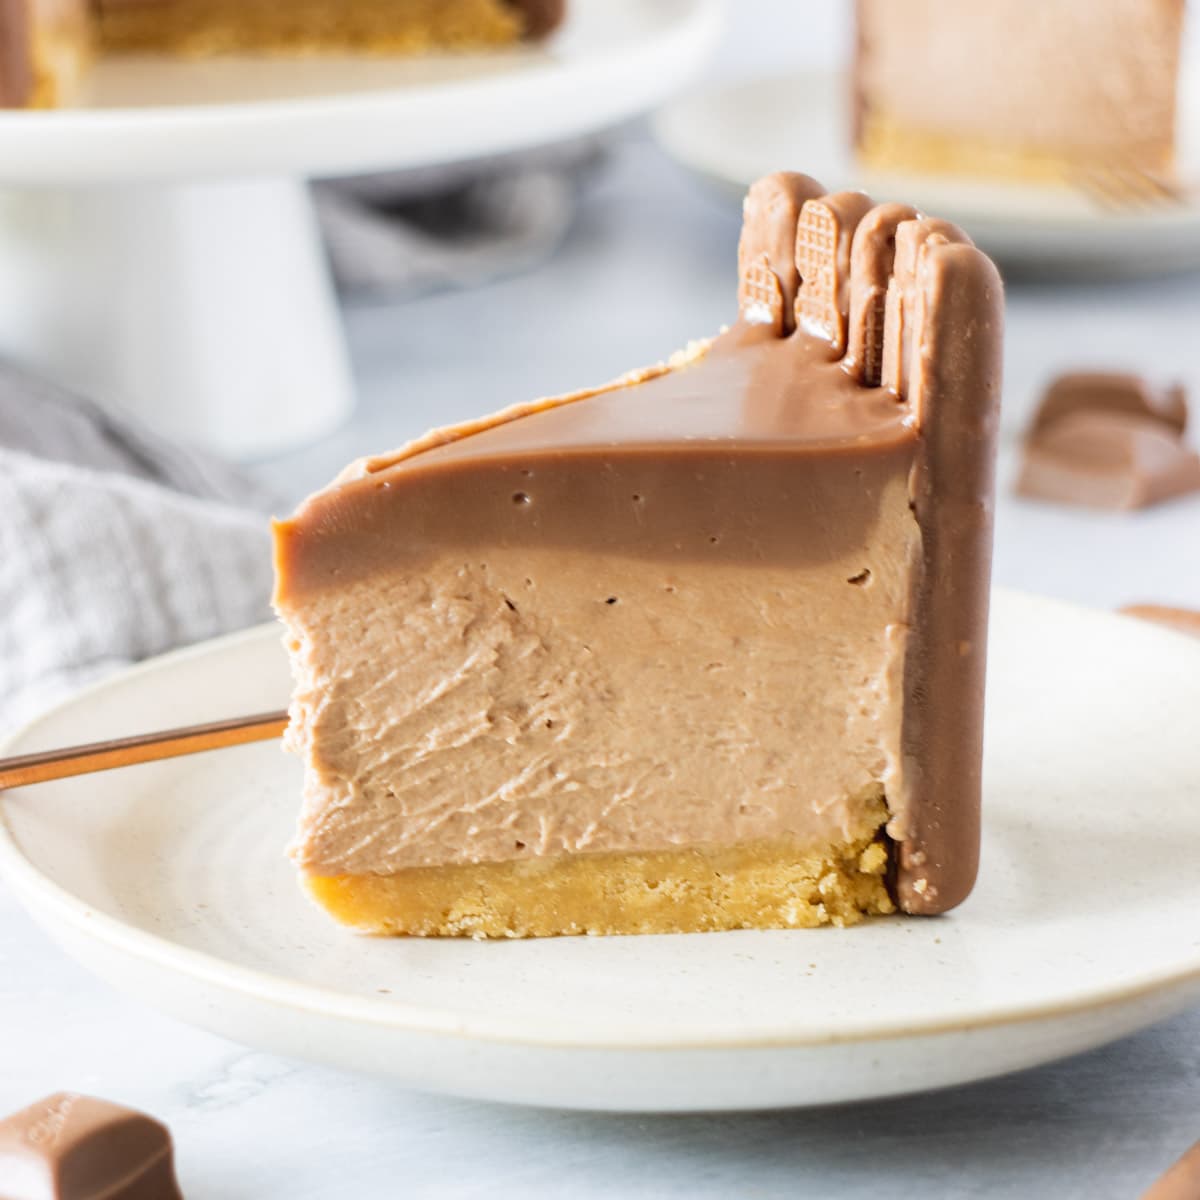
More chocolate recipes to try
If you liked this triple chocolate cheesecake recipe here are some other recipes that I think you’d enjoy…
No Bake Triple Chocolate Cheesecake
Ingredients
- 250 g Oreo Cookies or Bourbon Biscuits
- 60 g Butter Unsalted, Melted
- 500 g Cream Cheese Full-fat
- 75 g Icing Sugar or Powdered Sugar
- 300 ml Double Cream or Heavy Cream
- 1 tsp Vanilla Extract
- 75 g White Chocolate
- 75 g Milk Chocolate
- 75 g Dark Chocolate
For the Ganache
- 100 ml Double Cream or Heavy Cream
- 100 g Dark Chocolate
For Decoration (Optional)
- 100 ml Double Cream or Heavy Cream
- Cocoa Powder
VIDEO
Instructions
Make the biscuit base
- Line an 8-inch springform cake pan with baking parchment, by clamping a square of parchment in place.
- Add the Oreo cookies into a food processor, and blitz until they form a sandy-like crumb. Add the biscuit crumb to a large mixing bowl and make a well in the centre then pour in the melted butter.250 g Oreo Cookies, 60 g Butter
- Mix together until well combined until the crumb mixture is like a wet-sandy texture. Then pour the mixture into the lined springform pan.
- Level-off the crumb mixture with the back of a spoon, pressing down to compact the base and smooth out to the edges. Chill in the fridge for at least 30 minutes.
Make the cheesecake filling
- Using a hand mixer and a large mixing bowl, whisk the icing sugar and cream cheese until combined. Don't overbeat the mixture, otherwise the cream cheese will slacken. Alternatively, you can make the cheesecake filling with a stand mixer with the balloon attachment or by hand with a balloon whisk.500 g Cream Cheese, 75 g Icing Sugar
- Add the double cream and vanilla extract to the cream cheese mixture, and whisk with a hand mixer until the mixture is thick and creamy but still easily spreadable.1 tsp Vanilla Extract, 300 ml Double Cream
- Divide the cheesecake filling into 3 equal quantities and place in 3 small mixing bowls.
- Add the white chocolate to a small heatproof bowl and place over a saucepan of simmering water. Make sure that the bowl does not touch the water; the water should be about 2-3cm deep. Heat until the white chocolate has almost melted. Remove the chocolate bowl from the heat and stir; the residual heat will melt the remaining chocolate. Set aside to cool slightly. Alternatively, melt in the microwave in 30-second blasts.75 g White Chocolate
- Add the melted white chocolate into one of the cheesecake filling bowls and mix together until well-combined.
- Repeat with process with the milk chocolate and dark chocolate. You will end up with 3 portions of chocolate cheesecake filling.75 g Milk Chocolate, 75 g Dark Chocolate
Assemble the cheesecake
- Pour the white chocolate cheesecake mixture over the top of the chilled biscuit base, and smooth out to the edges with the back of a spoon and level with an offset spatula. If time pop the cheesecake into the fridge for 10 minutes before adding the next layer.
- Repeat with the milk chocolate cheesecake mixture. Carefully add on top of the white chocolate layer and gently smooth and level. Repeat with the dark chocolate cheesecake mixture. Chill the cheesecake in the fridge for 6-7 hours or overnight.
- Chill the cheesecake in the fridge for 6-7 hours or overnight before serving.
Make the chocolate ganache (optional)
- You can serve the cheesecake with or without the ganache
- Break the dark chocolate into pieces and place in a heatproof bowl.100 g Dark Chocolate
- In a heavy bottomed saucepan, gently heat the double cream over a low to medium heat. When the cream starts to gently boil, pour over the chocolate and allow it to melt for 1 minute.100 ml Double Cream
- Gently stir together the chocolate and cream, then leave to cool for at least 30 minutes before pouring over the set cheesecake.
Decorating the cheesecake (optional)
- When ready to serve, pour over the chocolate ganache and use an angled palette knife to gently spread it over the top; if necessary.
- Whisk the remaining double cream until it is thick and smooth, but still spreadable. Spoon on the cream on top of the ganache, dust with cocoa powder then serve.Cocoa Powder, 100 ml Double Cream
Notes
- Your cheesecake will keep for up to 3 days in the fridge and up to 3 months in the freezer. When freezing make sure you wrap it well with cling film or plastic wrap, and then a layer of aluminium foil to prevent ice crystals forming in the filling. Remember to allow the cheesecake to thaw before serving.
- Use a springform cake pan so you can release your cheesecake without running the risk of damaging it in the process.
- Full-fat cream cheese is a must – a traditional cream cheese, either a block or something like Philadelphia. Don’t be tempted to overbeat your cream cheese, it will slacken and your filling won’t set properly.
- Use room temperature cream cheese to avoid any potential lumps that you might get if it is too cold.
- Whip double or heavy cream so it forms soft, thick peaks, but be careful not to overwhip it. Double cream tends to be quite stable when whipped, but it can vary depending on the type of cream available in your country.
- Too runny? – If your cream is not whipping up or seems too runny, try using less cream and more cream cheese. And remember don’t overbeat your cream cheese!
Nutrition
DISCLAIMER
The nutritional information provided is approximate and is calculated using online tools. Information can vary depending on various factors, but we have endeavoured to be as accurate as possible.

