
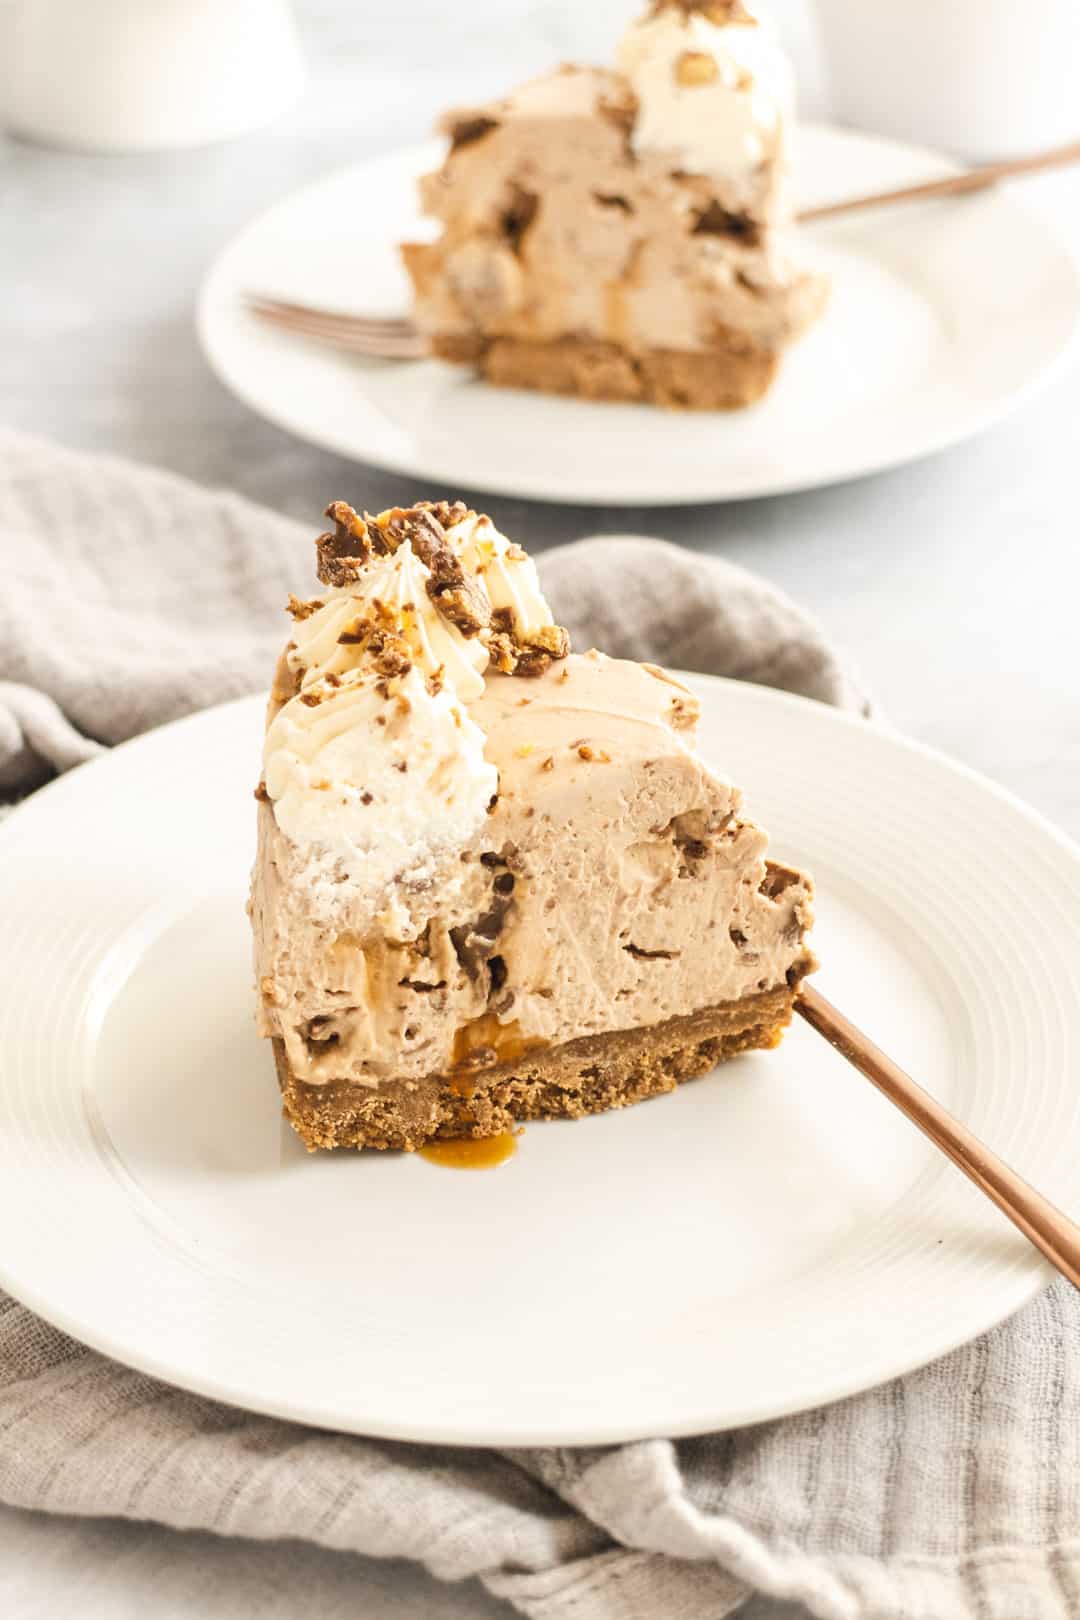
If you love a Crunchie bar, this Crunchie cheesecake is going to be your new favourite dessert. Rich milk chocolate cheesecake filling, packed with chunks of chocolate honeycomb, on a thick milk chocolate biscuit base. It takes about 30 minutes to put together, sets overnight, and it disappears fast – you’ve been warned. No oven, no gelatine, no water bath. Just pure chocolate honeycomb indulgence.


Lou’s recipe overview
SKILL: Intermediate
TASTE: Rich, chocolate and honey indulgence
PROS: Quick all in one recipe
CONS: Getting a slice before it disappears
You guys seriously love a no bake cheesecake! Every day another request lands in my inbox or a comment on the Facebook page with a flavour recommendation. I love it!
So it’s time to introduce you to the newest addition, and the one that probably overtakes my Malteser cheesecake as my top, top favourite – my no bake Crunchie cheesecake!
This piece of dessert heaven is absolutely show-stopping and when presented to my family recently, it disappeared in minutes, if not seconds flat. So I know you’ll love it too, and here’s why…
- It’s super simple to make – and easiness doesn’t mean that its compromised on flavour. No way!
- It’s utterly delicious with a smooth milk chocolate cheesecake filling packed full of chocolate honeycomb pieces
- It’s no bake, so there’s no messing around with water baths and keeping your fingers crossed, hoping that it doesn’t crack
- It uses store cupboard ingredients and there’s no fancy equipment
How does that sound?

What is a Crunchie?
It’s one the best sweet and sugary confections out there! Well, in my opinion it is!
And for those of you not familiar with Cadbury’s Crunchie bars, you may know the inside of the bar as hokey pokey, cinder toffee or sponge toffee. The golden, crunchy and sugary toffee is then coated in Cadbury’s Dairy Milk chocolate.
They are one of my favourite childhood chocolate bars, and still bring back memories when I take a bite – that Friday Feeling!
Ingredients for no-bake Crunchie cheesecake
Check out my shopping list for ingredients and equipment
So you’re ready to get stuck in and make this cheesecake? Yes! Great, then you’ll need to grab these ingredients…
- Crunchie Bars – If you can’t get these, chocolate covered honeycomb or honeycomb pieces can be used instead
- Milk Chocolate – I use Cadbury Dairy Milk as it’s the same chocolate that coats the Crunchie bars, but you can use any milk chocolate you prefer. Milka chocolate also works well
- Milk Chocolate Digestive Biscuits – I use milk chocolate ones, as they will go well with the milk chocolate cheesecake filling. You can switch these for a regular digestive biscuit or chocolate chip cookies if you prefer. You could also use Oreos but I find they are a bit too chocolately for the cheesecake.
- Butter – To help bind the biscuit base together
- Full-Fat Cream Cheese – Using a full-fat cream cheese is important to help the cheesecake filling set. Use either Philadelphia, block cream cheese or something similar for a smooth, creamy texture
- Double or Heavy Cream – Again a high fat content is important to help the cheesecake filling set. If you can’t get double or heavy cream, them whipping cream can be used
- Icing Sugar or Powdered Sugar – To add a little sweetness; powdered is best as it combines into the filling without causing a gritty or grainy texture that granulated sugar would do
Recommended ingredients


Try a Malteser and Crunchie combo: If you want an extra layer of texture and flavour, try swapping half the Crunchie bars for crushed Maltesers in the filling. The light honeycomb crunch from the Crunchie and the malt-chocolate bite from Maltesers work brilliantly together. You can also add a handful of Maltesers on top alongside the Crunchie pieces for decoration.
Equipment you’ll need
Check your kitchen cupboards, you’ve probably got everything you need all ready in there. These are what I use…
- Large mixing bowl
- Handheld mixer – This Breville handmixer is my new favourite piece of kitchen equipment
- Food Processor – I use my Magimix food processor for getting a beautifully even fine crumb in my biscuit base. It makes easy work of crushing the biscuits, but if you don’t have a food processor you can use a mini chopper or the old-fashioned way and bash them with a rolling pin
- Springform cake pan– A must-have for cheesecakes; the quick release makes removing the cheesecake from the pan super easy. For this recipe, you’ll need an 8-inch pan
- Offset spatula – Ideal for a really smooth finish to the top of your cheesecake – it’s one of my top 10 essential pieces of baking equipment!
- Rubber spatula
- Digital Kitchen Scales
How to make no-bake Crunchie cheesecake – step by step
Full measurements and instructions can be found on the recipe card
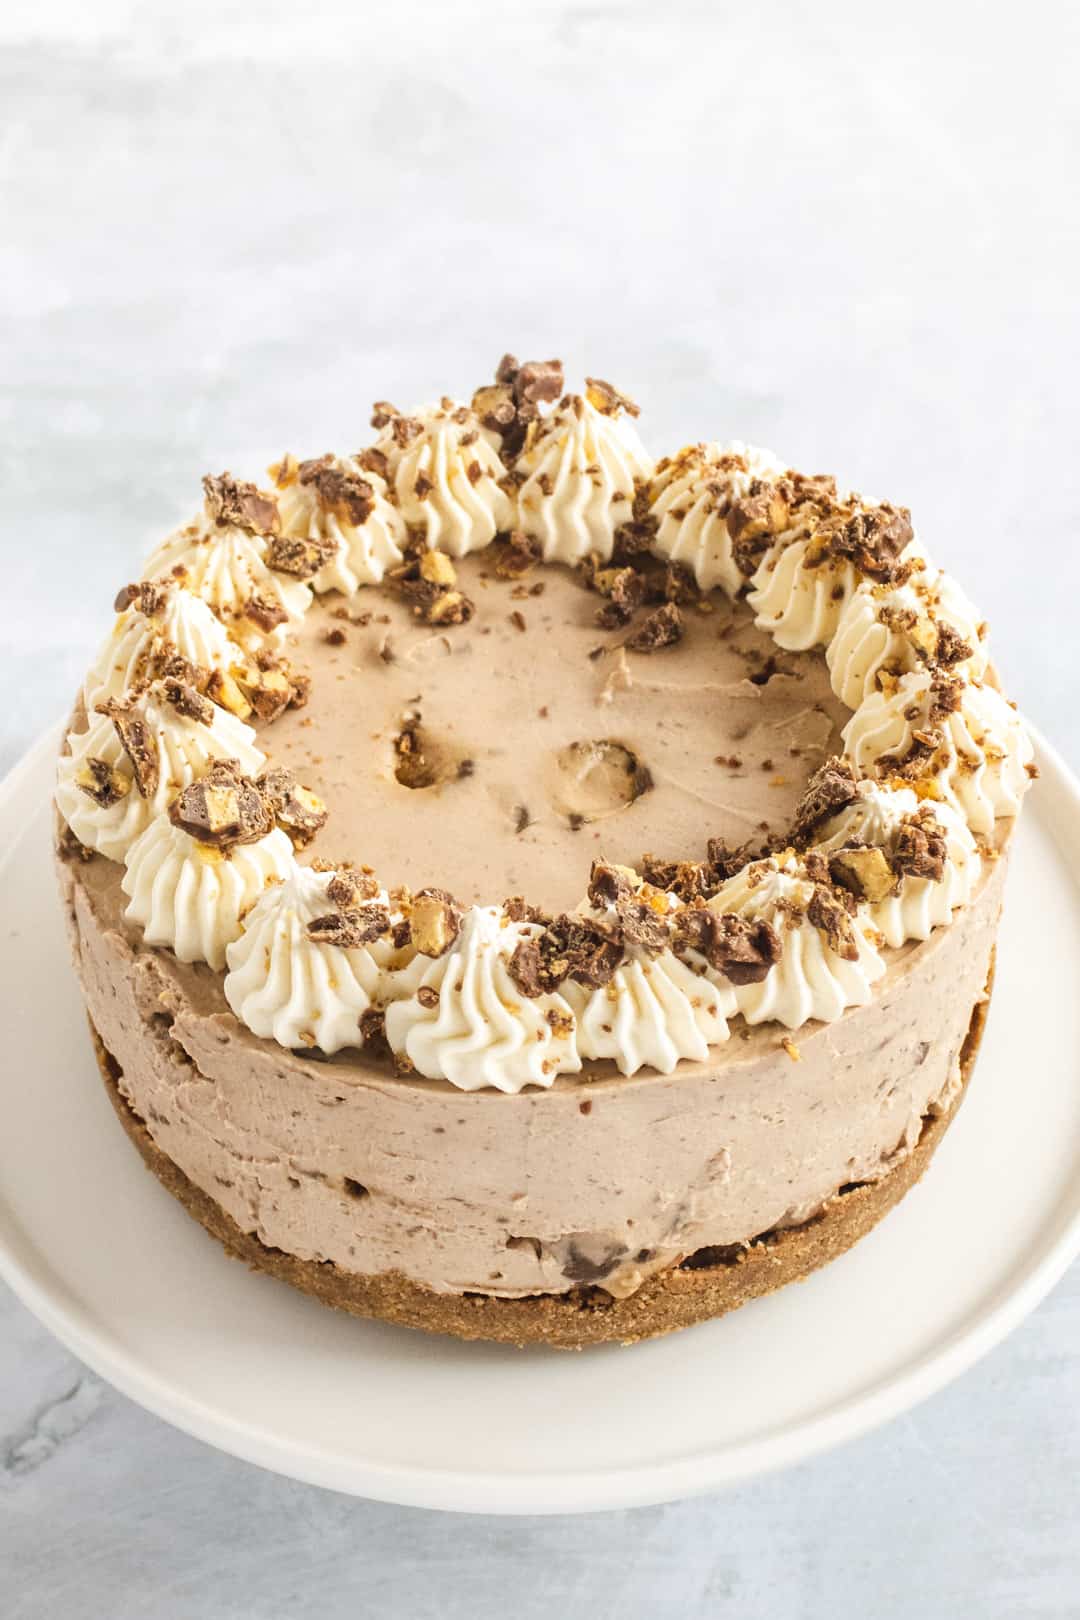
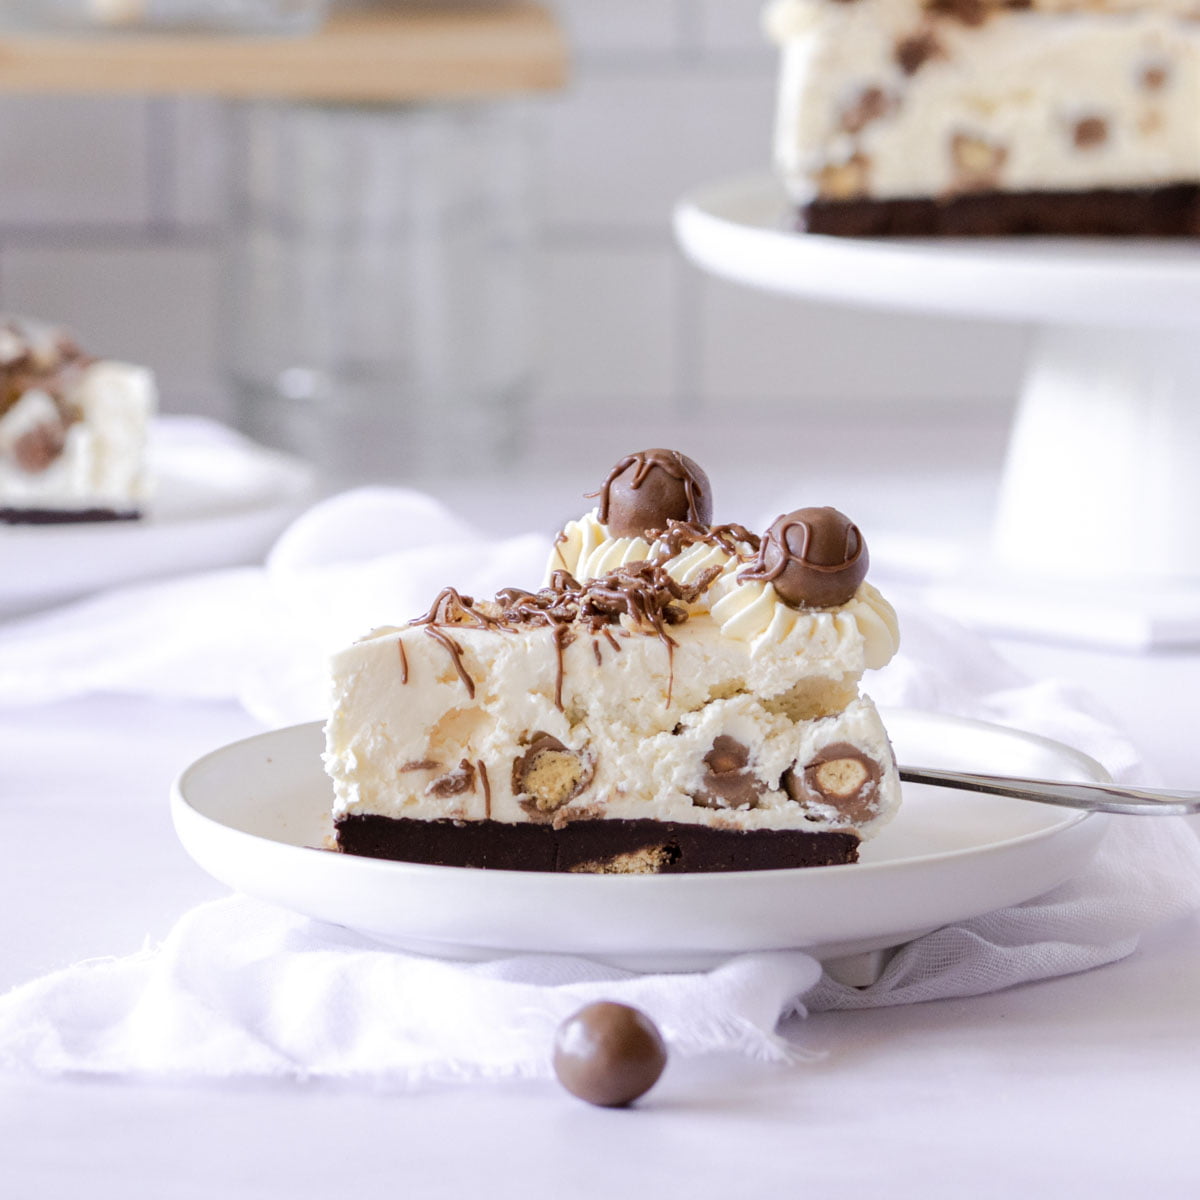
Just like the chocolate orange cheesecake and mint Aero cheesecake, I hope that I don’t need to persuade you to make this Crunchie cheesecake. I mean, just take a look at that cheesecake with its creamy chocolate honeycomb filling, milk chocolate biscuit base and those caramel-golden Crunchie bar pieces peeking through. You know you want to make it.
The biscuit base
- Start by crushing your biscuit of choice either using a food processor or in a Ziploc bag with a rolling pin. I’ve used for milk chocolate Digestive biscuits, but you could use chocolate cookies or regular Digestive biscuits
- Next add the crushed biscuits into a large mixing bowl
- Pour the melted butter into the crushed biscuits and stir together to form a crumb dough.
- Press the biscuit mixture into the bottom of a springform cake pan, levelling off and smooth over with the back of a spoon.
- Pop the biscuit base into the fridge for 30 minutes to an hour to firm up.
TOP TIP: If you find a spoon difficult to level the biscuit base off, use a tumbler glass or measuring cup to pack down the biscuit base.
The cheesecake filling
The ideal time to make the filling is while the base is chilling in the fridge! It takes a matter of minutes, so there’s also plenty of time to grab a cuppa as well!
- Start by melting the chocolate, either using a bain marie double boiler or in 30-second blasts in the microwave then leave to cool down
- Add the cream cheese and the icing sugar into a large mixing bowl and gently fold together
- Add in the cream and beat until the filling becomes thick and creamy. You can use a handheld mixer or a stand mixer with the paddle attachment
- Add the melted chocolate and chopped Crunchie bars into the filling and stir through until well distributed.
- Pour the cheesecake filling on to the chilled base, level off and pop back in the fridge to set overnight
TOP TIP: Be careful not to overbeat the filling as the cream with become grainy. You want it to be smooth enough to spread easily with a palette knife.
To finish the cheesecake
When the cheesecake has chilled and is set, it’s ready to decorate.
You could drizzle with a chocolate sauce and scatter over more pieces of chocolate honeycomb; I prefer to pipe a little extra whipped cream around the top and add crushed Crunchie bars.
TOP TIP: Place a long knife under hot water. Dry off then run the warm knife carefully around the edge of the cheesecake filling to release it from the side of the springform cake pan
Step by step live video
Top tips for the best Crunchie cheesecake every time

FAQs about no-bake Crunchie cheesecake
How many does the cheesecake serve?
An 8-inch round springform pan will serve 10-12 slices.
How should the cheesecake be stored?
Once the filling has chilled and set, store the cheesecake in the fridge, either covered loosely with cling film/ plastic wrap or foil.
How long does the cheesecake keep?
The cheesecake will keep up to 3 days in the fridge.
Can the cheesecake be frozen?
Yes it can be; for up to 3 months. Make sure that you wrap the cheesecake with cling film/ plastic wrap and a layer of kitchen foil. This will help protect the cheesecake from freezer burn and reduce the potential of ice crystals forming. Remember to allow the cheesecake to defrost in the fridge before serving.
How does the cheesecake set?
This recipe does not contain gelatine, and the recipes uses full-fat cream cheese and double/heavy cream to set the filling. Some recipes suggest gelatine, but I prefer the simplicity of this recipe and the smooth and creamy texture it gives the cheesecake.
Why has my cheesecake filling not set?
There could be a number of reasons ranging from the ingredients to the weather but the most common reason is that the filling hasn’t been whipped enough.
Can I use Philadelphia cream cheese for this Crunchie cheesecake?
Philadelphia works perfectly and is actually one of my preferred choices for this recipe. Use the full-fat Original Philadelphia, not the light version. The fat content is what helps the filling set properly without gelatine. Block cream cheese works equally well if you prefer.
Can I combine Maltesers and Crunchie bars in this cheesecake?
Absolutely and it’s a great combination. Swap half the Crunchie bars for an equal weight of Maltesers in the filling. The Malteser adds a malty, lighter chocolate note alongside the honeycomb crunch of the Crunchie. You can also decorate the top with a mix of both, which looks impressive and tastes even better.
What can I use if I can’t get Crunchie bars?
Any chocolate-covered honeycomb will work – look for honeycomb pieces, cinder toffee, or hokey pokey (the name used in New Zealand and Australia). Violet Crumble bars are a popular alternative in Australia. Alternatively, you can make your own honeycomb at home – see the section above for a simple three-ingredient method.

Could I make my own honeycomb?
You’ll need just three ingredients: caster sugar, golden syrup and bicarbonate of soda. Heat the sugar and golden syrup together until bubbling and amber in colour, then quickly stir in the bicarb (it will foam up dramatically, that’s normal), pour onto baking parchment and leave to set. Once cooled, break into chunks and use exactly as you would Crunchie bar pieces.
If you want the full chocolate coating like a Crunchie bar, dip the set honeycomb pieces in melted milk chocolate and allow to set before adding to your cheesecake filling.
More cheesecake recipes to try
If you liked this no bake Crunchie cheesecake recipe here are some other recipes that I think you’d enjoy…


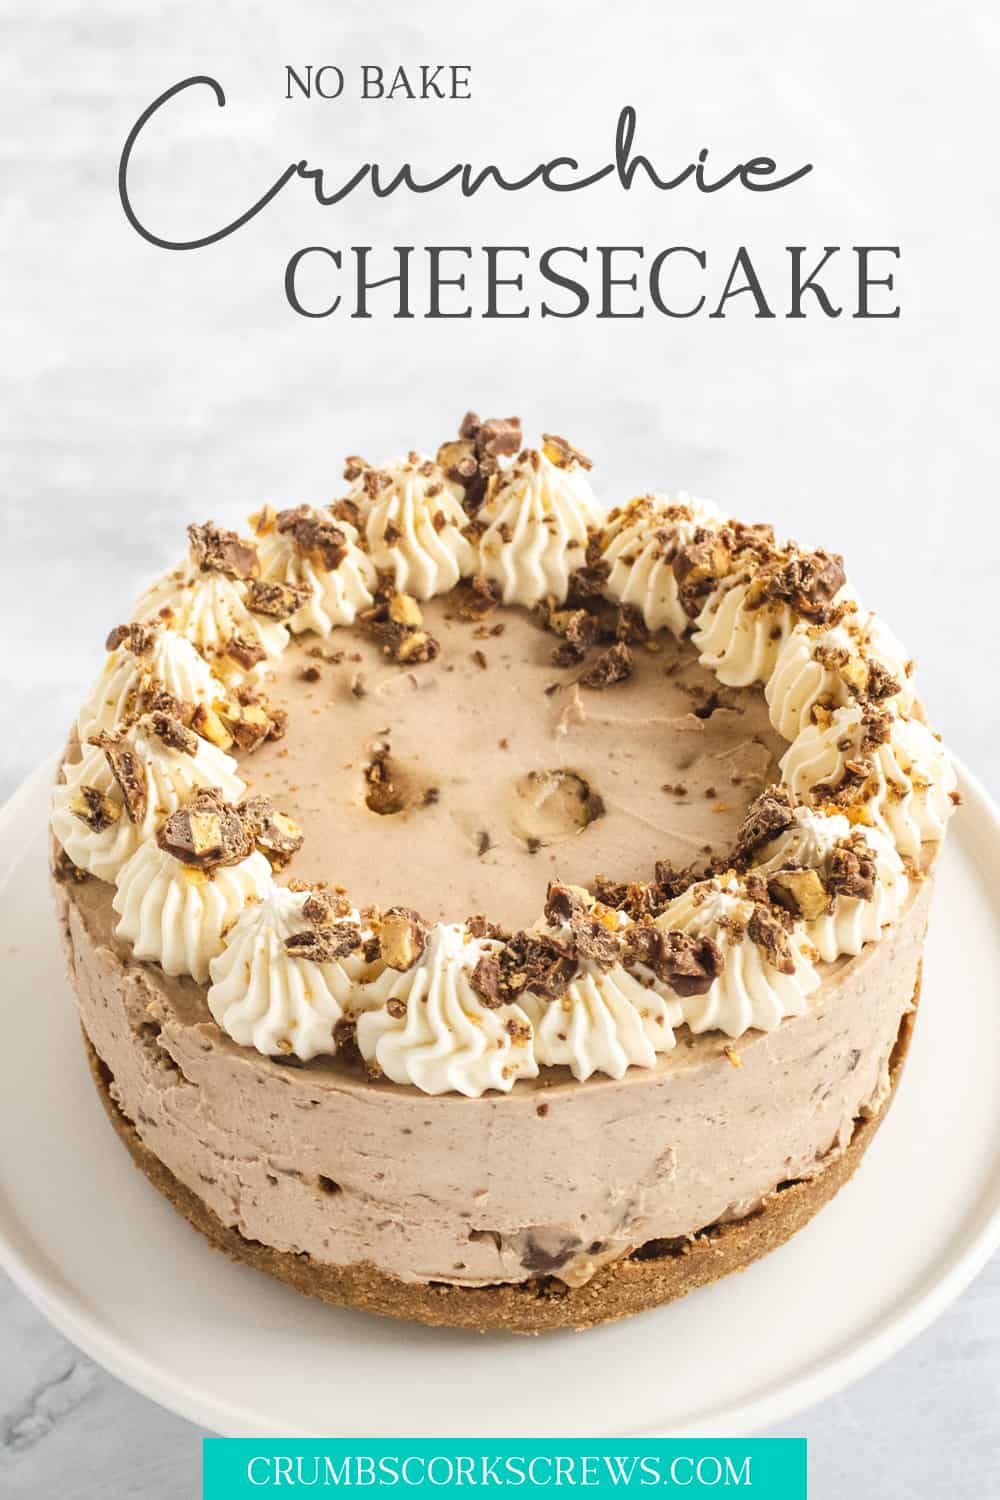
No Bake Crunchie Cheesecake
Ingredients
- 250 g Milk Chocolate Digestive Biscuits or Chocolate Cookies
- 75 g Butter Unsalted, Melted
- 500 g Cream Cheese Full Fat
- 75 g Icing Sugar or Powdered Sugar
- 300 ml Double Cream or Heavy Cream
- 150 g Milk Chocolate Melted
- 200 g Crunchie Bars or Chocolate Honeycomb pieces
For Decoration
- 2 Crunchie Bars or Chocolate Honeycomb pieces
- 100 ml Double Cream or Heavy Cream
- 25 g Icing Sugar or Powdered Sugar
VIDEO
Instructions
- Make the biscuit base – Add the biscuits into a food processor, and blitz until they form a crumb, then add to a large mixing bowl. Make a well in the centre of the biscuit crumbs, and pour in the melted butter.250 g Milk Chocolate Digestive Biscuits, 75 g Butter
- Mix together until well combined, and then pour into an 8 inch springform tin. Press down onto the biscuit base with a spoon and smooth out to the edges. Chill in the fridge for at least 30 minutes to 1 hour.
- Make the cheesecake filling – Add the chocolate to a small heatproof bowl, place over a saucepan of simmering water. Make sure that the bowl does not touch the water. Heat until all the chocolate has melted. Alternatively, melt in the microwave. Set aside to cool.150 g Milk Chocolate
- Using a stand mixer with the balloon whisk attachment, gently combine the icing sugar and cream cheese.75 g Icing Sugar, 500 g Cream Cheese
- Add the double cream and whisk together until the cream thickens and the filling is smooth and thick.300 ml Double Cream
- Add the melted chocolate and gently beat into the filling until well combined.
- Alternatively, you can make the cheesecake filling, in a large mixing bowl, by hand or with an electric hand whisk.
- Chop the Crunchie bars into small pieces and fold into the cheesecake filling with a spatula. If using honeycomb pieces, depending on their size, you can add these straight into the filling and fold through.200 g Crunchie Bars
- Assemble the cheesecake – Pour the cheesecake filling over the top of the chilled biscuit base, then smooth over and level with an offset spatula. Chill the cheesecake in the fridge for at least 6 hours or overnight.
- Decorate the cheesecake – When ready to serve, whip up the remaining double/ heavy cream with the icing sugar and pipe on top of the cheesecake. Decorate with more Crunchie bar chunks or chocolate honeycomb pieces.100 ml Double Cream , 2 Crunchie Bars
Notes
- Use a springform cake pan so you can release your cheesecake without running the risk of damaging it in the process.
- Your cheesecake will keep for up to 3 days in the fridge, and up to 3 months in the freezer. When freezing make sure you wrap it well with cling film or plastic wrap, and then a layer of aluminum foil to prevent ice crystals forming in the filling. Remember to allow the cheesecake to thaw before serving.
- Use room temperature cream cheese to avoid any potential lumps that you might get if it is too cold.
Nutrition
DISCLAIMER
The nutritional information provided is approximate and is calculated using online tools. Information can vary depending on various factors, but we have endeavoured to be as accurate as possible.


recipe was great, I changed the bar to Mars Bars and added salted caramel Kahlua and it was so good, especially with the added melted chocolate. much nicer than the original kahlua and Moro recipes I’ve found. Thank you.
Hey, would this recipe work well with Kahlua and Mars Bars instead of crunchies?
Hi Gabby – the beauty of the no-bake cheesecake is that you mix up the add-ins, flavours etc. So you could certainly add some Kahlua – check out my Baileys version for a twist adding a liqueur. And yes, you can swap the crunchies for Mars instead. You could even add a caramel like in my Twix version.
You’ve got me thinking about a Mars version now!
Hope you have fun trying different things out!
Lou
thank you, just noticed reply now, that bailey’s version does look great, might have to do the bailey’s version for Christmas and keep the kahlua one for my kids teachers as they are already looking forward to that one, thanks for your help.
Amazing! Followed the instructions to a T. Looked the part and was delicious. Froze leftovers after the first day and ate what was left a few weeks later. Tasted superb after freezing as well (thawed in fridge for a few hours). Niece called it ‘the best cheesecake’ and she is a cheesecake fiend! Thanks for the recipe!
Thank you so much for your lovely comment; I’m beyond happy that you found the recipe and enjoyed it! Your niece’s comment is just the best – love it!
All the best
Lou