
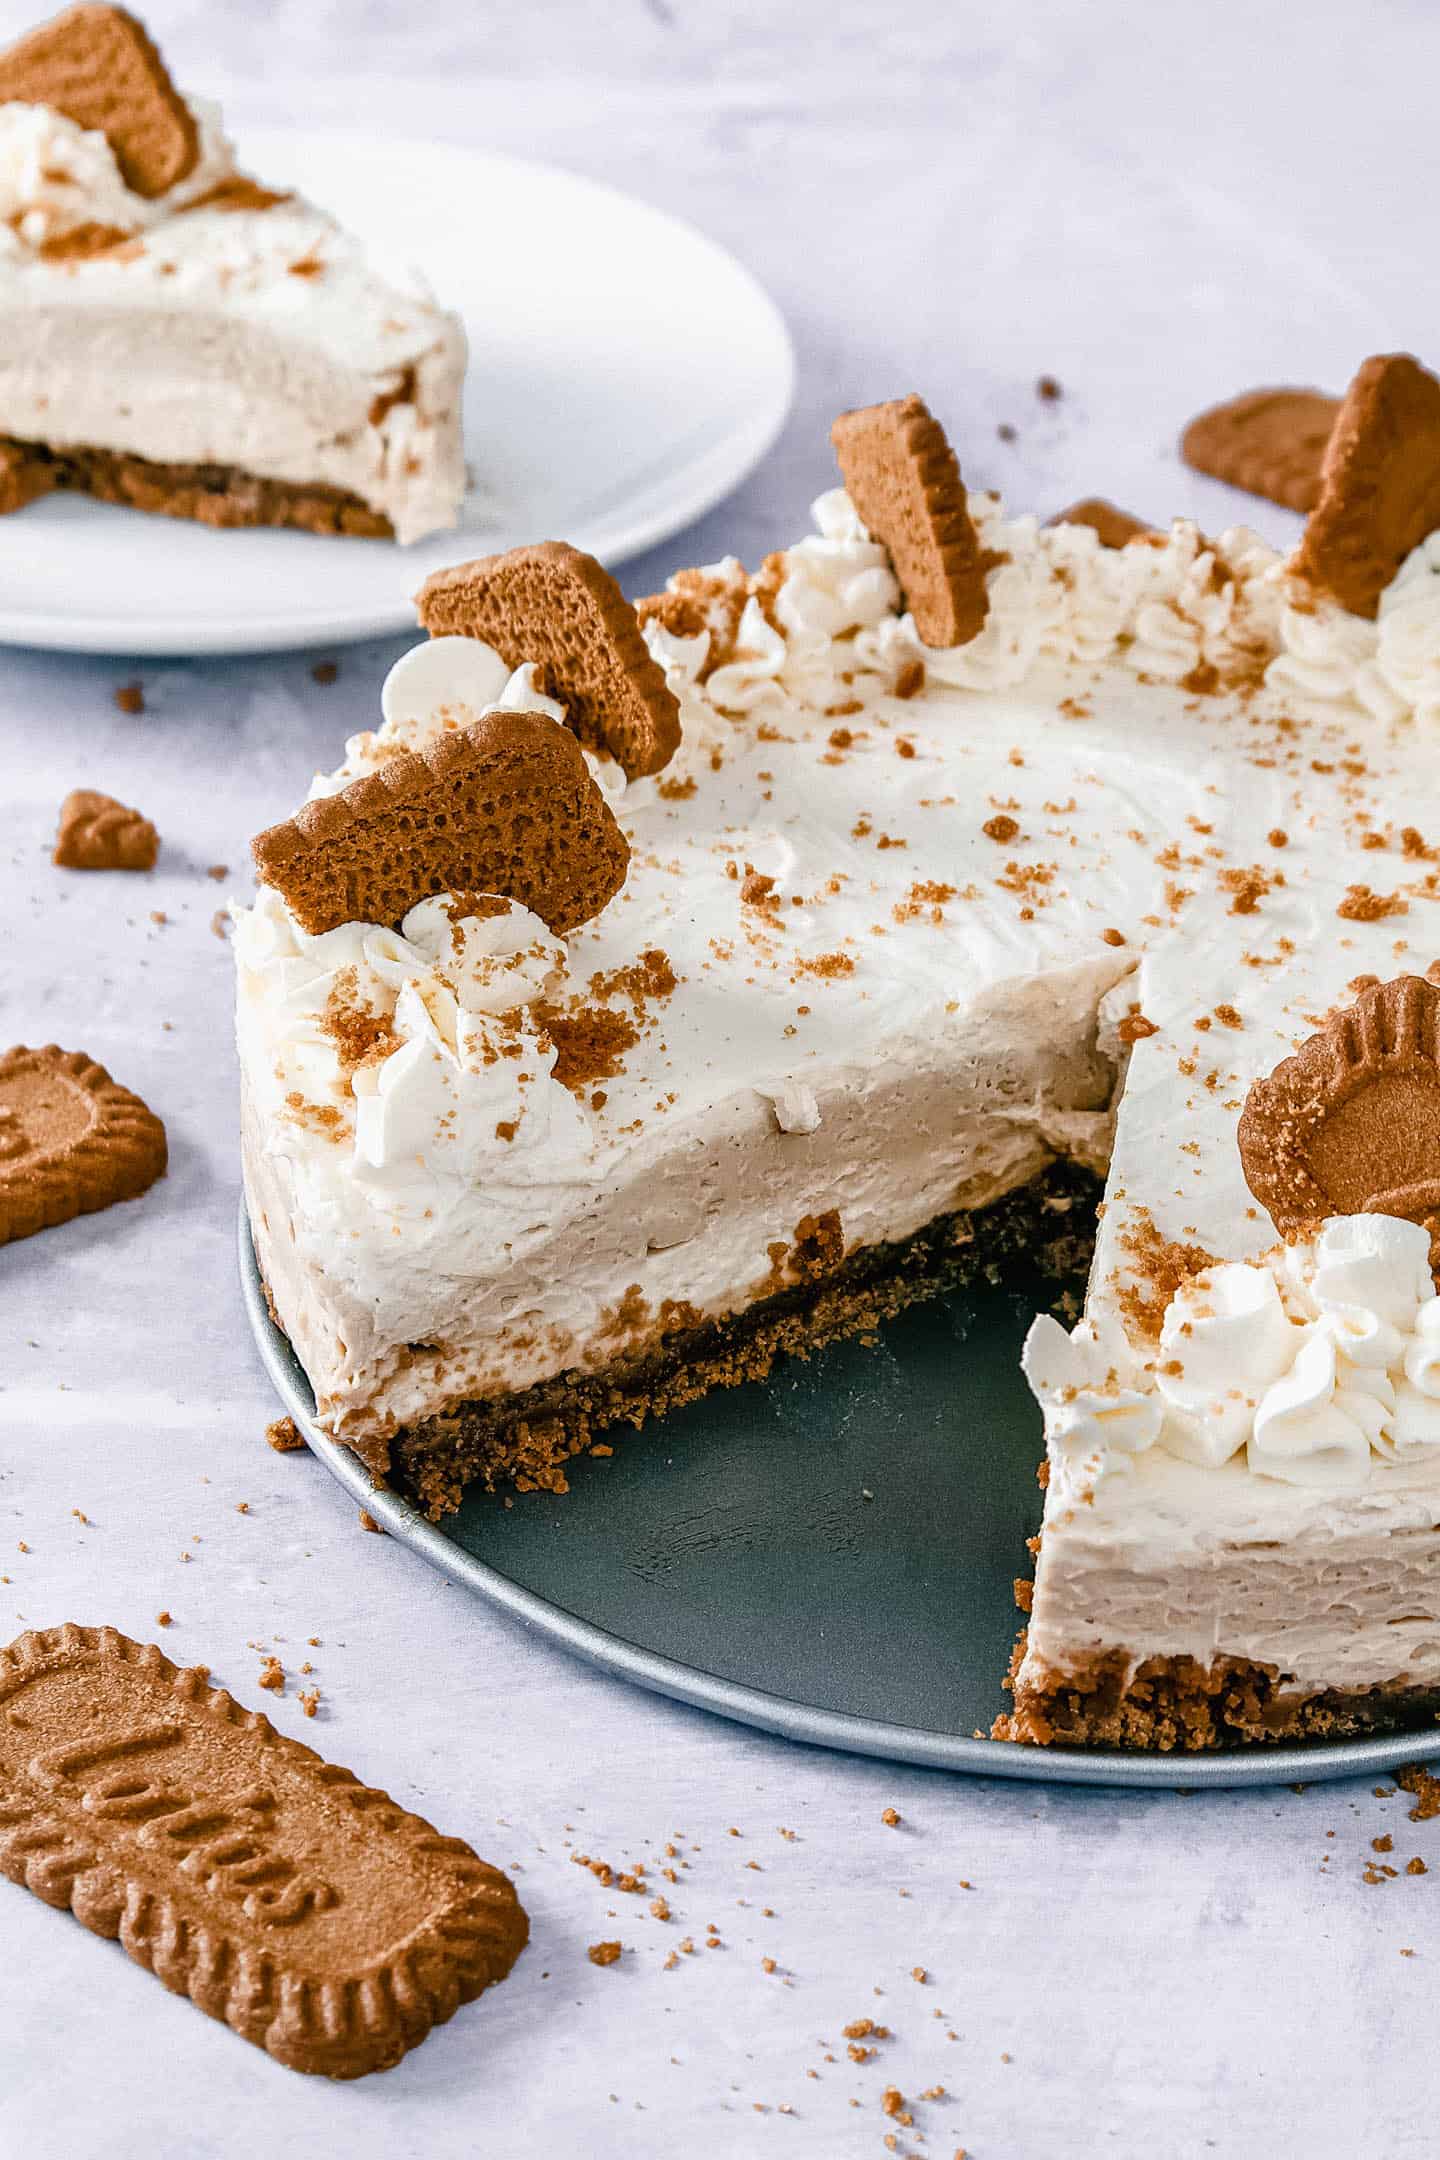
Calling all Lotus Biscoff Lovers! This no bake Biscoff cheesecake is easy to make and doesn’t need an oven. Light and creamy vanilla, caramel and Biscoff cheesecake filling on a crushed Biscoff biscuit crust. Decadent and delicious!

It’s finally here!
The no bake cheesecake recipe to end all no bake cheesecake recipes and one that I’ve been hinting at since I made my Maltesers cheesecake.
This has to be one of my most favourite desserts – the no bake Biscoff cheesecake!
Now I know I said I loved Twix, and then it was Maltesers, and I do still love them, but have you ever had a Lotus Biscuit? Those little caramel biscuits that come on the side of your coffee cup in the hairdressers – you know the ones. Well did you know you can also get them in spread form? Think the cookie version of Nutella. Hmmm.
Well keep those both in mind, and let’s talk no bake Biscoff cheesecake…
What is Lotus Biscoff Spread?
If I told you that a jar of spread doesn’t last longer than a couple of days in this house, you’d understand how good it is!
In fact, I’ve been known to hide it away, not just from the Other Half, but also myself; as eating Biscoff spread straight from the spoon is a legitimate serving suggestion!
Ok, so it’s good; but what is it?
Lotus Biscoff spread is sweet with a consistency of peanut butter and is made from Lotus biscuits. It has a lovely caramel, cinnamon taste with a touch of ginger and a hint of digestive biscuit. If you’ve ever had speculoos at Christmas; it’s like that!
So why have I used it in a cheesecake?
What does Biscoff cheesecake taste like?
Well, where do I start?
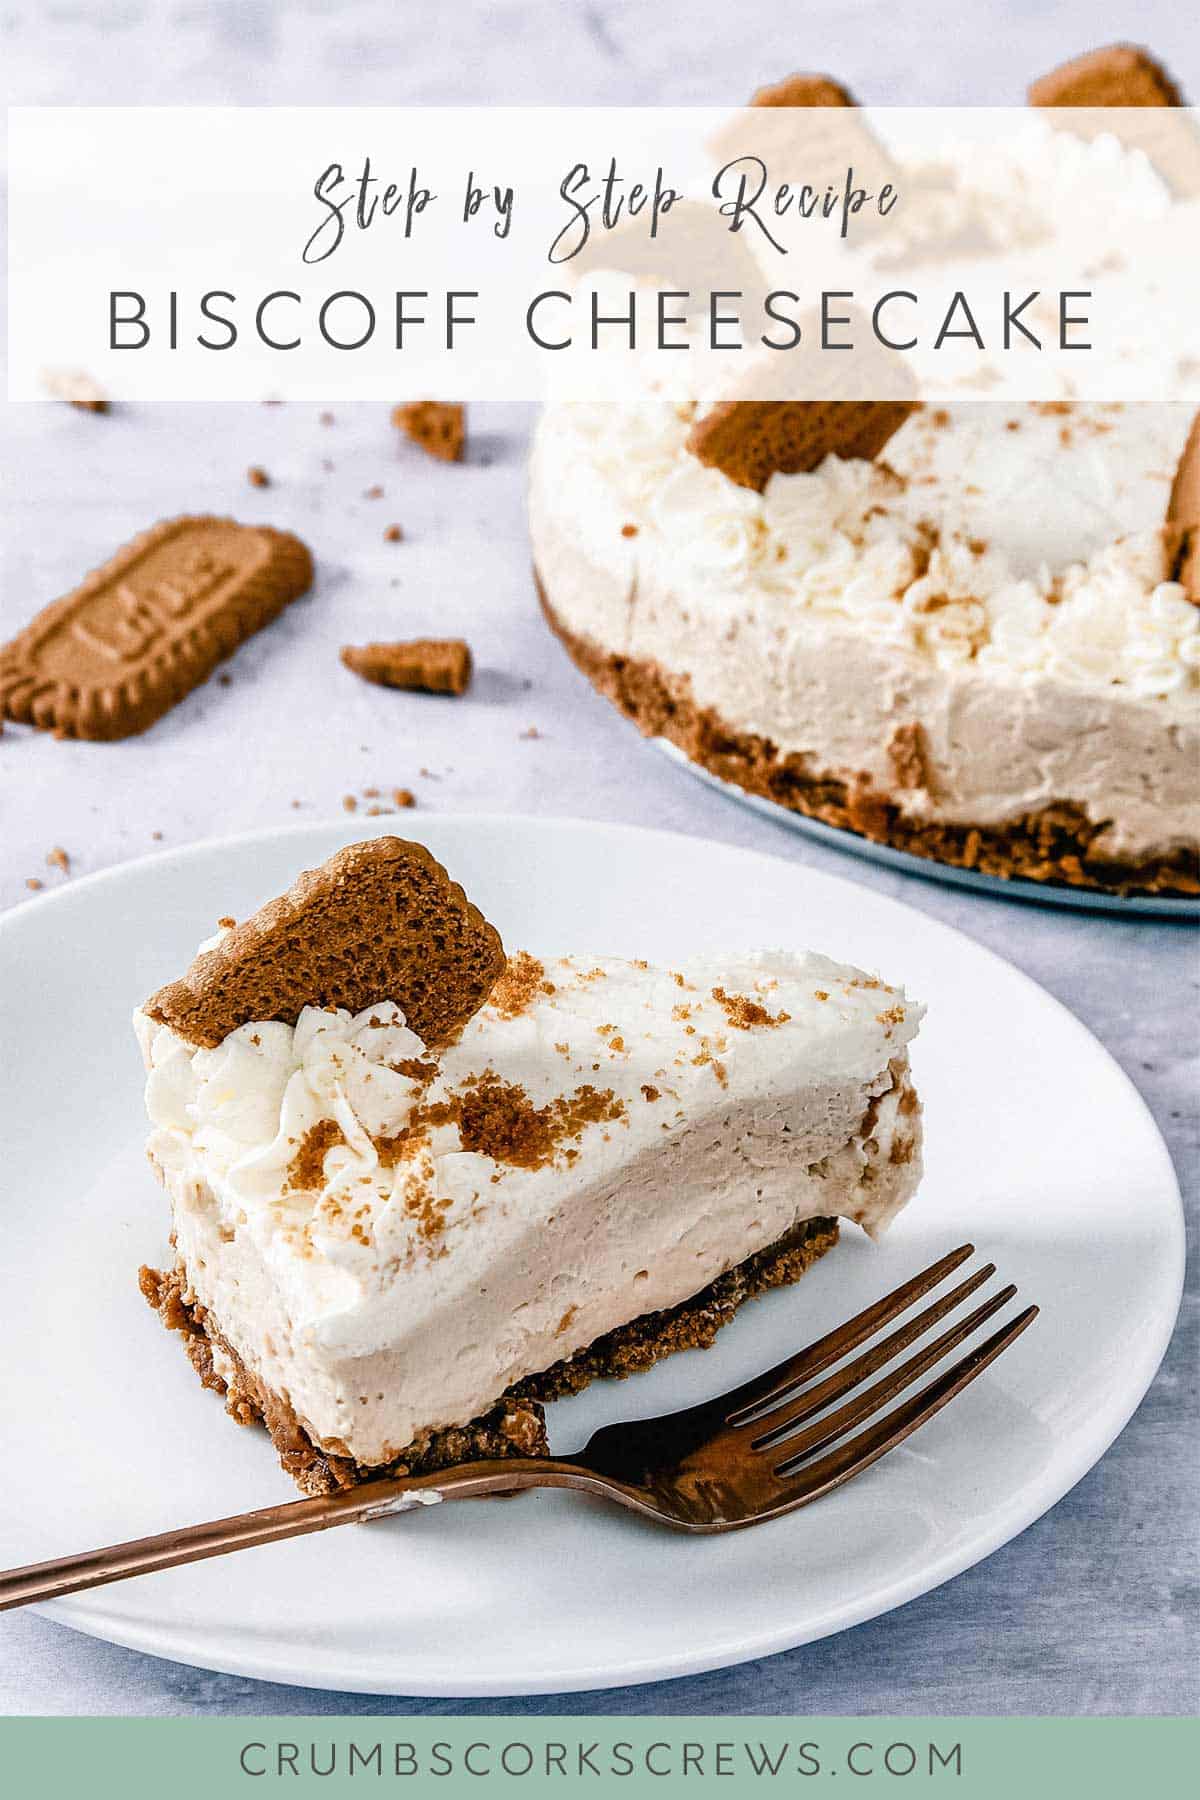
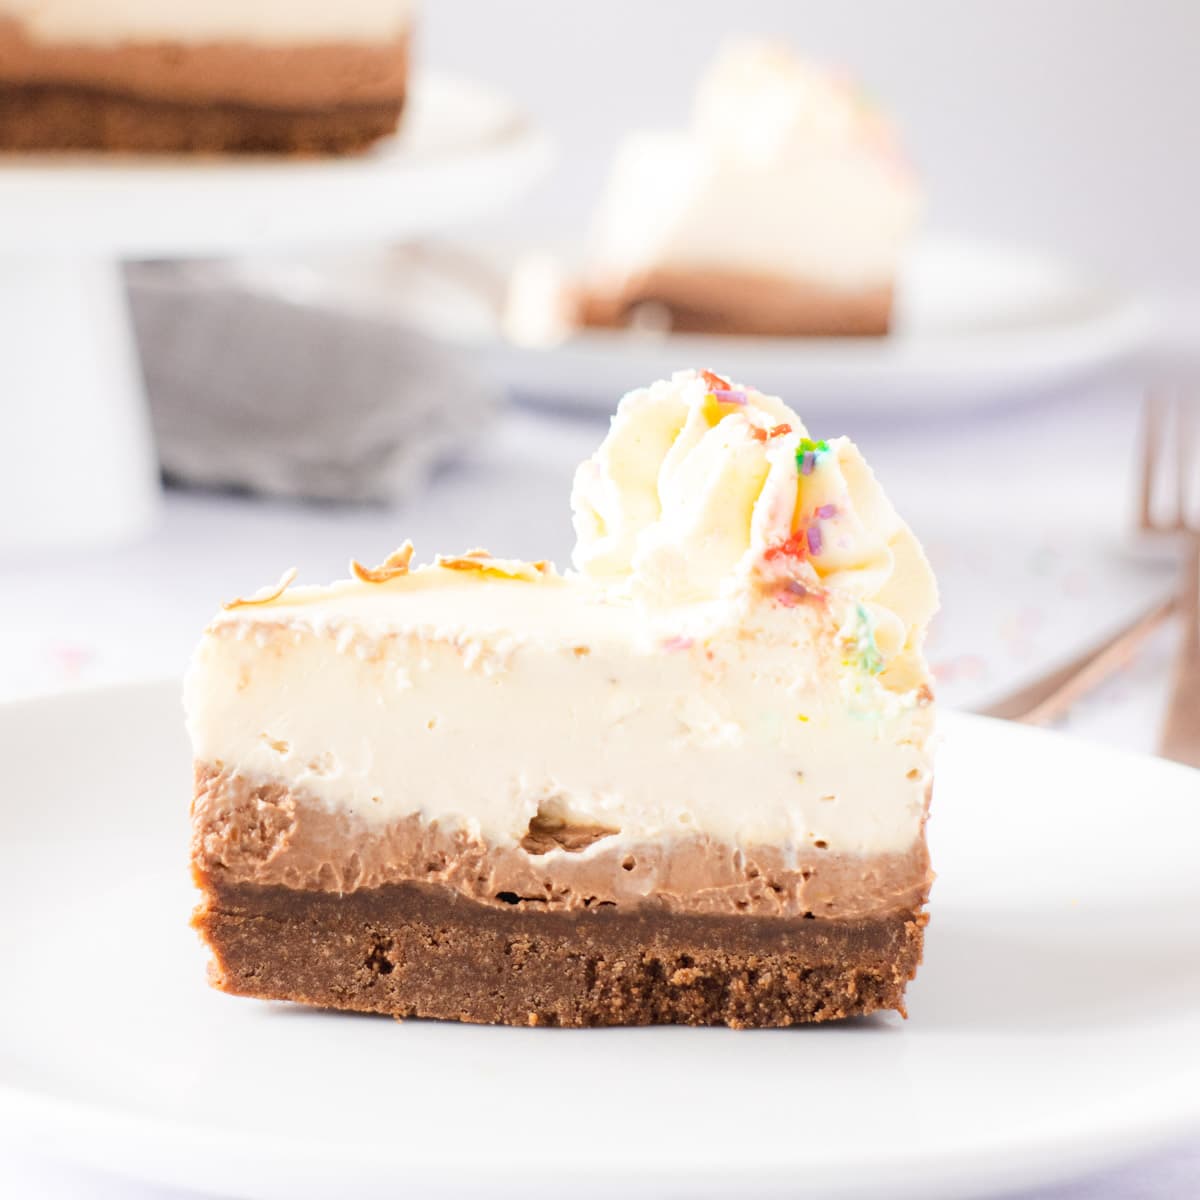
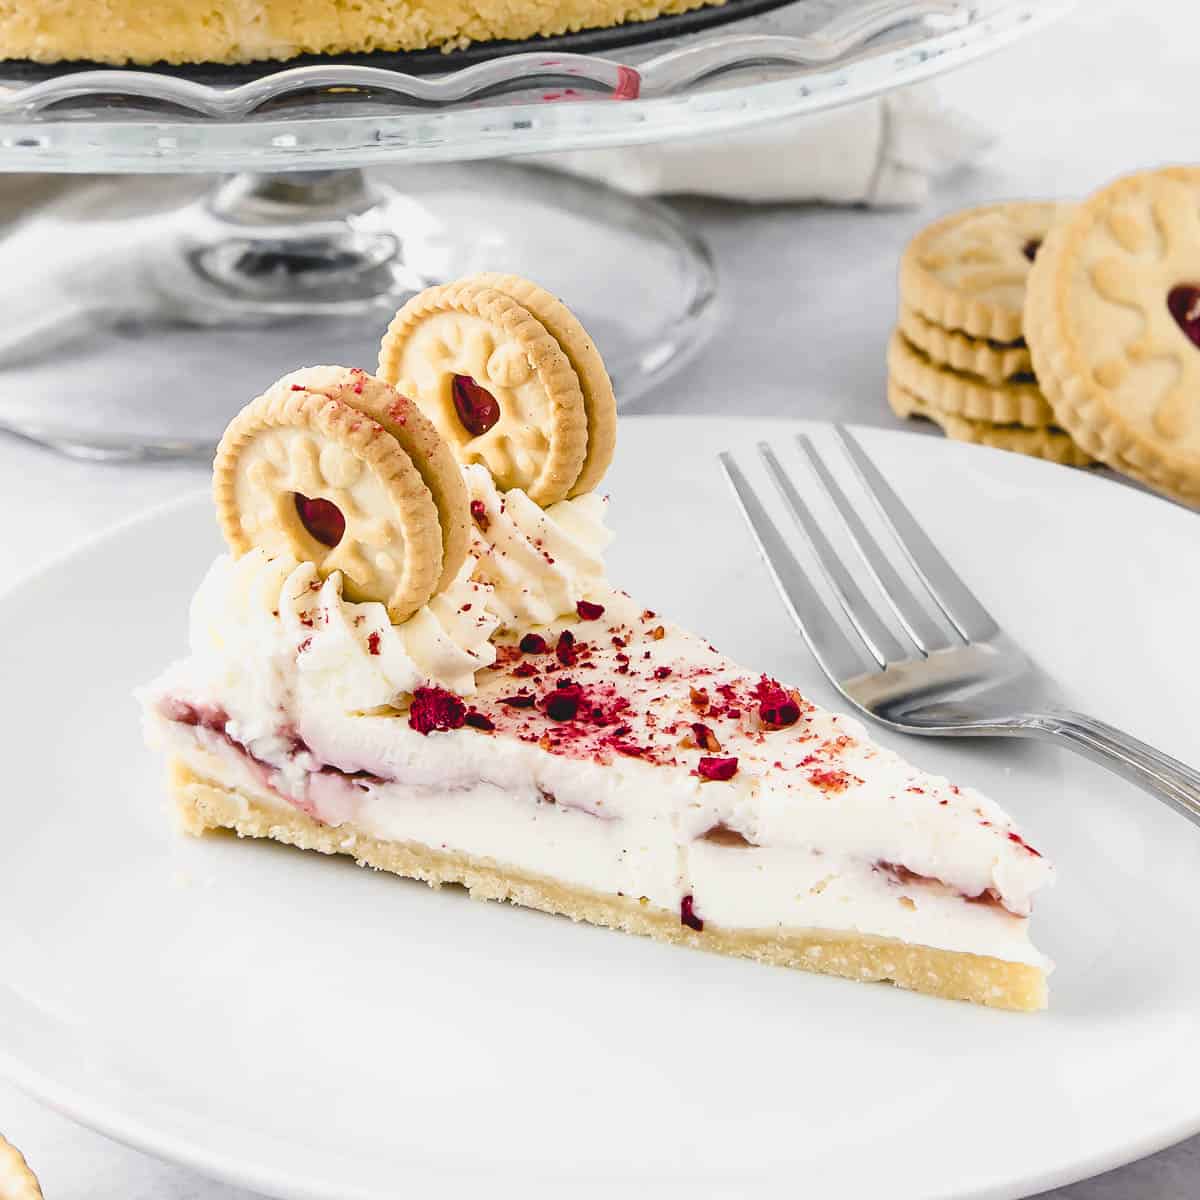
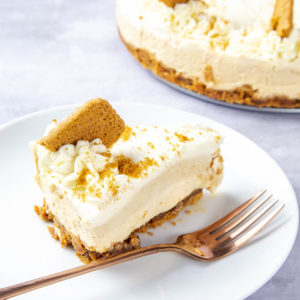
It has a buttery Lotus biscuit crust, a Biscoff spread cheesecake layer, and caramel and vanilla layers; and then it’s all topped off with more Lotus biscuits.
The vanilla, caramel and Biscoff cheesecake layers give a sweetness that means you don’t need to add lots of extra sugar. Plus, you still get that little cheese tang coming through as well.
I love a no bake cheesecake; the combination of the whipped double cream and the cream cheese gives a lush, smooth texture that tastes utterly amazing!
Have I tempted you yet?
Does the recipe contain gelatine?
You might find recipes for no bake cheesecakes that use gelatine as a setting agent. It also helps give them more of a mousse texture. However, this no bake biscoff cheesecake recipe doesn’t use gelatine.
For me, I’m more of a ‘let’s keep it simple’ kinda cheesecake gal, and love the simplicity of cream cheese and whipped double cream cheesecake filling. But before you say “that won’t set”, let me reassure you, it certainly will set! You just need to be mindful of a couple of things…
- Cream Cheese – This must be full-fat, sorry no calorie-cutting here. And you’ll want to go for traditional cream cheese, either a block or something like Philadelphia.
- Double or Heavy Cream – You need to whip this up so it forms soft peaks, but be careful not to overwhip it. Double cream tends to be quite stable when whipped, but it can vary depending on the type of cream available in your country.
- Too runny? – If your cream is not whipping up or seems too runny, try using less cream and more cream cheese.

How to make the creamiest Biscoff cheesecake
Full measurements and instructions can be found on the printable recipe card
So I’ve let you know how utterly delicious this Biscoff cheesecake is, and that it’s super simple; no faffing with gelatine. Do I really need to convince you to it a go?
Imagine, that utterly decadent triple layer cheesecake of vanilla, caramel and Biscoff, and the Lotus biscuit crust that you could sit and eat with a spoon by itself?
Ready to try it out? Let’s go…
The Crust
Quite possibly my favourite part of a cheesecake; I’d happily eat the crust on its own!
To start making the crust, you will need to crush the Lotus biscuits as fine as you can. You could use Speculoos or Digestive biscuits if you prefer.
Crushing them is simple; either go for a food processor or in a Ziploc bag and bash them with a rolling pin.
Next, add the biscuit crumbs to a large mixing bowl, and pour over the melted butter. Using a metal spoon or rubber spatula, bring the biscuit and butter together to form a dough. Press the dough into the bottom of a springform cake pan, making sure that you take it up to the edges, and smooth with the back of a spoon.
Before adding the filling, you’ll need to chill the base to firm up, so pop it into the fridge for an hour.
The Cheesecake Filling
Whilst the base is chilling, its time to get the cheesecake filling ready.
You can use a stand mixer or a large mixing bowl and hand mixer for this part. Gently beat together the cream cheese and icing sugar. Be careful not to overbeat otherwise they’ll go slack.
Next, add the cream, and beat again. The cream will start to look and feel heavier and thicker. You’re looking for a smooth consistency that you could easily spread.
Split the mixture into three equal quantities, and then add vanilla bean paste to one, caramel sauce to another, and finally, Biscoff spread to the third. Mix the flavours into the filling and then you’re ready to assemble.
Layer up the cheesecake fillings starting with the Biscoff spread, then caramel and top with the vanilla. Levelling between each. And you’re ready to pop the cheesecake back in the fridge for 6 hours at least to set.
Finishing touches
When you’re ready to serve, top off the cheesecake with swirls of whipped cream and extra Lotus biscuits – just for added Biscoff goodness!

How to store no bake cheesecake
Once set, your cheesecake will keep for up to 3 days in the fridge, that’s if it lasts that long!
I don’t recommend freezing your cheesecake, as you can lose the lovely creaminess of the filling. But if you want to, you can freeze for up to 3 months.
When freezing, make sure you wrap up the cheesecake with cling film or plastic wrap, followed by a layer of aluminium foil. The layers should help protect the cheesecake and prevent ice crystals from forming. Remember to allow the cheesecake time to thaw before serving.

Top tips for cheesecake success
- Always use full-fat cream cheese – Because we’re not using gelatine, we need to make sure that we don’t skimp on the cream cheese. It will help the filling set and also give you that smooth, creaminess that you’re looking for.
- Make sure your cream cheese is room temperature – Take your cream cheese out of the fridge 5-10 minutes before you want to use it. It means you’ll avoid any lumps that you might get with cold cream cheese, and it also has a creamier texture when it’s beaten.
- Use a springform cake pan – Have you ever tried to get a cheesecake out of a normal cake pan? Such a mess. Instead, invest in a springform cake pan that lets you release the cheesecake without having to turn it out.
- Use an offset spatula to level off – Quite possibly one of the best kitchen tools you can get! An offset spatula will let you level off the cheesecake filling without sticking your fingers in the mix as you do it.
- Make sure to set the cheesecake for at least 6 hours – As there is no setting agent like gelatine in the recipe, you really do need to let the filling set properly in the fridge for 6 hours, or preferably overnight if you can.
- Make individual cheesecake pots – Half the recipe and layer up the biscuit crust and cheesecake fillings in glasses or jars for individual servings. Makes around 6 servings of no bake Biscoff cheesecake.
Recommended equipment


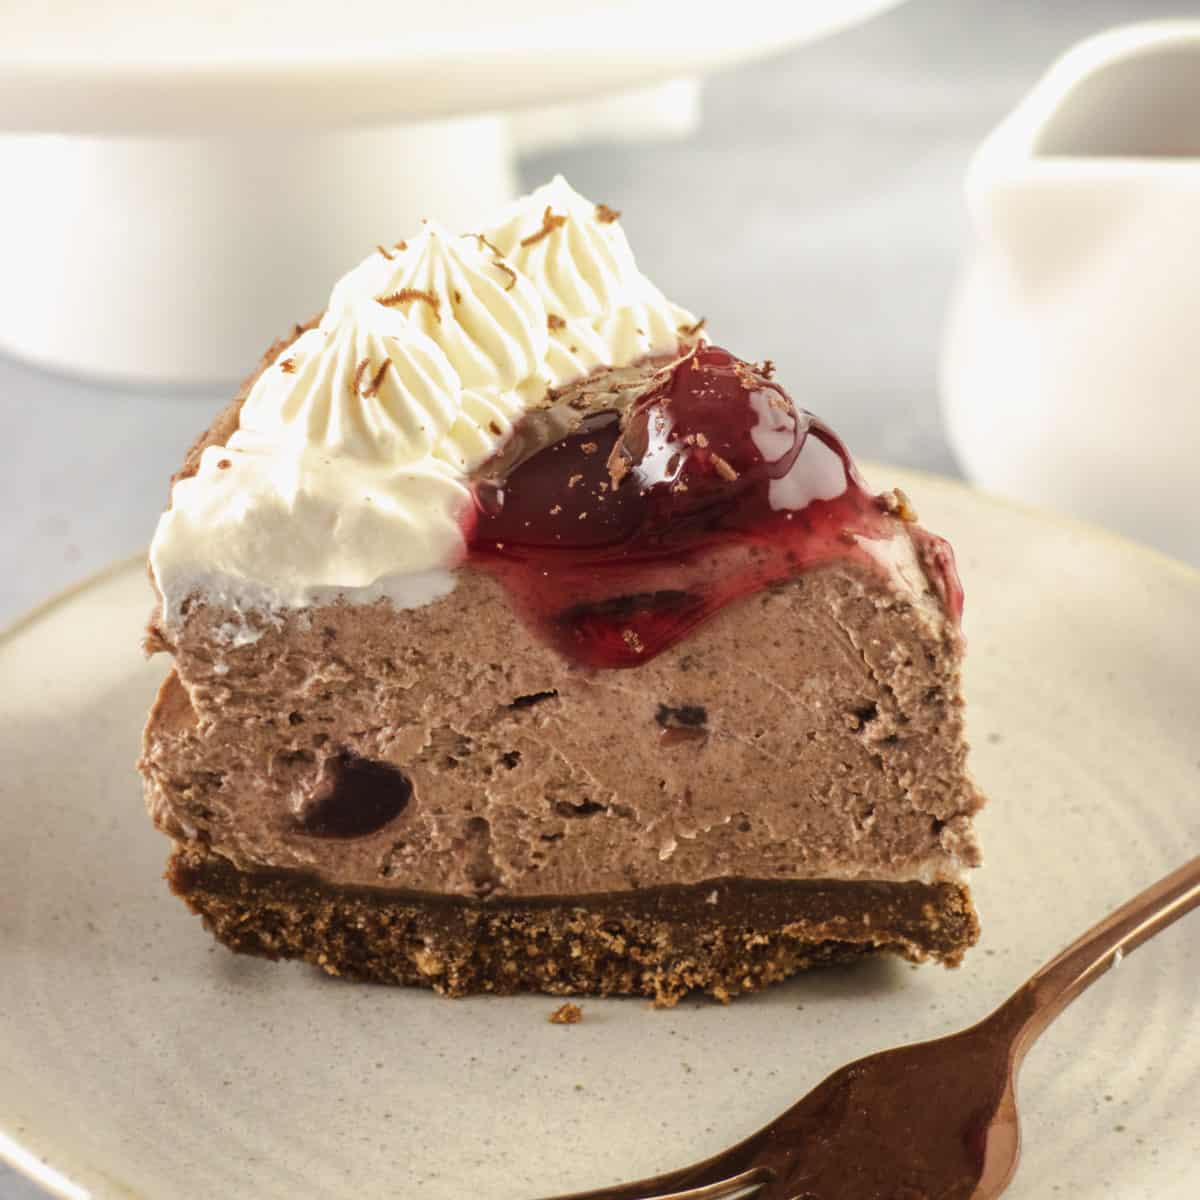
More no bake cheesecake recipes to try
If you liked this no bake Biscoff cheesecake recipe here are some other recipes that I think you’d enjoy…

Biscoff Cheesecake
Ingredients
- 250 g Lotus Biscoff Biscuits or Speculoos Cookie
- 60 g Butter Unsalted, Melted
- 500 g Cream Cheese Full-fat
- 75 g Icing Sugar or Powdered Sugar
- 300 ml Double Cream or Heavy Cream
- 1 tsp Vanilla Bean Paste
- 100 g Caramel Sauce or Dulce de Leche
- 200 g Lotus Biscoff Spread or Speculoos Cookie Butter
For Decoration
- Lotus Biscoff Biscuits
- Double Cream or Heavy Cream
Instructions
- Make the biscuit base – Add the biscuits into a food processor, and blitz until they form a crumb, then add to a large mixing bowl. Make a well in the centre of the biscuit crumbs, and pour in the melted butter.
- Mix together until well combined, and then pour into an 8 inch springform tin. Press down onto the biscuit base and smooth out to the edges. Chill in the fridge for at least 1 hour.
- Make the cheesecake filling – Using a stand mixer with the paddle attachment, beat the icing sugar, cream cheese and double cream together. Alternatively, you can make the cheesecake filling, in a large mixing bowl, by hand or with an electric hand whisk.
- Split the cheesecake filling into equal amounts, into 3 bowls. Add the vanilla bean paste to one and mix well together. Add the caramel sauce into the second bowl and mix well. Finally add the Biscoff spread into the last bowl and mix well together.
- Assemble the cheesecake – Pour the Biscoff mixture over the top of the chilled biscuit base, then smooth out to the edges and level with an offset spatula. Carefully add the caramel mixture on top and gently smooth and level. Repeat with the vanilla mixture. Chill the cheesecake in the fridge for another 6 hour or overnight.
- Decorate the cheesecake – When ready to serve, whip up some double/ heavy cream and pipe on top of the cheesecake. Decorate with crushed and whole Biscoff biscuits.
Notes
- Use a springform cake pan so you can release your cheesecake without running the risk of damaging it in the process.
- Your cheesecake will keep for up to 3 days in the fridge, and up to 3 months in the freezer. When freezing make sure you wrap it well with cling film or plastic wrap, and then a layer of aluminum foil to prevent ice crystals forming in the filling. Remember to allow the cheesecake to thaw before serving.
- Use room temperature cream cheese to avoid any potential lumps that you might get if it is too cold.
Nutrition
DISCLAIMER
The nutritional information provided is approximate and is calculated using online tools. Information can vary depending on various factors, but we have endeavoured to be as accurate as possible.


YUM! This sounds amazing 😀 Eb x
Thanks Eb! It certainly is; every time I make it, it doesn’t last very long! x
This looks amazing! So pretty and the flavours sound dreamy.
Thanks Cat; it’s another of my favourites. I love the no bake cheesecake filling as it’s so creamy.
I think Biscoff is better than any other substance on earth! And I bloody love a cheesecake so I’m all over this!
Thanks Chloe! I totally agree about Biscoff, and it works so well in a cheesecake, especially with the Biscoff biscuit crust!
This cheesecake looks delicious. We are big fans of all things biscoff in our family so I will definitely be making this.
Thank you Rosemary! Huge Biscoff fans here; anything Biscoff doesn’t last very long in this house. I’ve made this a couple of times with just a Biscoff cheesecake filling layer rather than the different layers for extra Biscoff!!
Thank you so much for this, I knew something was missing in my life and its now filled (several times if im honest).
Everyone who has been lucky enough for me to give a slice to adore it and think I’m a kitchen wizard haha.
Did I say thanks ? Thanks
That’s awesome Steven, so glad you’ve enjoyed the recipe! I love it, and you can mix the layers and flavour up if you want to as well. Thanks for dropping me a line!