
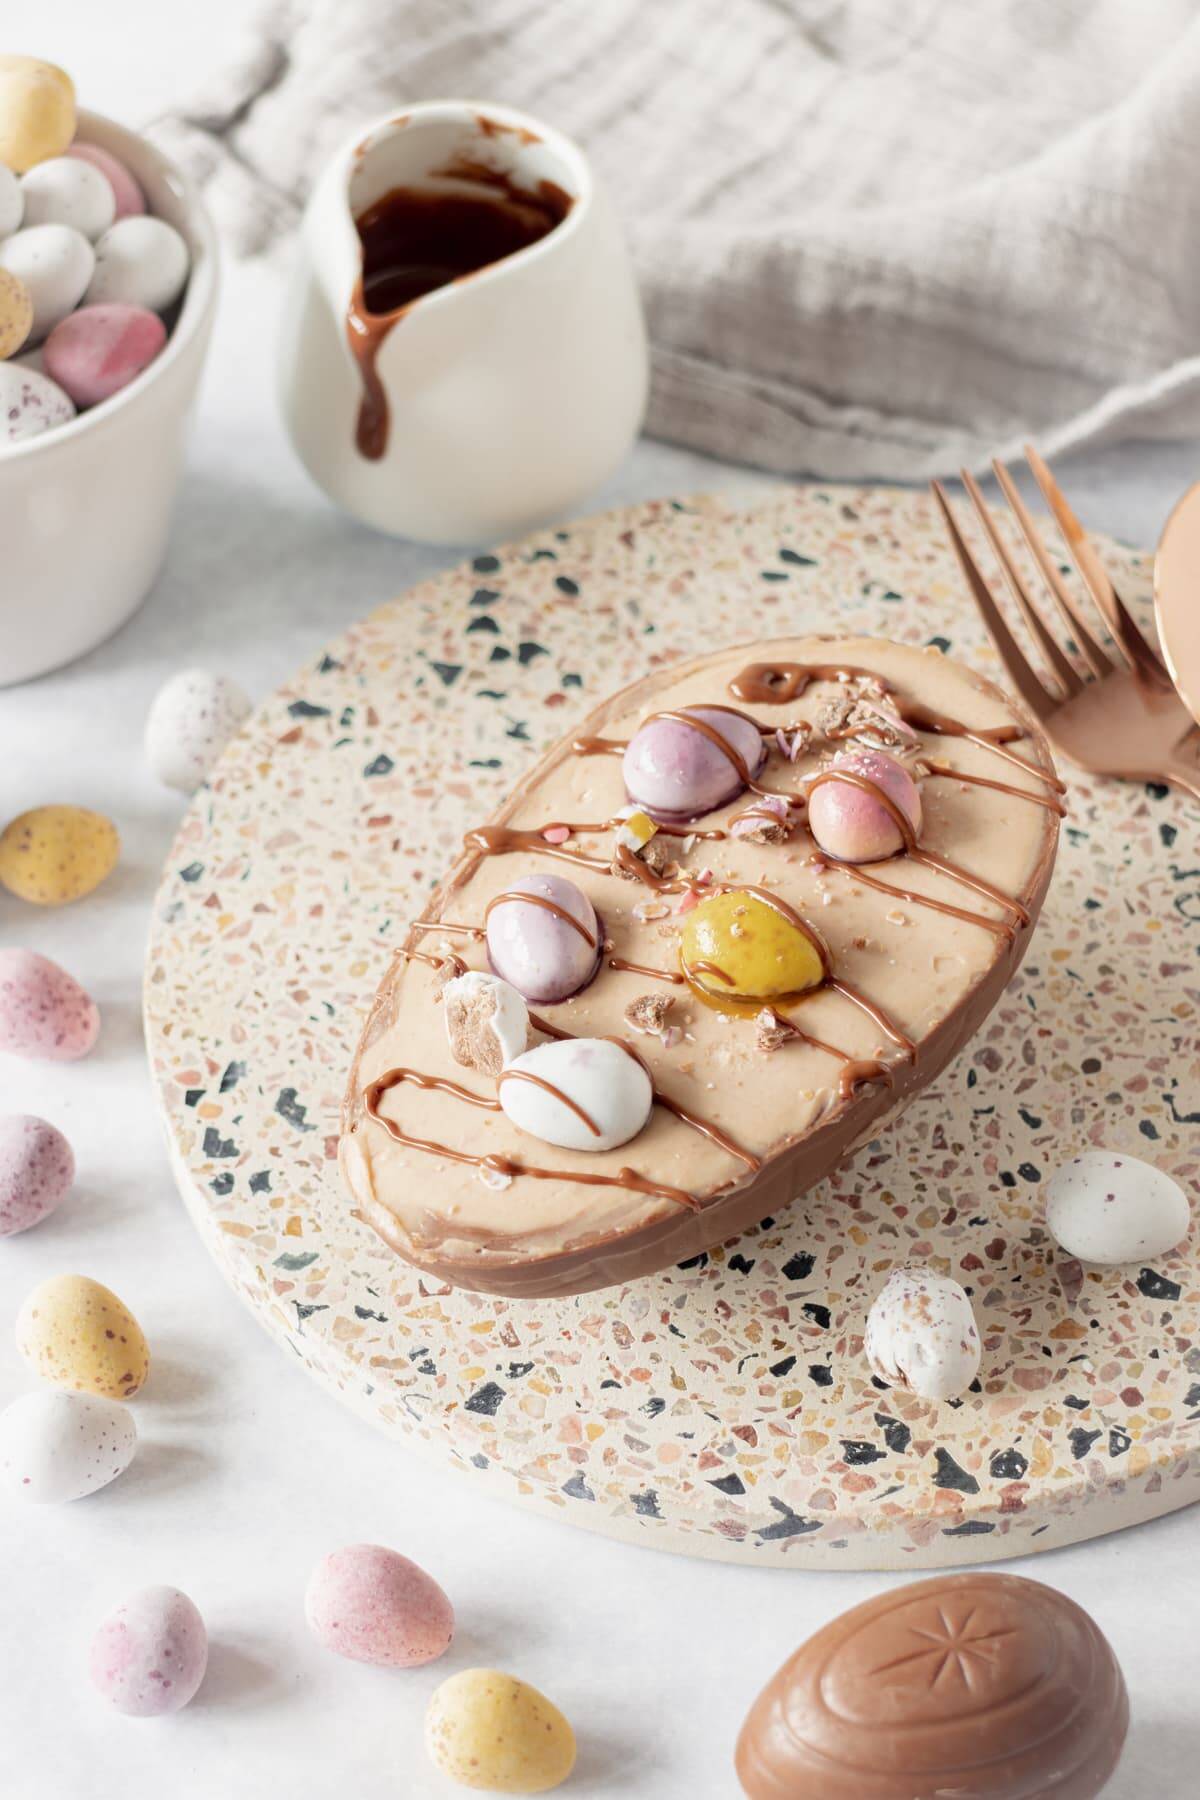
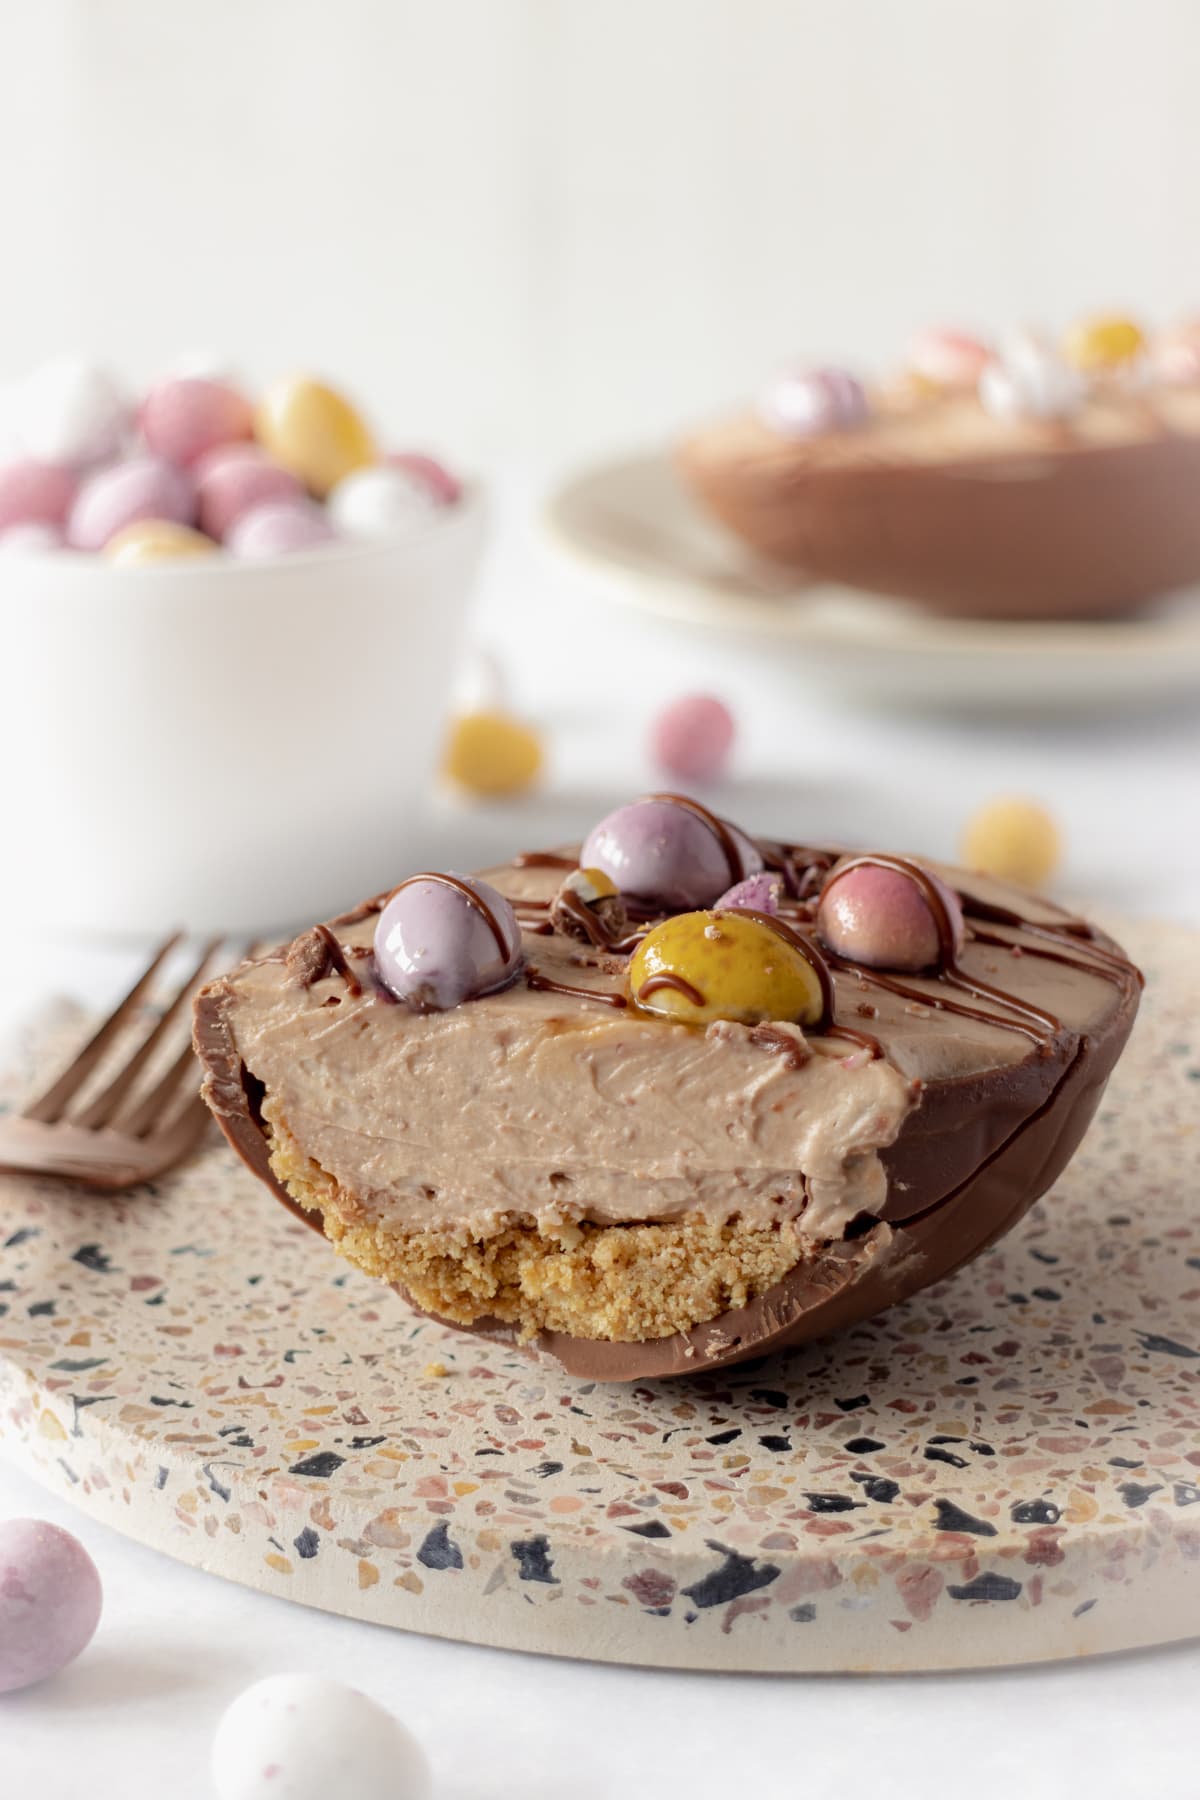
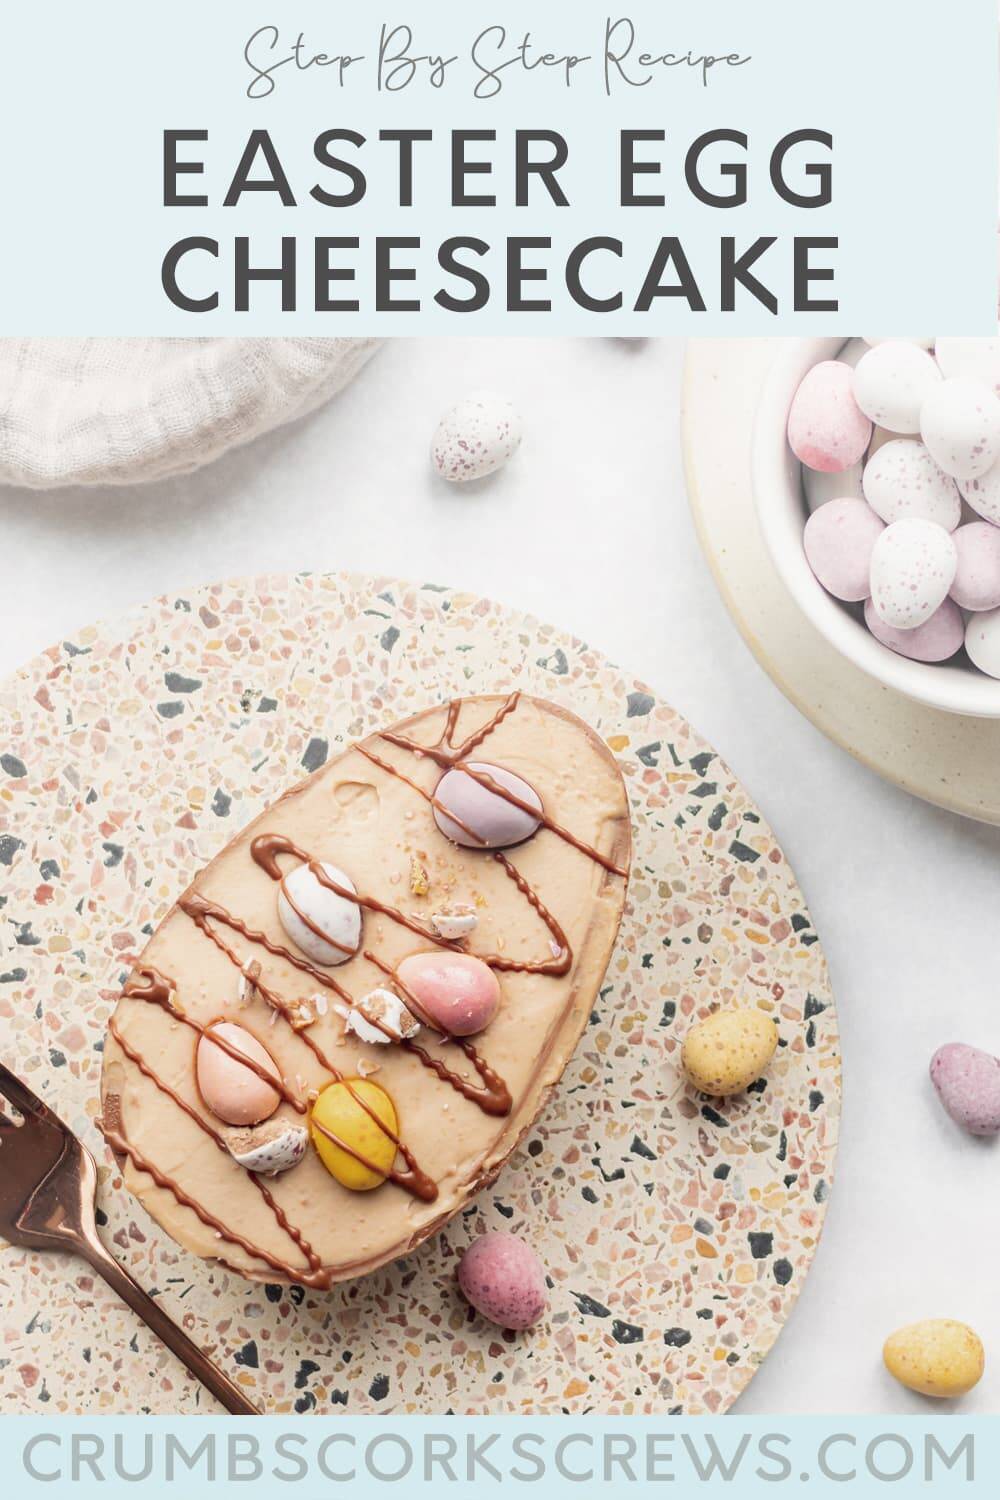
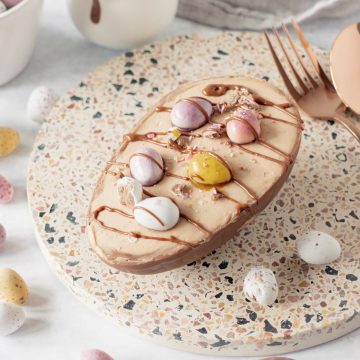
Just when you thought Easter chocolate couldn’t get any better, along comes this super simple Easter egg cheesecake. With a biscuit base and a creamy chocolate cheesecake stuffed inside half a chocolate Easter egg and topped with more Easter chocolate, it’s perfect for serving after Easter dinner.

Lou’s recipe overview
SKILL: Intermediate
TASTE: Smooth, creamy chocolate cheesecake
PROS: Perfect for using up Easter chocolate
CONS: None, it’s all about the chocolate
You know the drill. Christmas Day is barely minutes over and you pop into the shop for a pint of milk and bammm, there they are. Easter eggs!
Yes, every year I swear they appear on the shelves earlier than the year before. Not that I’m really complaining, because there can never be enough Creme Eggs in the world. I mean who could resist a Creme Egg tray bake or chocolate layer cake all year round?
And it’s a true fact that Easter chocolate tastes so much better than a regular bar. Honest! I used to work with a chap that would literally buy up as many chocolate eggs in the sales as he could. But he swore it was so much better.
So with raiding the virtual shelves of the supermarket during an online shop, I decided to take advantage of the Easter bunny’s early arrival and get stuck into these beauties.
Once again I’m bringing you one of my absolute favourites… a no bake cheesecake. And this time we’re going all out with a fully loaded Easter egg cheesecake!
What are you waiting for? Grab your spoon and dig in! This Easter egg cheesecake is a treat that’s simply too good to resist!
Why you should make Easter egg cheesecake
- Delicious and indulgent – Chocolate mousse is an absolute classic dessert that never fails to impress! And when combined with a rich chocolate Easter egg shell, you’ve got the ultimate Easter dessert and decadent treat
- Fun and creative – Making these chocolate mousse-filled Easter eggs is a fabulous activity that can be enjoyed by both adults and children. From cracking open the eggs to filling them with mousse, every step is perfectly chocolatey
- Perfect for Easter – Easter is a time for celebration and indulgence, and what better way to mark the occasion than with a delicious chocolate dessert? These chocolate eggs are the perfect way to add some festive flair to your dessert table and impress your family and friends
- Super easy to make – Despite their impressive appearance, they’re actually quite easy to make. With just a few simple ingredients and some basic kitchen equipment, you can whip up a these Easter treats in no time at all

If you want to skip the essential info and handy tips for making this super easy Easter egg cheesecake, then scroll down to the printable recipe card.
We love leftover Easter chocolate
I can hear you now…
“Chocolate, leftover? What planet are you on Louise?”
I know, I agree; there is no such thing as leftover chocolate, especially at Easter. But all I’m asking is don’t eat it all, and save just one Easter egg this year to make these super easy cheesecakes.
When deciding which Easter egg to save, I’d suggest you go with one of your favourites, or one that has extra chocolate and sweets that you can combine into the cheesecake.
Personally, I don’t think you can go wrong with either a Mini Eggs, Smarties or M&Ms egg…. plenty of goodies to use!

What you will need
Check out my Amazon shopping list for my recommended ingredients and equipment
This recipe can’t get any simpler than it already is. Simple steps, simple ingredients and simple equipment. It’s just simple and easy really. Here’s what you’ll need to make the recipe…
The ingredients
- Full-Fat Cream Cheese – Use either full-fat Philadelphia cream cheese or a block-style cream cheese, if available. Take out of the fridge and let the cream cheese come up to room temperature before using. This helps avoid lumps in your filling.
- Digestive Biscuits – A classic choice for cheesecake biscuit bases, that works perfectly with the chocolate filling
- Double or Heavy Cream – High fat content is vital to help the filling set. If you can’t find double or heavy cream, use whipping cream instead.
- Easter Egg – I’m using 2 medium ones, approximately 120g per chocolate egg. You can use a larger egg instead for a family sized dessert.
- Mini Eggs – Always the Easter chocolate of choice for me
- Icing or Powdered Sugar
- Butter
Recommended ingredients
Take a look at my Substitutions for different flavour ideas!
The equipment
There’s only a few simple pieces of equipment you’ll need to gather for this recipe. Here you go…
- Food processor or mini chopper
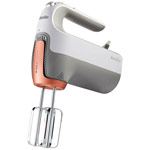
- Handheld mixer and large mixing bowl
- Rubber spatula
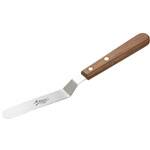
- Offset spatula
Alternatively, you can use a stand mixer with the balloon whisk attachment, a couple of spoons and a rolling pin to bash the biscuits.
Recommended equipment

How to make cheesecake filled Easter eggs
Full measurements and instructions can be found on the printable recipe card
Right, then let’s get cracking… and don’t forget to check out the recipe notes and top tips at the end of the post.
Step 1: The biscuit base
Start by splitting the Easter eggs into two halves. Keep 3 halves to make the cheesecake in, and leave one aside to melt for the filling.
Next break the biscuits into pieces then whizzing them up in a food processor or mini chopper. You can also pop them into a Ziploc/ freezer bag and crush with a rolling pin.
Mix the melted butter into the biscuit crumbs, then divide between the Easter halves. Carefully pressing down on the mixture levelling it out with the back of a spoon.
Pop the Easter eggs into a container to hold them upright, then place in the fridge for 30 minutes to firm up the biscuit base.
Step 2: The cheesecake filling
While the biscuit base is chilling, melt the remaining Easter egg chocolate, either in the microwave in 30 second blasts or over a bain-marie. Although to cool slightly.
In the large mixing bowl, fold together the cream cheese and icing sugar using a spatula, then add the cream. Beat everything together on medium speed until the filling is smooth and thick.
Add the melted chocolate and mix through until well-combined.
Pour the cheesecake filling into the Easter eggs on top of the biscuit base, and level off using an offset spatula.
Pop the filled Easter eggs back in the fridge and leave them to chill for at least 6 hours or over night.
Step 3: Decorating the cheesecake
After the cheesecake filling has time to set, decorate with Mini Eggs and a drizzle of chocolate sauce.
To serve, slice the Easter egg cheesecake while chilled or let everyone get stuck in with a spoon.
Recipe substitutions
This cheesecake is so versatile! Here are a few ways you can customise it…
- Biscuit Base: Switch out the Digestive biscuits and try using Oreos, Lotus Biscoff biscuits or your favourite biscuits instead.
- Cheesecake Filling: Swap the chocolate cheesecake for something that compliments your toppings. Maybe chocolate orange, mint chocolate or even Crunchie!
- Toppings: I love Mini Eggs, but you can go wild with your cheesecake toppings! The supermarket aisles are packed with new and different Easter chocolates and sweets… the choice is yours!
- Gluten-free: You can swap out the biscuits for a no-wheat, gluten-free variety. While the other ingredients do not contain gluten, please check the packaging carefully to ensure it is stated they are suitable for people with a gluten-free diet or coeliacs.
Step by step live video
Frequently asked questions
This recipe is made in 3 medium Easter egg halves (approx. 65g each) and will give up to 4 servings, depending on if you want a whole one to yourself! You can use the same recipe and serve in a larger Easter egg if you prefer.
Yes, the cheesecake should be set and kept chilled in the fridge. Use an air-tight container with a lid to keep the Easter egg upright and sealed. Bring to room temperature for 10-15 minutes before serving, if slicing.
The cheesecake will keep for up to 3 days in the fridge.
It is possible to freeze the cheesecake for up to 3 months, but I do not recommend it due to the chocolate shell.
If you find your cheesecake filling is very soft; the most common reason is the filling was not whipped enough. It’s important that you whisk it until it is smooth and thick, but spreadable Check out my top tips below for how to prevent this.

Recipe notes and top tips
Okay, I know this is simple and easy, and not to mention super quick as well, but take a few extra minutes to check out these top tips. You’ll still have the recipe made in 15 minutes, but you’ll have also completely nailled it as well…
- Always use full-fat cream cheese – This is super important to ensure the cheesecake filling stabilised and sets properly. I prefer to use Philadelphia cream cheese or block-style cream cheese, if available. See my cream cheese frosting recipe for more information.
- Use double, heavy or whipping cream – Depending where you are in the World this could be called something different but in the UK it’s double cream. Just like the cream cheese fat content is important to help the filling set. The higher the fat content, the thicker you can whip the cream.
- Make sure you whisk the filling well – This is crucial as it’s often were cheesecake fillings fail. The filling needs to be thick and creamy, and smooth enough to spread easily with a palette knife. If it isn’t whisked properly, the cream will not thicken up and you end up with a runny cheesecake filling. So don’t cut corners, make sure to give the filling a good whisk.
- Check the Best Before date of the Easter egg – While the high sugar content in chocolate means it won’t go mouldy for some time, chocolate can go stale; and then it’s not very pleasant to eat. So if you have leftover eggs from last year or have brought some in the sales, double check the dates and the actual chocolate before using.
More Easter recipes to try
If you liked this Easter egg cheesecake recipe here are some other recipes that I think you’d enjoy…

No Bake Easter Egg Cheesecake
Ingredients
- 2 Easter Eggs Approximately 240g
- 100 g Digestive Biscuits
- 35 g Butter Unsalted, Melted
- 200 g Cream Cheese Full Fat
- 40 g Icing Sugar or Powdered Sugar
- 100 ml Double Cream or Heavy Cream
- 50 g Mini Eggs
VIDEO
Instructions
- Make the biscuit base – Add the biscuits into a food processor, and blitz until they form a sandy crumb. Add the biscuit crumb into a large mixing bowl, and make a well in the centre. Pour in the melted butter and mix together until well combined.
- Split the Easter eggs into two halves. Divide the biscuit mixture equally between three of the Easter egg shells, and keep one half to for the cheesecake filling.
- Carefully press down onto the biscuit mixture in the egg shells with the back of a spoon and level out.
- Place the filled Easter eggs into a container to hold them upright, then chill in the fridge for 30 minutes to firm up the biscuit base.
- Make the cheesecake filling – Break the leftover Easter egg shell into pieces and place in a small heatproof bowl, place over a saucepan of simmering water. Make sure that the bowl does not touch the water. Heat until all the chocolate has melted. Alternatively, melt in the microwave in 30 second blasts. Set aside to cool.
- Using a stand mixer with the balloon whisk attachment, gently fold together the icing sugar and cream cheese using a rubber spatula. Add the double cream and whisk together until the cream thickens. The filling should be thick, smooth and creamy, and spreadable with a palette knife.
- Add the melted chocolate and mix through again until well-combined.
- Alternatively, you can make the cheesecake filling, in a large mixing bowl, by hand or with an electric hand whisk.
- Assemble the cheesecake slice – Spoon the cheesecake filling into the Easter eggs, on the top of the chilled biscuit base, smooth over and level with an offset spatula. Chill the filled Easter eggs in the fridge for at least 6 hours or overnight.
- Decorate the cheesecake – When ready to serve, decorate with Mini Eggs and a drizzle of chocolate sauce.
- To serve – While chilled, slice the Easter eggs into 4 pieces or let everyone get stuck in with their own spoon.
Notes
This recipe is made in 3 medium Easter egg halves (approx. 65g each) and will give up to 4 servings, depending on if you want a whole one to yourself! You can use the same recipe and serve in a larger Easter egg if you prefer. Should the cheesecake be kept chilled?
Yes, the cheesecake should be set and kept chilled in the fridge. Use an air-tight container with a lid to keep the Easter egg upright and sealed. Bring to room temperature for 10-15 minutes before serving, if slicing. How long will the cheesecake keep for?
The cheesecake will keep for up to 3 days in the fridge. Can I freeze the cheesecake?
It is possible to freeze the cheesecake for up to 3 months, but I do not recommend it due to the chocolate shell. My cheesecake filling didn’t set, what happened?
If you find your cheesecake filling is very soft; the most common reason is the filling was not whipped enough. It’s important that you whisk it until it is smooth and thick, but spreadable Check out my top tips below for how to prevent this.
Nutrition
DISCLAIMER
The nutritional information provided is approximate and is calculated using online tools. Information can vary depending on various factors, but we have endeavoured to be as accurate as possible.


This is the 3rd time I have made the Easter egg cheesecake, due to family and friends requests. ? They have turned out to be very successful. Although the chocolate egg has a tendency to break when trying to slice them open. But you have to be imaginative when decorating them. Still very happy with the recipe! Thankyou.