
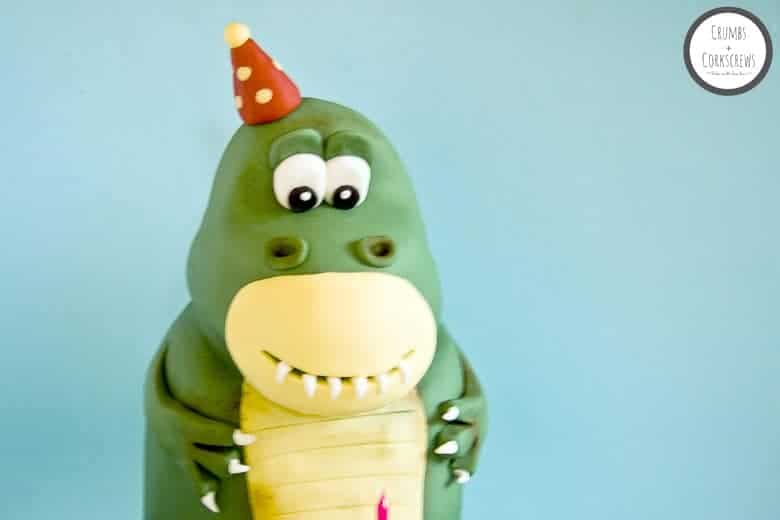
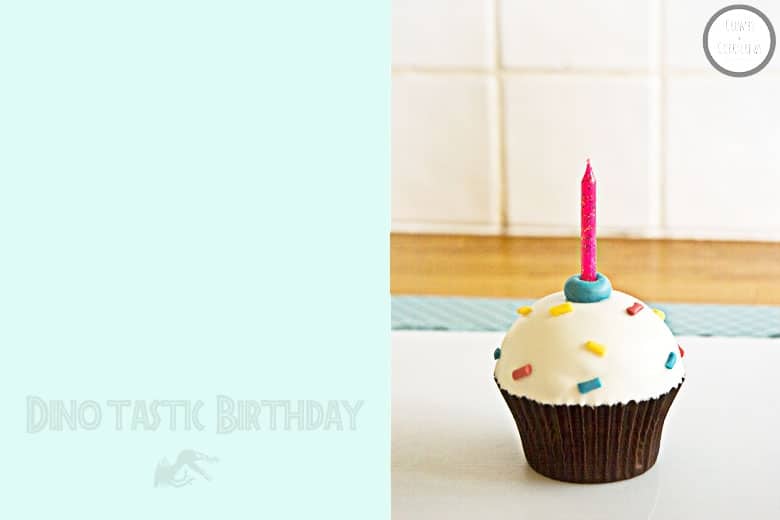
Cake-O-Saurus is the perfect party guest and even brings his own cupcake. Create your own little cute monster with this easy to follow dinosaur cake tutorial!
I’m pretty certain that at some point in every little boy’s life they’re going to be dinosaur-mad… And if they’re anything like me, girls too.
I love dinosaurs, the fact that 66 million years ago these incredible giants roamed the planet completely blows my mind. The dinosaur exhibit at The Natural History Museum is one of my favourite places, no trip to London is complete without visiting Dippy. So when my nephew discovered the world of dinos, just how happy was Auntie Lou Lou?!
Hear me roooooar
Well, I was incredibly happy but not as happy as I was when he asked for a dino cake for his 3rd birthday. There was a slight possibility it was going to be the turn of Miss Peppa Pig or even Spiderman, but the dino won and at the request of the birthday boy, it was to be a T-Rex dinosaur cake!
I’ll be honest, there were all sorts going around my head which included a complex structure of plastic drain pipe and platforms; but transporting an upright, at least 2 foot dino cake in my little VW Beetle wasn’t going to be a viable option (I think my Other Half was secretly disappointed he wasn’t called upon to create a dinosaur skeleton).
So a more 3-year-old friendly dino cake was planned, and although he was stood up without the aid of the plumbing department at B&Q; he was adored!
The Dawn of Cake-o-Saurus
That said; Cake-o-Saurus still gave me his fair share of mishaps and hair pulling out moments, including a spectacular collapse on the dining room table. Vent myself frustrations to friends and family, I was asked ‘if he works out, can you let us know how you did it’.
So, I thought I’d break with the Crumbs and Corkscrews baking schedule and post a little tutorial. As I was part the way through the cake when I decided to grab the camera, the photos are a quick overview to go with the instructions, but if you have any questions, drop me a comment on the blog, Facebook or Twitter.
Here goes my dinosaur cake tutorial… be warned it’s a long one, but worth it!
If you decide to create your very own Cake-o-Saurus I’d love to hear from you, so please leave a comment, or tag me #crumbscorkscrews on social media. I can’t wait to see what you make!

Looking for more cake inspiration?
If you’re not ready to take on the dinosaur cake tutorial, but are looking for other birthday ideas then why not check out these recipes.


Dinosaur Cake Tutorial
Ingredients
- 2 x 6 inch [round sponge cakes]
- 1 x 8 inch [square sponge cake layer]
- 1 x cupcake iced and decorated as you want
- 2 x 6 inch round cake boards
- 1 x 8 inch square cake board
- Cake dowels
- 1.5 kg vanilla frosting
- 3 kg coloured sugar paste at least 1.5kg for covering the body and head
- 14 inch cake drum iced and decorated as you want
Instructions
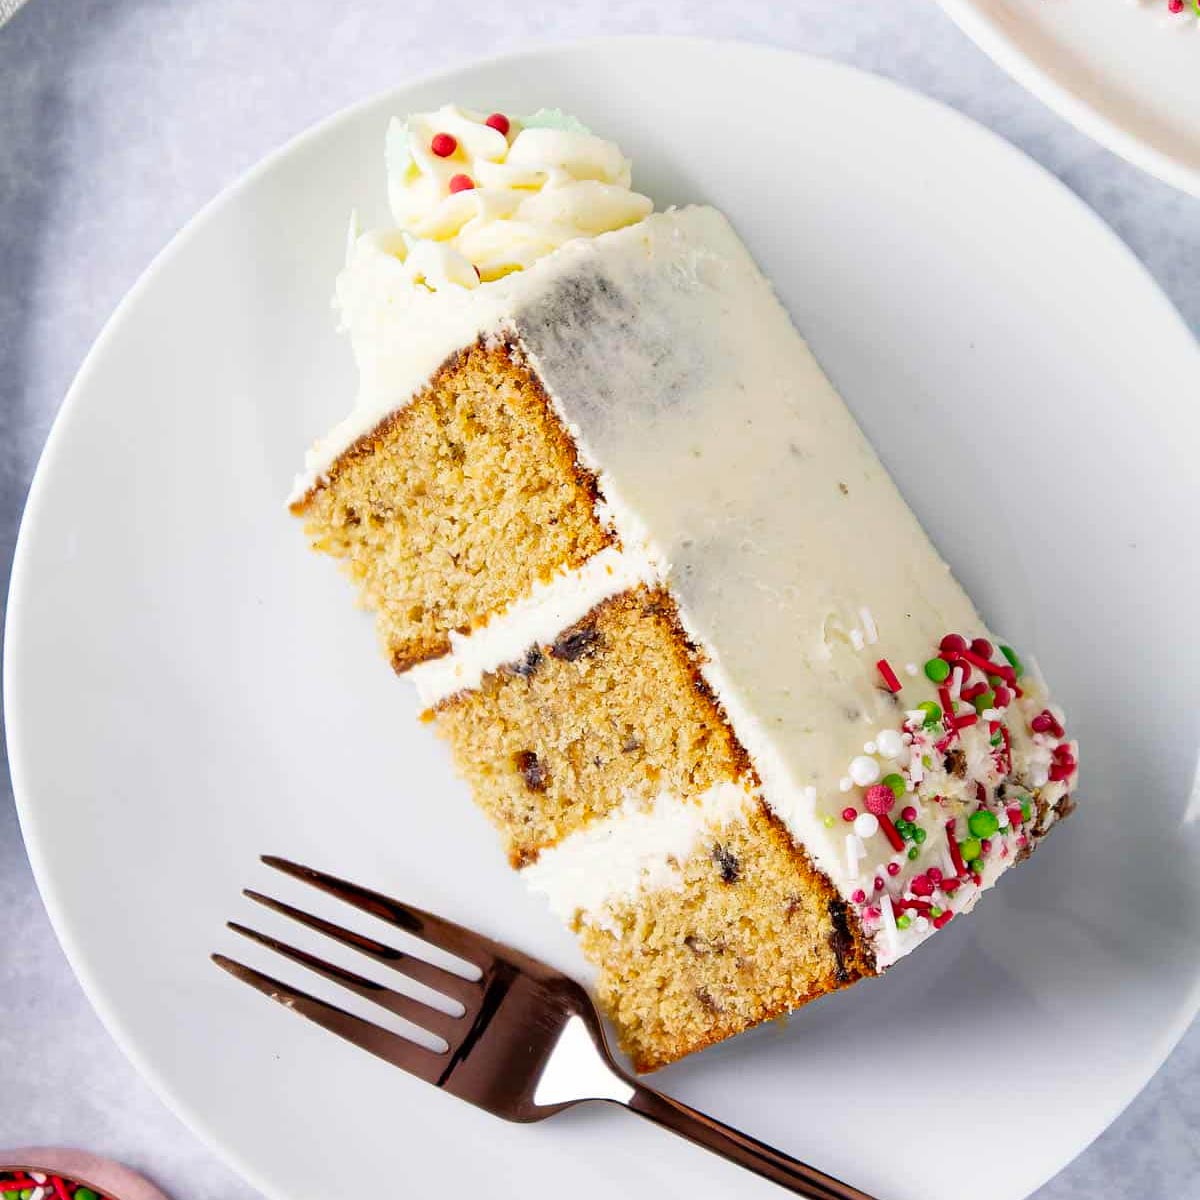
- The cake inside our dino cake is the vanilla bean sponge, with vanilla buttercream from my vanilla and raspberry layer cake. A dense chocolate cake or a Madeira cake would be best as they are a little more stable, less springy to cut if you’re new to the carving game. The best way is to bake 2 of the 6 inch cakes from the recipe, then bake a separate 8 inch square layer, this only needs to be about 1 inch in thickness, so if you use 1/2 to 2/3s of the 6 inch cake recipe, this should be perfect. Whilst you’re baking the cakes, take a scoop or two of the cake batter to bake the cupcake.
- Before you start working on creating the dino, you need to let the cakes completely cool and settle; so wrap them up in cling film overnight, until you’re ready to get started.
- First up, on the 8 inch square cake board, draw around a 6 inch cake tin to give the body shape, then add-on leg shapes; using scissors or a craft knife, cut out the shape; this will be the base board for your cake.
- Using the base board, you’ve just created, as a template and a sharp knife cut the 8 inch square layer cake, to get the base layer to start building on. Do not get rid of the off cuts, or eat them just yet… Spread the base board with vanilla frosting, and place the cake on top.
- Split each cake of the 6 inch cakes into 3 each layers; put 2 of the layers aside for the head.
- Stack 2 of the 6 inch layers, on top of the base layer, and between each layer, smooth over a layer of vanilla frosting. Place 3 cake dowels into the layers, and cut them so that they are all level; check by placing a cake board on top of the dowels and use a spirit level.
- On one of the 6 inch cake boards, spread over the vanilla frosting and stack 2 of the 6 inch layers, don’t spread the frosting between them just yet. Use a small sharp knife and carve a rounded edge to the layers, to give our dino shoulders and a neck. Once you are happy with your shape, then sandwich the layers together with the frosting, and pop in 2 level cake dowels towards the front of the body. Spread frosting on to the top layer of the base of the dino cake, and place the cake board and carved cakes on top.
- On the second 6-inch cake board draw the shape you want your dino’s head to be. I drew round a 5 inch round cake tin, and then extended it into a snout shape. Cut out the board. Using the remaining layers and offcuts, build up the head. When you are happy with your shape, line up your board on to the neck of your dino where you would like it to be (mine was about 1/3 hanging over the body for his chin). Mark the board towards the middle of the back, not too close to the edge, and make a hole for a cake dowel to go through.
- Spread the top layer of the cake with frosting, place the cake board on to the cake and a cake dowel through the hole and the layers (make sure you cut the dowel to the height of the layers and the head so that it doesn’t stick through the top). Spread the cake board with frosting and build the head up on the board, sandwiching the cake pieces with frosting.
- When your dino is all together, spread a good layer of frosting all over and leave him to settle, either in the fridge (if its big enough) for 1 hour, or overnight in a cool room.
- Now you’ll need your sugar paste. You can either buy it really coloured, or use gel food colours to colour white sugar paste, to the colour that you want. I used a mixture of Sugarflair Holly Green and Leaf Green for my dino.
- Roll out the sugar paste on your work surface, lightly dusted with icing sugar. You need to roll it out to into a rectangle, with a length slightly longer than the circumference of the body (use ribbon or string to get an approximate measurement) and width, a bit wider the height of the dino, so that it will cover the bottom half of the head as well as the body. The sugar paste should be about in thickness.
- Using your arms carefully lift the sugar paste and wrap it around the dino so that it covers his legs and joins along the back, where his spines will be. With a sharp knife, cut the sugar paste so that it joins together. With the palm of your hand gently smooth the join and the sugar paste over the body and legs. Carefully smooth the top of the sugar paste over the chin and the dino’s head. With your fingers your can gently smooth around the legs and the neck to give them a smoother shape.
- To cover the head, roll a separate piece of sugar paste just big enough to cover the remaining cake, and gently place over the head, and use your hands to smooth together the two pieces of sugar paste.
- Spread a little frosting on to your decorated cake board, and carefully lift your dino cake onto the board and get him in place.
- Roll out two pieces of yellow sugar paste, one for his belly and one for his mouth. Attach them with sugar glue or cooled, boiled water. Use a bone tool, to score the dino’s belly and to make indentations for the dino’s mouth, and his toes.
- For the arms, roll out medium two cones of the green sugar paste and flatten the wide end and cut into three fingers. Glue these to the body. (Remember T-Rex’s only had little arms… bless). Add small cones of white sugar paste, shaped into hooks, for the toe and finger claws.
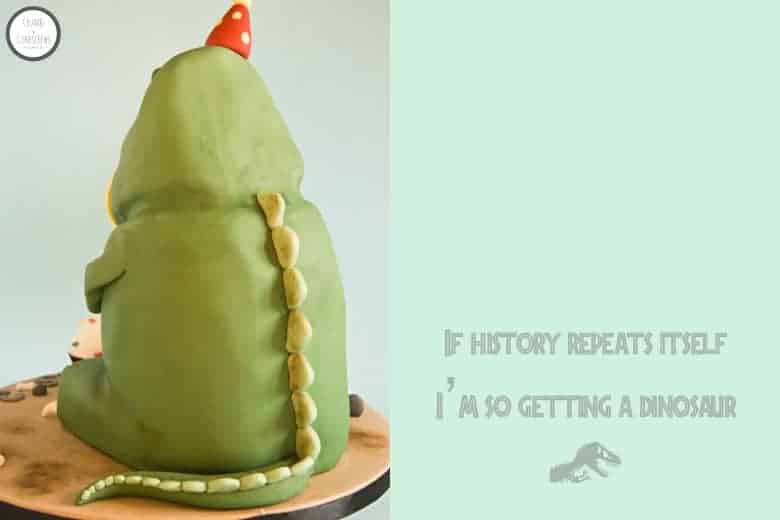
- For the tail, roll out a long cone of green sugar paste and glue to the bottom of the dino’s back, smoothing the join. Along the tail and down the back, add spines, using the green sugar paste mixed with some white sugar paste.
- For the mouth, add tiny cones of white sugar paste and hook them round. Just above the mouth, add two flat ovals of green sugar paste and with a ball tool, open out the nostrils.
- Take two ovals of white sugar paste for the eyes, and add two flatten balls of black sugar paste and 2 smaller balls of white sugar paste for the pupils. Glue the eyes to the dino’s had and add two pieces of green sugar paste shaped into arcs, about the eyes, for the eyebrows.
- If your dino is in a party mood, go on… give him a party hat, shaped from some sugar paste, and fixed in place with a cocktail stick.
- I used food dusts in green and brown, just lightly brushed around his legs, arms, nostrils, spines and on his belly, just to give him a little more definition in places.
Notes
Nutrition
DISCLAIMER
The nutritional information provided is approximate and is calculated using online tools. Information can vary depending on various factors, but we have endeavoured to be as accurate as possible.


Wondering what Louis will request for his birthday this year. Probably football related 😀
This is fab! Do you have the sponge recipe for this cake? I would like to attempt this fir my sons birthday this weekend
This look fantastic! I so wish I could be clever like this with cakes! Even the little cake looks fantastic! #Recipeoftheweek
Thank you 🙂 I had a few hiccups along the way, but he worked out in the end and the Birthday Boy loved him.