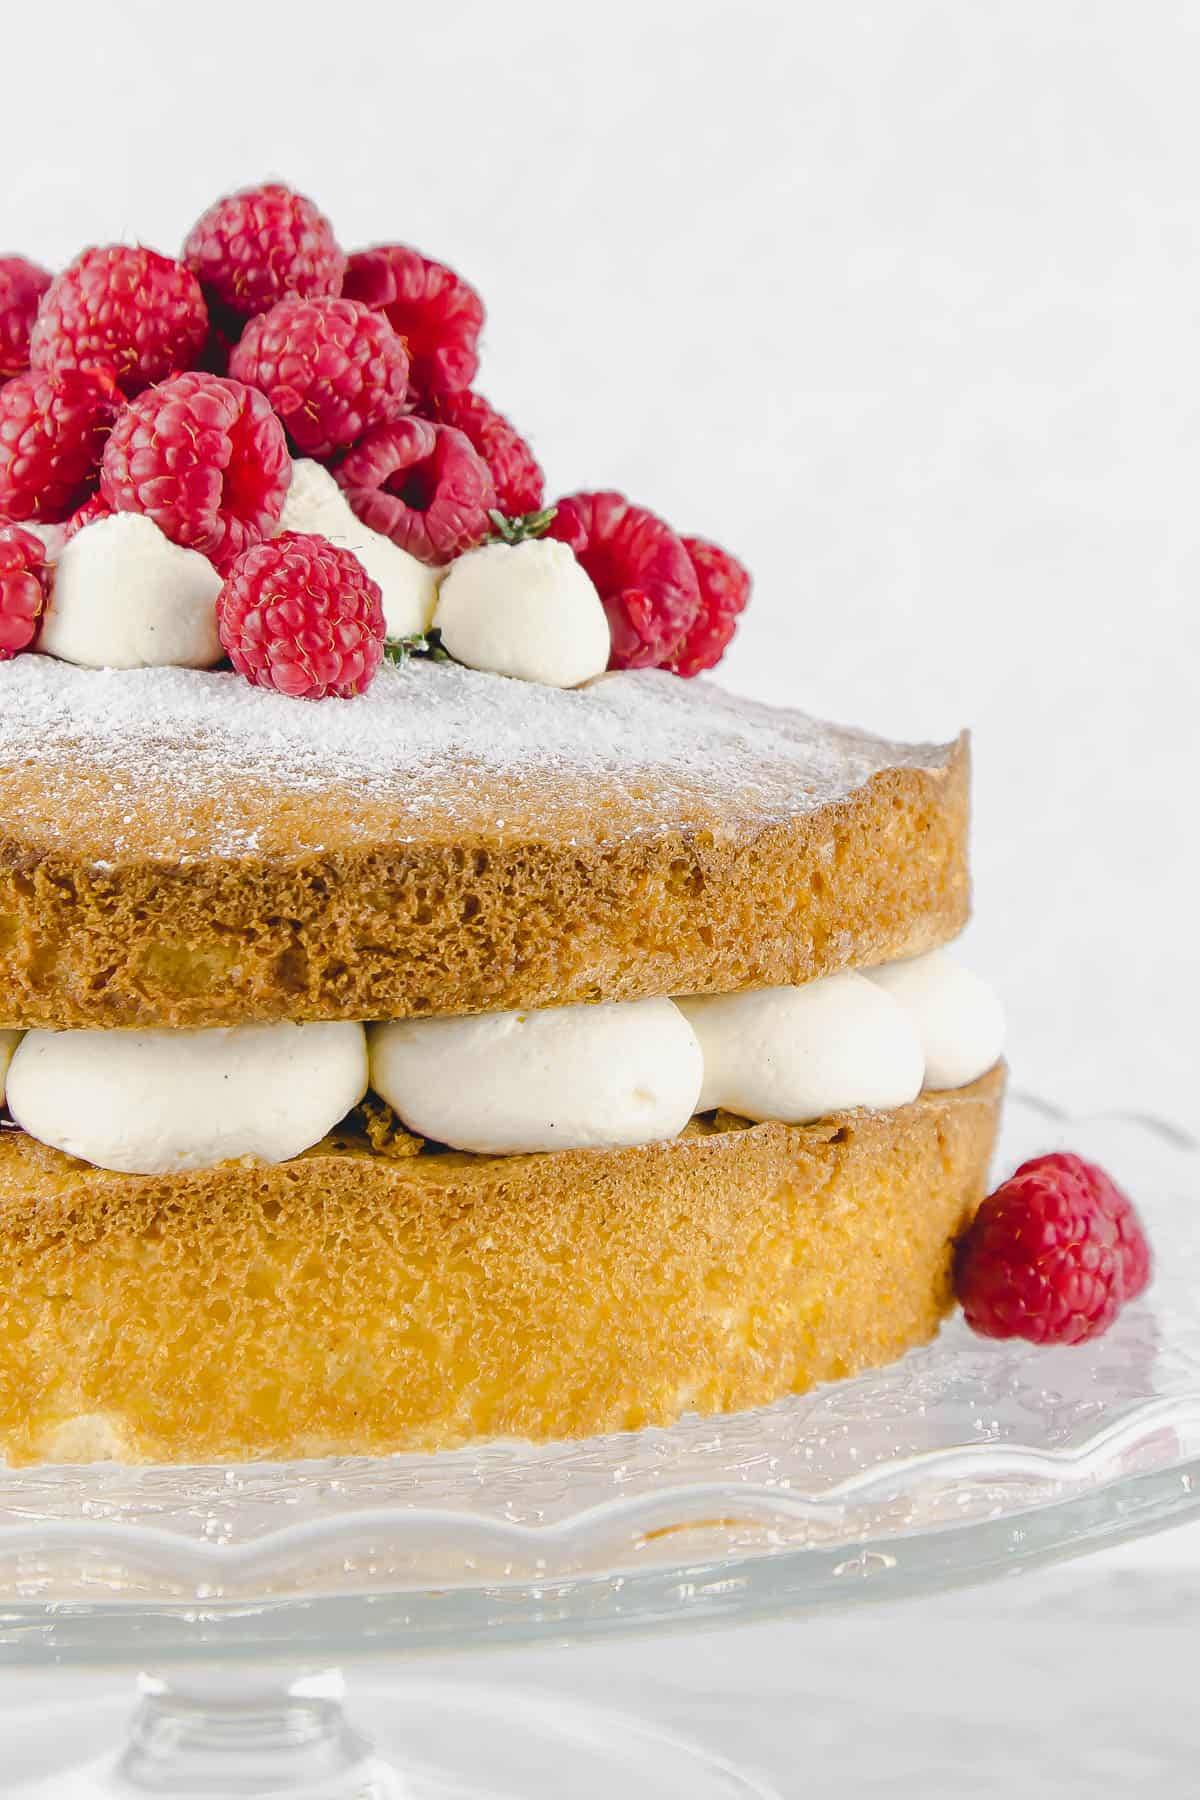
You are going to absolutely love this classic bake – the raspberry Victoria sponge! Three layers of golden fluffy cake, fruity raspberry jam, smooth and light vanilla whipped cream and fresh raspberries. Perfect with a cup of tea!

A Grandmother’s Legacy
Do you have that one recipe that’s been handed down through generations, from Grandmother to Mother, Father or Brother?
The one that no matter how it turns out brings back memories and makes you smile?
And more often than not, its usually one of the simplest of recipes that you always bake. You know the one!
For me it’s my Victoria sponge recipe; it’s nothing fancy, it’s just tried and tested over generations passed down from my Granny to my brother and me. I’m pretty sure it was the first cake she taught us.
Every time I bake it, it brings back fond memories, being stood in her kitchen, scraping the bowl out, fighting over the whisk beaters and slathering it in fresh cream and strawberry jam. Those were the days.
Always time for tea!
For as long as I can remember this cake has been a part of family life. And whenever there was a fresh one in the cake tin, it never lasted long.
I always remember my Dad coming home at lunchtime and tucking into a slice with a cup of tea before heading back to work. That seems such a strange concept now.
As I said this cake holds so many memories…
What is Victoria Sponge Cake
Now I know you’re sat there thinking “surely it’s just a regular vanilla cake”. Well yes, it is but…
A Victoria Sponge cake is true Britsh classic, right at the heart of our baking history and the centrepiece of every village summer fete. Named after Queen Victoria, who like me had a terrible sweet tooth for all things cake, and was said to enjoy a slice with her afternoon tea.
You might also hear the cake referred to as a Victoria Sandwich. Although we don’t know for sure, it’s probably because the two layers of vanilla cake, when filled with jam and cream, look a little similar!
Strawberry or Raspberry Jam?
In my opinion, the rich buttery sponge cake is perfect just on it’s own! Get the bake right and you have fluffy layers of cake that you won’t be able to resist.
But if we’re talking fillings, traditionally a Victoria sponge is filled with raspberry jam and whipped cream. I go for a double/heavy cream with a touch of vanilla bean paste lightly whipped so it’s still spreadable and not too thick.
While my absolute favourite is raspberries – especially with cream, like in my raspberry chocolate swiss roll – you can’t go wrong with a strawberry jam between your cake layers!
Some people prefer to go for a blackcurrant jam, sometimes mixed berries, or even a cherry one. There are no rules; unless you’re competing against the WI in the Village Bake Off when I’ve been told only raspberry will do!

How to make the perfect raspberry Victoria sponge
Full measurements and instructions can be found on the printable recipe card
There are lots of schools of thought on the best way to make a Victoria sponge cake. Some coat the butter with the flour first, some melt the butter, and others pray the Baking Gods and Mary Berry for the lightest cake known to man.
However, I prefer to stick to either the all-in-one method if I’m short on time, or the more traditional way of creaming the butter and sugar together first and then add the other ingredients.
The All-In-One Method
If you’re in a rush or you don’t fancy doing the washing up, the all-in-one is a quick and simple method for baking sponge cakes.
You’ll need either a large mixing bowl and a handheld mixer, or a stand mixer. Add you butter, sugar, eggs and flour, with a teaspoon of vanilla bean paste and beat it until it is thick, smooth and creamy. Simple!
The Creaming Method
This is my preferred method for most of my cakes. Again you can either use a handheld mixer or a stand mixer; or if you’re feeling strong a wooden spoon!
In a large mixing bowl, add the butter and the sugar and beat together until you get a pale and creamy mixture.
You’ll then want to add the eggs gradually beating well between each addition, then folding in the flour and the vanilla bean paste.
The fluffiest texture
If I’m honest, I find the creaming method gives me the best results.
If you rush the all-in-one method the cake batter can sometimes not be as smooth and creamy as you want it to be; ending up with a dense but still tasty cake.
In the creaming method, when you add the eggs, you’re whipping air into the batter. This helps the cake rise when baking and also gives you that light and fluffy texture you’re after.
The choice is yours!

How long will this cake keep
As the cake is filled and decorated with fresh cream, you will need to keep it chilled in the fridge. Make sure you cover the cake in foodwrap to prevent the cold air drying out the sponge.
You can also freeze the cake for up to 1 month. Make sure it is well wrapped before freezing and thoroughly defrost before eating.
Top tips for the best sponge cake
- Room temperature eggs – Adding cold eggs to your cake batter mix can cause it to curdle. Yes, we can fix that with dry ingredients, but also when baking, you’ll be working first to bring the eggs up to temperature. So make sure your eggs are at room temperature, and if not, you can warm them up by popping them in a bowl of warm tap water for 10 minutes.
- Softened butter – have you ever tried to cream fridge-cold butter? It’s a nightmare! To get that beautiful buttery taste and texture, make sure your butter is softened but not too soft. To test it, press a clean finger in the butter – it should leave an indent but not go all the way through.
- Weigh your ingredients – Trust me, when a say a digital kitchen scale is your new Best Friend! It seems so simple to measure in cups, but did you know that a 1 cup of flour could give you 150% of correct measurement so if you have a set of scales just them, or consider investing in a set.
- Test your sponge cake – It’s quick and simple, and you don’t need to take the cakes out of the oven. Quickly pop open the oven door and with your finger press down gently on the top of the cake. If it springs back, it’s done. If it leaves a dent, it needs to bake a little longer.
- Let the cake cool down – I know it smells amazing when it comes out of the oven, but don’t be hasty and take shortcuts, trying to frost still-warm cakes always ends up a mess. Ideally, let the cake layers cool on a wire rack or you can refrigerate or freeze them if in a hurry. Remember to take them out of the cake pans first!
- Jam first – If you’re adding jam and cream between the cake layers, then it’s best to add the jam first and spread over the bottom cake layer. An offset spatula works best for this, and don’t forget to level off the sponge cake first.
Recommended equipment
Other types of sponge cake
Over the years, the humble vanilla sponge cake has been updated, adapted and tweaked. Venture into most tea rooms or coffee shops and you’ll find bound to come across one.
Here’s some of my favourites…
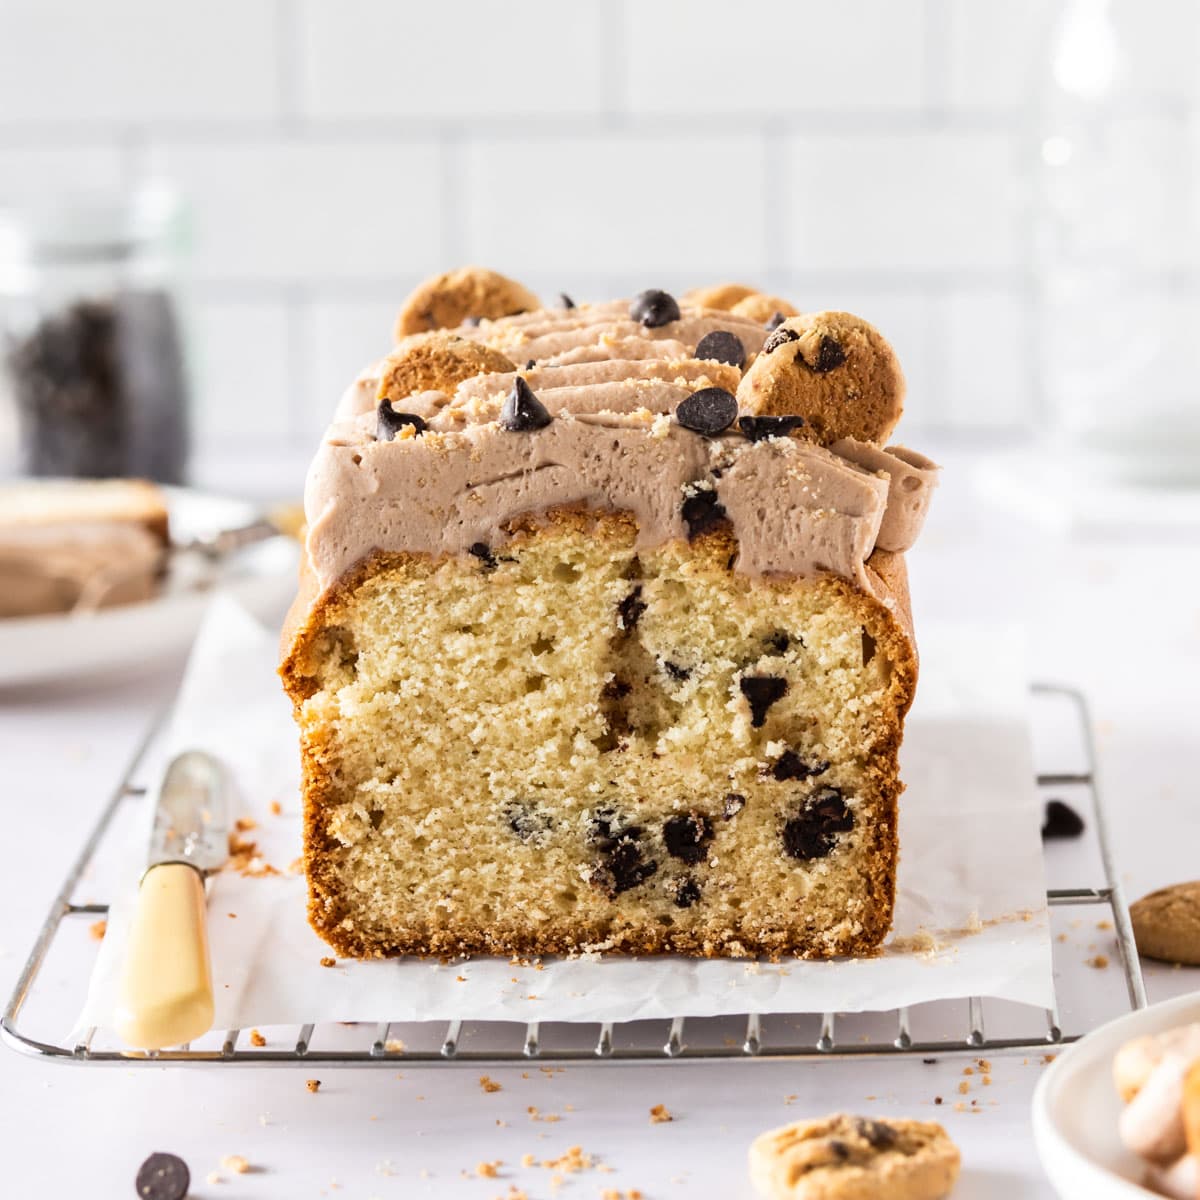
- Chocolate – Replace 25g of the self-raising flour with cocoa powder. You could switch the filling for a chocolate cream or even Nutella Chocolate Spread.
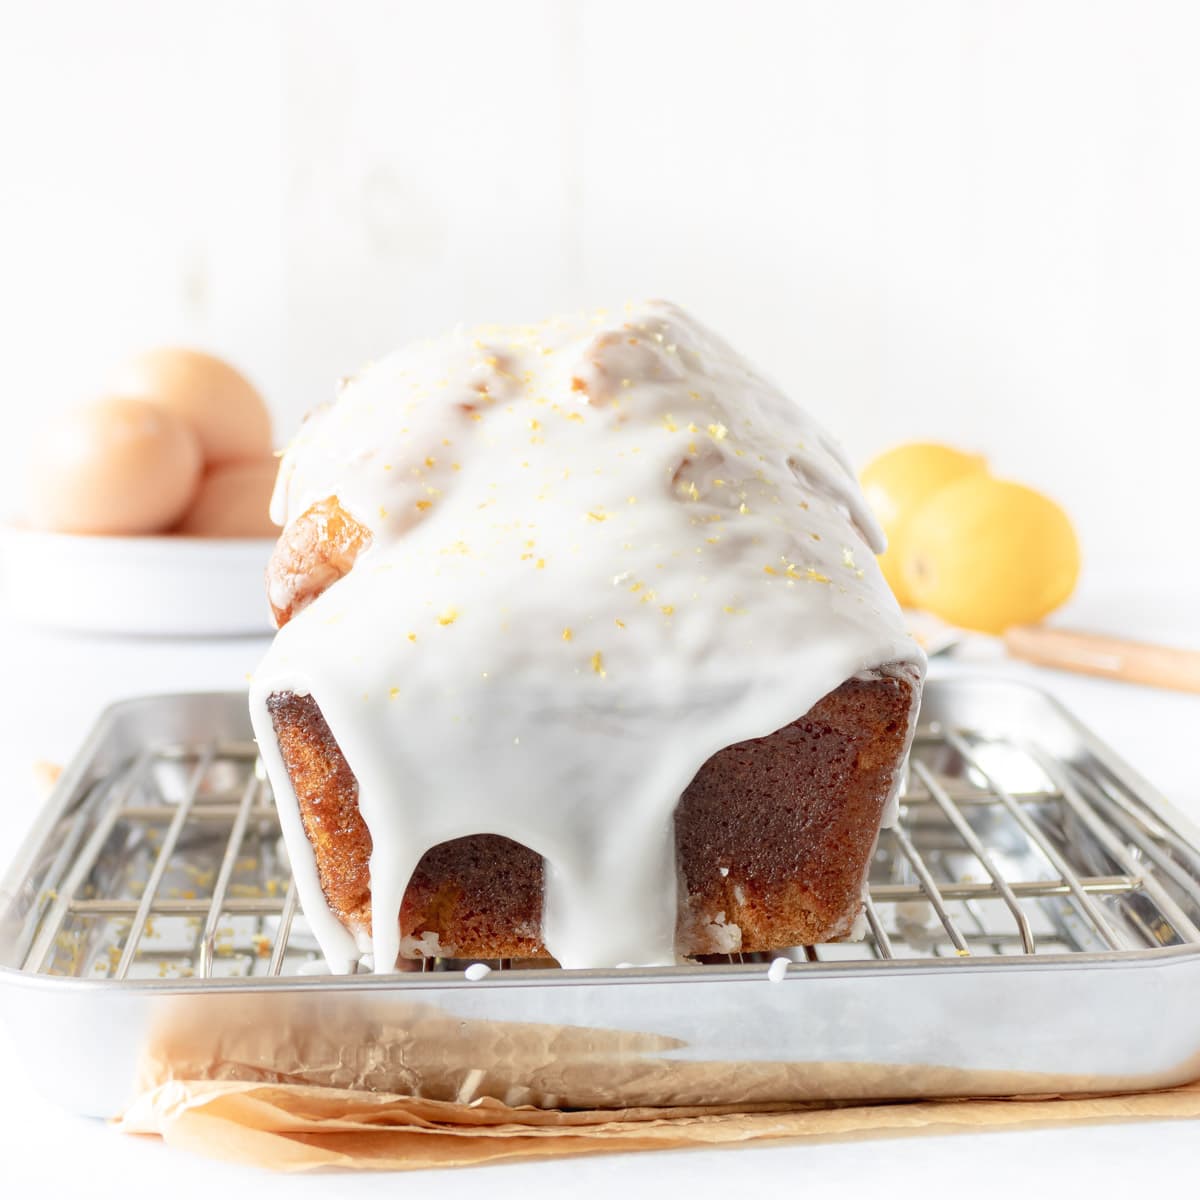
- Lemon – Instead of adding the vanilla bean paste, switch this for the zest of a lemon for a zingy sponge. Swap the jam for a lemon curd for a light afternoon treat. My easy gin lemon curd is perfect for this cake.
- Coffee – Replace the vanilla bean paste with a tablespoon of cooled espresso coffee or a coffee paste made from espresso powder and a teaspoon of cold water. For the filling, add a chocolate spread instead of jam and whipped coffee cream.

More classic baking recipes to try
If you liked this raspberry Victoria sponge recipe here are some other recipes that I think you’d enjoy…

Raspberry Victoria Sponge
Equipment
Ingredients
For the Cake
- 200 g Butter
- 200 g Caster sugar or Superfine sugar
- 200 g Self-Raising Flour or Cake Flour
- 1 tsp Baking Powder
- 4 Eggs Medium
- 1 tsp Vanilla Bean Paste
For the Filling
- 150 ml Double Cream or Heavy Cream
- 4 tbsp Raspberry Jam
- 100 g Raspberries
Instructions
- Make the cake: Preheat oven to 180C/350F and line a two 8-inch sandwich or cake tins with baking parchment.
- Using a stand mixer with the paddle attachment, beat the butter until softened. Alternatively, you can make the cake batter, in a large mixing bowl, by hand or with an electric hand whisk.
- Add the caster sugar to the softened butter and beat until light and fluffy.
- Add the eggs, one at a time, to the butter and sugar mixture. Beat well between adding each egg until the batter is pale in colour. Then add the vanilla bean paste and mix together.
- Sift the flour and baking powder into the cake batter, and gently mix together until the soft and smooth
- Divide the cake batter equally between the two sandwich tins and level with an offset spatula.
- Bake for 20 minutes until they are golden in colour, and a skewer inserted comes out clean. Allow the cakes to cool before turning out onto a cooling rack.
- Make the whipped cream filling: In a large bowl or stand mixer with the whisk attachment, gently whip the cream with the vanilla bean paste, until it forms stiff peaks. Be careful not to over whip.
- Assemble the cake: Using a serrated knife, level the top of the bottom layer of the cake, and spread with raspberry jam. Don't go too close to the edge as the jam will dribble down the sides when assembled.
- Spread or pipe the whipped cream over the top of the jam, and then add the second layer. Top with any leftover cream and fresh raspberries.
Notes
- As the cake is filled and decorated with fresh cream, you will need to keep it chilled in the fridge. Make sure you cover the cake in food wrap to prevent the cold air drying out the sponge.
- You can also freeze the cake for up to 1 month. Make sure it is well wrapped before freezing and thoroughly defrost before eating
- Make sure your eggs are at room temperature, and if not, you can warm them up by popping them in a bowl of warm tap water for 10 minutes.
- Make sure your butter is softened but not too soft. To test it, press a clean finger in the butter – it should leave an indent but not go all the way through.
Nutrition
DISCLAIMER
The nutritional information provided is approximate and is calculated using online tools. Information can vary depending on various factors, but we have endeavoured to be as accurate as possible.




Light as air! Perfect. However, you missed baking powder in list of ingredients, as you mentioned to sift flour and baking powder in the instructions. I assume it’s 1tsp. This recipe is definitely a keeper.
Awww, I’m so pleased you love the recipe and it’s a keeper, it’s been a family recipe for a long time! You’re right, it is 1tsp of baking powder. I’ll pop that into the recipe card now, thank you for letting me know. Enjoy!
Hi
Just wondering if I bake this in 3 6inch pans instead of just 1. Will it still take 40mins. Or less time as it’s split into 3?
Thanks
Hi Lorna, I tend to bake this in 3 x 6 inch pans rather than 1 pan and then split. I like that I can get more even height across the layers and a nicer bake.
When I bake in the separate pans, they tend to take about 15-20mins at 180C to bake rather than 40 minutes. I check them around 20 mins with a bamboo skewer and see if they come out clean and spring back.
Hope that helps 🙂
This looks DEEELICIOUS!
It was fabulous, just simple but so good 🙂